I can still smell the warm, savory steam rising as my kids set the table, napkins flapping as if they are auditioning for a dinner play. The sound of their footsteps mixes with the soft crackle from the oven and the smell brings back afternoons at my grandmother’s house near the dam, where comfort meant something that breathed warmth into the whole room. If you like dishes that feel like a hug and arrive quickly enough for weeknight life, give this one a try — and if you want another easy biscuit-based treat for the weekend, you’ll enjoy this little twist on a favorite from my biscuit collection.
Why This Chicken Pot Pie Biscuit Cups Feels Like Home
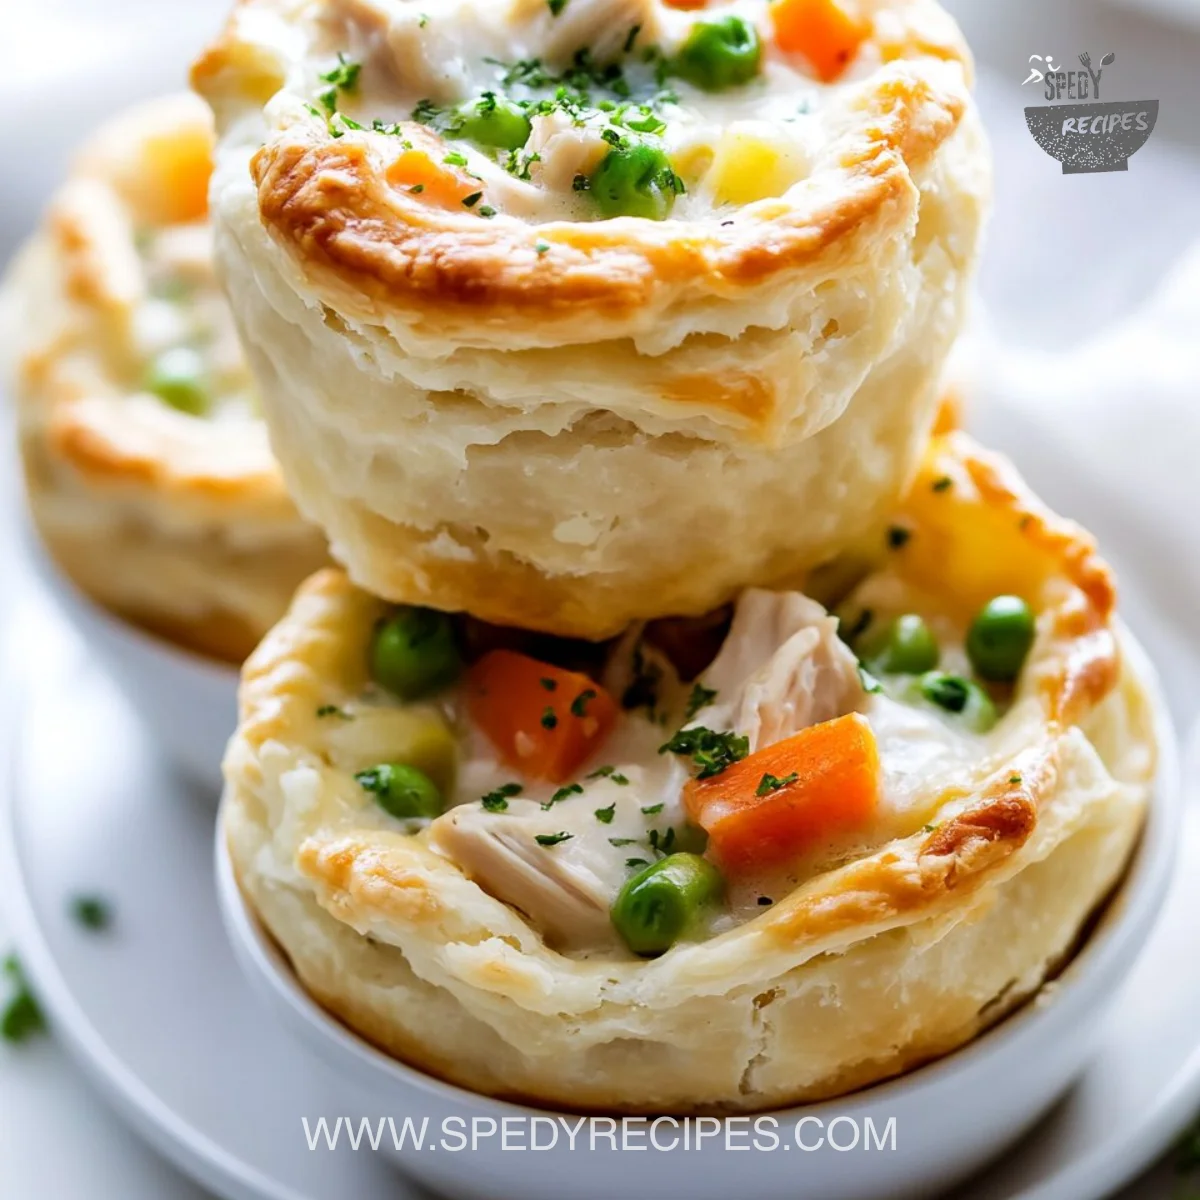
There is a quiet magic to this recipe. It takes the familiar flavors of chicken pot pie and turns them into single-serve biscuit cups that are easier to eat, less fussy, and somehow more joyful. The top becomes golden and flaky, the filling stays creamy and warm, and every bite gives you that distinct balance of comfort and crunch.
This recipe matters because it solves the common weeknight puzzle: how to make something that tastes special with a minimum of effort. You do not need to make pastry, you do not need to stew a long broth, and cleanup is minimal. It is also forgiving. Use leftover chicken or rotisserie meat, swap frozen veggies for fresh ones you have on hand, and adjust salt and pepper until it sings for your family.
A family favorite for us became an instant hit because it invites everyone to eat with their hands if they like, and it travels well to a picnic blanket for an impromptu outdoor dinner. If you love simple, soulful food, this is a route to that feeling without a long list of steps. For another cozy, hands-on dinner on slow days, try the slow cooker kindness of a warm crockpot chicken for nights when you want set-and-forget comfort.
How to Make Chicken Pot Pie Biscuit Cups, The Heartwarming Way
“This is where the magic happens, when the aroma fills the kitchen and my kids come running in, asking ‘Is it ready yet?'”
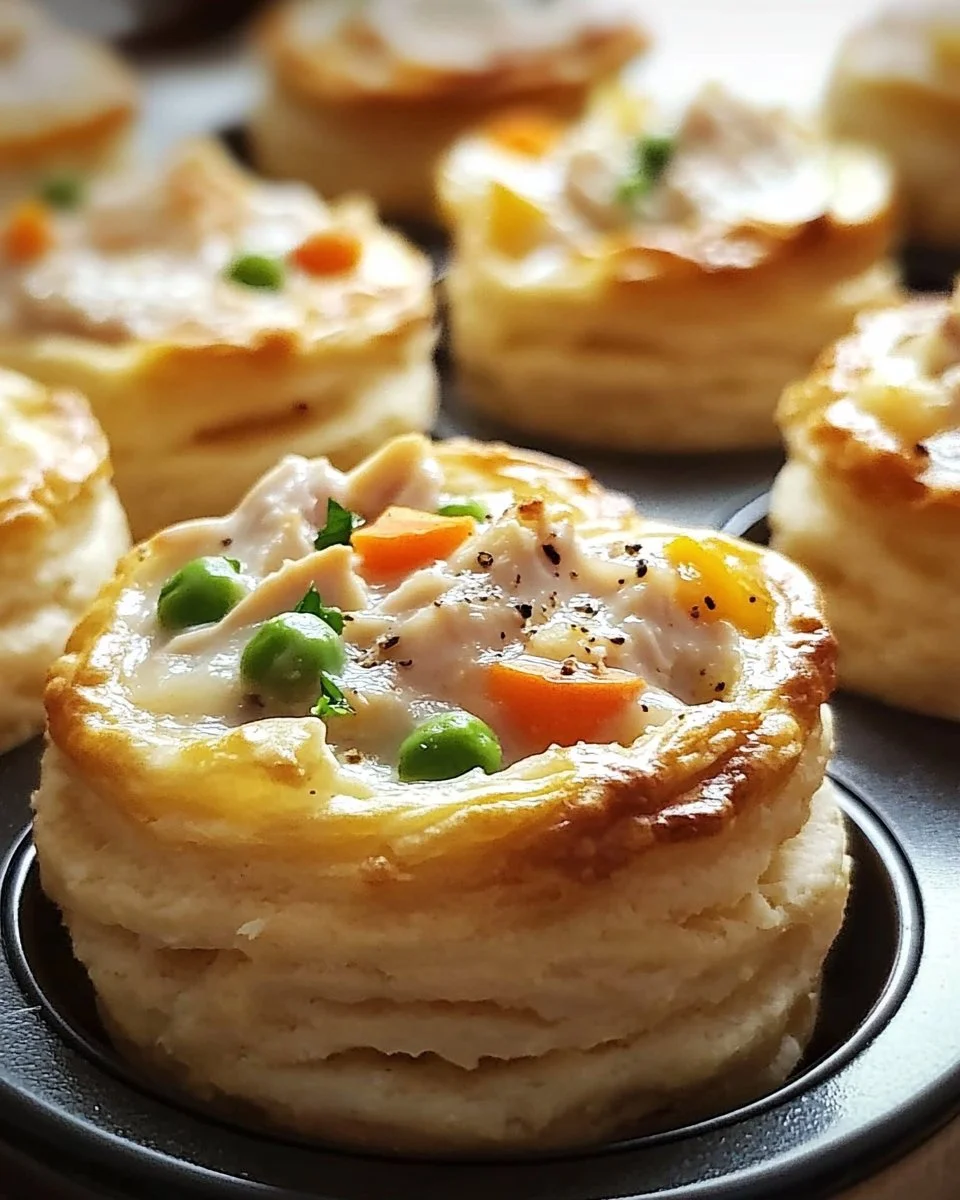
The process is a friendly loop: mix, press, fill, and bake. You will flatten flaky biscuit rounds into muffin cups, spoon in a cozy mix of cream of chicken soup, chicken, and veggies, and then let heat and time do the rest. Look for biscuit edges that turn golden brown and a bubbling, warmly fragrant filling that peeks through. The smell of the oven as the biscuits brown is your best cue that dinner is close.
Meanwhile, if you like small prep shortcuts, shredding leftover chicken while the oven preheats is a tiny win that saves a minute or two. The overall texture you want is flaky biscuit walls holding a soft, somewhat saucy center that is not runny but still spoonable. If the filling looks too thick before baking, a tablespoon of milk smooths it right out.
Ingredients You’ll Need
What goes into this is delightfully simple. Gather these staples and remember, you are welcome to tweak as your pantry or mood directs.
- 2 cans flaky layers biscuits
- 2 cans cream of chicken soup
- 2 cans cooked chicken (or 2 cups fresh, cooked chicken, shredded or chopped)
- 1 bag frozen mixed vegetables (about 10-12 oz)
- Salt and pepper, to taste
A friendly note: do not skip the salt at the end. Canned soups bring salt, but a small pinch at the end brightens everything. If you have fresh herbs like parsley or thyme, add a sprinkle when serving — they are the soul of the dish and add a fresh lift. If you want to keep this lighter, use low-sodium soup and swap in a cup of low-fat milk or chicken broth to loosen the filling.
For inspiration on simple chicken salads or quick chicken ideas, check this quick recipe that often uses the same leftover chicken I pull from the fridge: a 4-ingredient chicken salad.
Step-by-Step Directions
-
Preheat your oven to 400°F (200°C) and lightly grease a 12-cup muffin pan with cooking spray or butter.
- Get the oven hot so the biscuits start to brown right away.
- A hot oven helps the biscuit edges rise and set; that little extra heat makes a big difference.
-
In a large mixing bowl, combine the cream of chicken soup, cooked chicken, and frozen mixed vegetables. Stir until well mixed. Season the mixture with salt and pepper to taste.
- If you like a little texture, gently fold in half a cup of drained corn or peas.
- Taste a small spoonful; adjust salt and pepper because canned soup levels can vary.
-
Open the cans of flaky biscuits and separate the dough. Flatten each biscuit with your hands or a rolling pin. Press each flattened biscuit into the muffin pan cups, making sure to push the dough up the sides to form a cup.
- Flattening ensures the biscuit will hold the filling without tearing.
- Encourage kids to help here; this is the fun, hands-on part that rarely creates a mess.
-
Spoon the chicken and vegetable mixture into each biscuit cup, filling them generously.
- Leave a little room at the top so the biscuit can puff up around the edges.
- If the mixture looks overly thick, a tablespoon of milk per cup will loosen it into a nice, spoonable consistency.
-
Place the muffin pan in the preheated oven and bake for 18-20 minutes, or until the biscuit edges are golden brown and the filling is heated through.
- Look for biscuit tops that are warm gold, not pale.
- If the filling bubbles at the edges or you see steam escape, you are right on time.
-
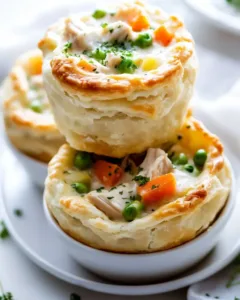
Once baked, allow the biscuit cups to cool for a few minutes in the pan before carefully removing them. Serve warm and enjoy!
- Let them sit 3 minutes so the filling sets and you do not lose the shape when you remove them.
- Serve with gentle scoops; a small offset spatula helps lift them without breaking.
A little kitchen memory: the first time I made these my youngest declared them "mini pies of power," and then insisted on choosing the napkin because the napkin made it extra important. Little rituals like that make cooking feel like a family craft.
Serving Chicken Pot Pie Biscuit Cups with Love

We usually bring the pan to the middle of the table and let everyone help themselves. There is something about passing a warm pan that feels like passing stories. A simple side salad with crisp apples and a drizzle of vinaigrette keeps things bright against the creamy filling.
For sauces and add-ons, a tiny spoonful of hot sauce or a dollop of plain yogurt can perk up adult bowls. My kids prefer ketchup sometimes, which I admit can be delightful in the oddest combinations. Serve with an easy vegetable like roasted carrots or steamed green beans to add color and a different texture.
If you want to make a full meal, add a bowl of sliced fruit and a warm loaf of bread. For a casual dinner, we pair these biscuit cups with quick buttered peas and a crisp apple slaw. The biscuit cups are the star, but the sides keep the meal balanced and make it feel like a complete family dinner.
For dessert or another sweet bite to pair with cozy dinners, a simple treat like these apple pie a la mode moments works beautifully and keeps dessert easy and sharing-friendly.
Storage & Reheat Tips (Keeping the Goodness)
Cool the biscuit cups to room temperature before storing. Place them in an airtight container or a bowl covered with plastic wrap.
For short term:
- Refrigerate for up to 3 days. Reheat in the oven at 350°F (175°C) for 8 to 10 minutes so the biscuit edges regain their crispness.
- The microwave is fine for a quick lunch. Heat for 40 to 60 seconds depending on your microwave, but expect a softer biscuit.
For longer storage:
- Freeze leftover biscuit cups on a tray until firm, then transfer to a freezer bag for up to one month.
- Reheat from frozen in a 375°F (190°C) oven for 18 to 22 minutes, covering loosely with foil if the biscuits brown too fast.
My honest note: the oven rewards patience. If you want the texture closest to fresh-baked, reheat in the oven. The microwave is practical and fast, but you lose some crispness. If you are reheating multiple servings for a family, a hot oven is worth the wait.
My Kitchen Notes & Shortcuts
- Use rotisserie chicken to speed things up. Shred it warm if you like moist pieces, or use leftover diced chicken for a heartier chew.
- Swap cream of chicken for cream of mushroom or cream of celery if you want a different flavor profile. Each adds a slightly different comfort note.
- Make the filling a day ahead and assemble just before baking. This saves time on busy weeknights and lets flavors settle.
- Let kids press the biscuits into the cups. It is safe, fun, and they love being part of the final bake.
- If you prefer more sauce, stir in a splash of milk or broth until you reach the desired texture.
If you want to experiment with dessert-like biscuit cups another time, these ideas were inspired by the playful uses of biscuit dough in things like these Boston cream pie cupcakes, where biscuit-style dough becomes something sweet and special.
Family-Friendly Variations
This recipe is a wonderful template. You can tweak to fit kids, picky eaters, or the crowd at the table.
- Kid-approved: omit pepper and add a little shredded cheddar to the filling. Serve with simple carrot sticks and apples.
- Lighter version: use low-sodium soup and add a half cup of plain Greek yogurt stirred in after baking for creaminess without heavy cream.
- Vegetarian take: replace chicken with cooked and cubed tofu or chickpeas and use vegetable soup in place of cream of chicken.
- Cheesy twist: sprinkle grated cheddar or Gruyere on top during the last 3 minutes of baking to create a golden cheesy crown.
- Herb-forward: mix in fresh parsley, chives, or thyme for a bright finish.
For creative inspiration and a different stuffed biscuit idea, you might like how other cooks make mini pot pie puffs or stuffed biscuit cups; these styles are all about smart shortcuts and big flavor, as seen in other recipes online like simple apple pie biscuits and more. Make this your family’s version and give it a name that invites a smile at the table.
FAQs About Chicken Pot Pie Biscuit Cups
Q: Can I make this ahead for a busy week?
A: Absolutely. Make the filling up to 24 hours ahead, refrigerate it, and assemble just before baking. Letting it rest overnight lets flavors deepen and makes assembly quick.
Q: Can I use homemade biscuits instead of canned?
A: Yes, homemade is lovely. Flatten and press homemade biscuit dough into the cups the same way. Watch baking time; homemade dough may brown a little differently.
Q: How do I avoid soggy bottoms?
A: Make sure biscuits are pressed up the sides so heat can reach the base evenly. Bake on the center rack in a preheated oven so the bottoms firm up as the cups bake.
Q: Is there a low-sodium option?
A: Use low-sodium cream of chicken soup and add a splash of chicken broth or milk to adjust texture. Taste and then season with salt if needed.
Q: Can I add fresh vegetables?
A: Yes, steam or sauté firmer vegetables like carrots or peas briefly so they are tender when the cups finish baking. Frozen veggies are great because they cook perfectly inside the filling.
Conclusion
Thank you for letting me share this little corner of my kitchen. I hope these Chicken Pot Pie Biscuit Cups bring easy, warm meals to your table and invite new memories. If you want a similar shortcut with a cheesy twist, check out this cheerful take on mini chicken pot pies from another home cook at Mini Chicken Pot Pies – Easy Dinner Recipe! – Julie’s Eats & Treats. For a television chef’s creative version that inspired a few of my assembly ideas, see Chicken Pot Pie Stuffed Biscuit Cups – Kardea Brown – Food Network.
Until next time, happy cooking and may your kitchen be full of laughter and the smell of something simple and wonderful.
Chicken Pot Pie Biscuit Cups
Ingredients
For the Biscuit Cups
- 2 cans flaky layers biscuits These will form the cups for the filling.
For the Filling
- 2 cans cream of chicken soup Provides a creamy base for the filling.
- 2 cans cooked chicken Alternatively, use 2 cups of fresh, shredded or chopped, cooked chicken.
- 1 bag frozen mixed vegetables About 10-12 oz; adds nutritious veggies to the filling.
- Salt and pepper, to taste Adjust seasoning as needed for flavor.
Instructions
Preparation
- Preheat your oven to 400°F (200°C) and lightly grease a 12-cup muffin pan with cooking spray or butter.
- In a large mixing bowl, combine the cream of chicken soup, cooked chicken, and frozen mixed vegetables. Stir until well mixed. Season with salt and pepper to taste.
- Flatten each biscuit with your hands or a rolling pin, then press each flattened biscuit into the muffin pan cups, pushing the dough up the sides to form a cup.
Assembly
- Spoon the chicken and vegetable mixture into each biscuit cup, filling them generously but leaving a little room at the top for the biscuit to puff up.
Baking
- Place the muffin pan in the preheated oven and bake for 18-20 minutes, or until the biscuit edges are golden brown and the filling is heated through.
- Once baked, allow the biscuit cups to cool for a few minutes in the pan before carefully removing them. Serve warm and enjoy!