
I can still hear the clink of plates as my children set the table, the kind of clatter that only means something good is on its way. The kitchen smells of hot oil, warm paprika, and a little tang of buttermilk, and for a moment the whole house seems to pull closer. That smell takes me right back to my grandmother’s small kitchen near the dam, where everyone had a knee to prop a biscuit and a story to tell. If you are looking for a meal that feels like home and brings people to the table, this Perfect Fried Chicken will do exactly that, and it pairs beautifully with a simple chicken salad for a lighter side on the weekend.
Why This Perfect Fried Chicken Feels Like Home
There is something about fried chicken that reads like a family photo album. It is crispy, golden, and simple in a way that makes every forkful feel familiar. This recipe is forgiving and friendly, so you can make it even on busy nights and still feel proud as you set it on the table.
It matters because it asks for very little fuss and gives back a full-hearted meal. You can marinate the chicken the night before, prepare the flour coating in a few minutes, and then fry while someone else pours drinks. It rewards small pauses and shared moments. I like to pair a pot of bone broth for a simple soup starter, especially when the nights feel cool and we need comfort on every level. If you enjoy that depth of flavor, see my notes on a good chicken bone broth to round out the meal.
How to Make Perfect Fried Chicken, The Heartwarming Way
“This is where the magic happens—when the aroma fills the kitchen and my kids come running in, asking ‘Is it ready yet?’”
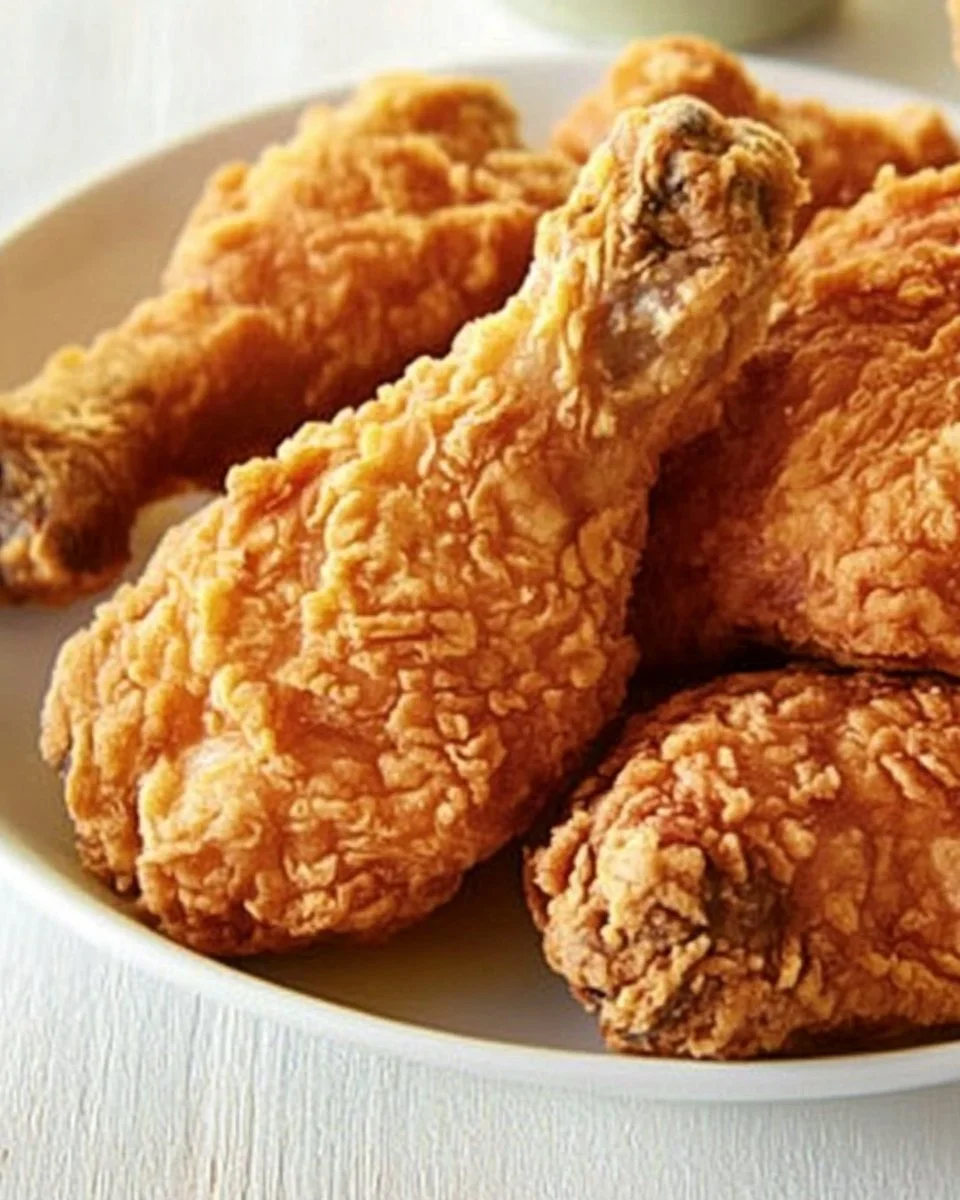
The process is straightforward but full of small decisions that add up. You want a crisp, golden crust and juicy meat inside. Texture cues to watch for are a deep golden brown on the exterior and a gentle sizzle that keeps steady, not frantic. The buttermilk gives the meat a slightly tangy softness, while the seasoned flour builds that irresistible crunchy coating.
Step-by-Step Overview: Keeping It Simple
-
Marinate the chicken pieces in buttermilk for at least 2 hours, preferably overnight.
Let the buttermilk work its gentle magic; it softens the meat and adds subtle tang.
Overnight is best when you have the time, but two hours will do the trick. -
In a separate bowl, mix the flour, paprika, garlic powder, onion powder, salt, and black pepper.
Take a moment to whisk them well so every bite is evenly seasoned.
You can taste a pinch of the mix dry to check seasoning, remembering it will anchor the overall flavor. -
Heat vegetable oil in a deep skillet or fryer to 350°F (175°C).
Use a thermometer so you keep the oil steady; it is the single biggest thing that affects crispness.
A steady 350°F gives a crusty exterior without burning the seasoning. -
Remove chicken from buttermilk, allowing excess to drip off.
Let gravity be your friend here; too much liquid will make the coating soggy.
A quick shake is fine, but no wiping—leave some buttermilk clinging for adhesion. -
Dredge each piece of chicken in the flour mixture, ensuring an even coating.
Press the flour gently onto the chicken so it sticks but does not become pasty.
This is an excellent job for a helper; my youngest loves to pat the flour on. -
Carefully place chicken in hot oil, frying in batches if necessary to avoid overcrowding.
Overcrowding lowers the oil temperature and makes the crust limp.
Give each piece breathing room so it browns evenly; a slotted spoon helps here. -
Fry for about 12-15 minutes, or until the chicken is golden brown and cooked through (internal temperature should reach 165°F/75°C).
Turn pieces as needed so all sides brown, and trust the thermometer more than the clock.
If you notice a piece browning too fast, lower the heat slightly and move it to a cooler spot. -
Drain on paper towels and serve hot.
Let the chicken rest a couple of minutes; this helps the juices settle and keeps the crust crisp.
Serve family-style and let everyone help themselves for a relaxed, joyful meal.
A little browning here builds flavor, just like grandma showed me, and if the kids want to help dredge, let them—this is the fun part they remember. For another easy weekday protein idea with a different set of spices, try a comforting crockpot dinner like this slow-cooked recipe on a night when frying feels like too much.
Ingredients You’ll Need
4 chicken pieces (legs, thighs, or breasts)
2 cups buttermilk
2 cups all-purpose flour
1 tablespoon paprika
1 teaspoon garlic powder
1 teaspoon onion powder
1 teaspoon salt
1/2 teaspoon black pepper
Vegetable oil (for frying)
Friendly note: Don’t skip the buttermilk. It is the secret that keeps the meat tender. If you do not have buttermilk, you can make a quick substitute with milk and a splash of vinegar, but real buttermilk is worth the small trip to the store. Use what’s in your fridge where possible. Fresh herbs for serving are optional but wonderful—this is about creativity, not perfection.
Preparing Perfect Fried Chicken Without the Stress
Start early if you can. Marinating overnight makes everything easier the next day. Lay out a tray for dredged chicken so it doesn’t sit and get soggy. Use a heavy-bottomed skillet or a cast-iron pan for even heating, and keep a lid nearby in case a small flare-up happens.
A kitchen thermometer is the one tool I trust above all else for fried chicken. It takes the guesswork out of the process and gives you consistent results. You want each piece to hit 165°F/75°C inside. Meanwhile, keep your station tidy. A sheet pan with a cooling rack is perfect for finished pieces so they stay crisp on all sides.
Serving Perfect Fried Chicken with Love
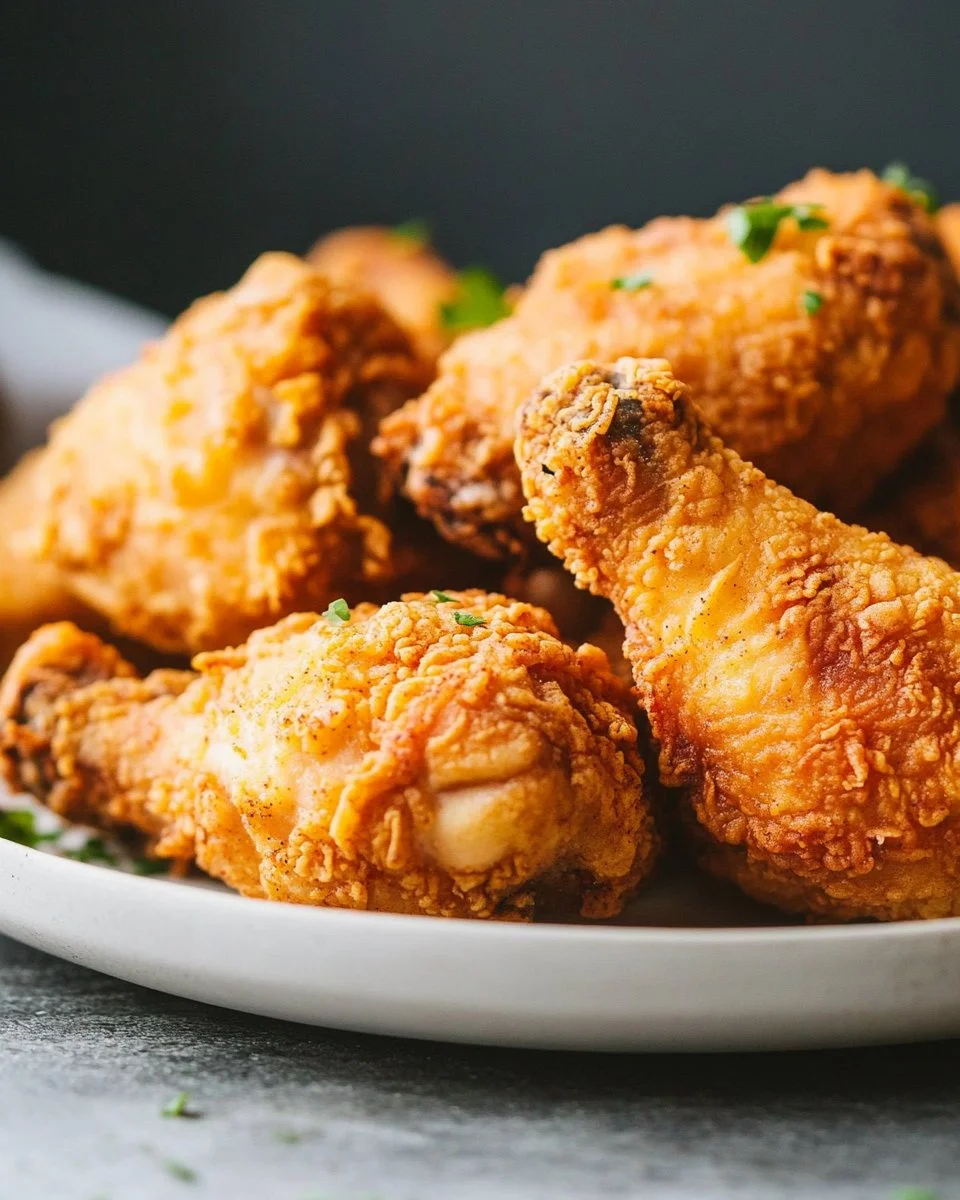
We eat this dish family-style, right in the center of the table. I place a basket of warm biscuits, a bowl of coleslaw, and a pitcher of sweet tea nearby. Some people like a little honey drizzled on the side, others prefer a tangy sauce. Let everyone choose their favorite and watch the stories start. One of my kids swears mashed potatoes are the emotional core of the meal, while another will only eat the skin.
If you want a light contrast, serve with a quick chicken salad or crunchy greens to balance the richness. For dessert, I often reach for something easy and comforting to keep the evening casual and sweet—like a cinnamon-based treat that is both nostalgic and simple to pull together. If that sounds like your kind of finish, try this playful cinnamon roll apple pie for a dessert that feels like a hug.
Storage & Reheat Tips (Keeping the Goodness)
Leftovers are a joy if you store them properly. Place cooled chicken in an airtight container and refrigerate for up to 3 days. If you plan to keep it longer, freeze on a tray until solid, then transfer to a freezer bag for up to 2 months.
When reheating, the oven is your friend for restoring crispness. Preheat to 375°F (190°C), place chicken on a wire rack over a sheet pan, and heat for 12-15 minutes, or until the internal temperature returns to 165°F/75°C. The microwave is fine for a quick lunch, but the oven brings back that just-made warmth and crunch. For frozen pieces, let them thaw in the fridge overnight before reheating.
My Kitchen Notes & Shortcuts
- Prep the flour mix the night before and store it in a zip-top bag for faster assembly.
- If you are short on time, marinate the chicken for a minimum of two hours instead of overnight; it still improves the texture.
- Use a heavy skillet and a thermometer to keep the oil around 350°F (175°C) for even frying.
- For a lighter version, try shallow-pan frying in a little oil with tight temperature control. It is not quite the same but still satisfying.
- If you love baking as much as frying, save time on dessert by making a batch of muffins or a loaf like a reliable gluten-free pumpkin bread to serve later.
These little shortcuts keep the soul of the dish intact while making weeknight cooking feel doable. I learned most of these by trial and error, and you will find what works best for your family with a few tries.
Family-Friendly Variations
Make it your own by changing up the seasoning. Add a bit of cayenne for heat, swap smoked paprika for a deeper flavor, or add dried thyme to the flour. For kid-friendly hands-on fun, let them sprinkle the flour or choose a dipping sauce.
If you prefer a lighter crust, use half all-purpose flour and half fine cornmeal for a crunchy, golden bite. For gluten-free options, try a cup of rice flour or a gluten-free all-purpose blend but remember the texture will shift. These tweaks are a way to invite your family’s personality into the recipe, just like we did when I was a kid.
FAQs About Perfect Fried Chicken
Q: Can I make this ahead for a busy week?
A: Absolutely. Marinate the chicken overnight and keep the flour mix ready. Fry on the day you plan to serve so the crust is freshest. If you must reheat, use the oven to revive the crunch.
Q: Is it safe to fry without a thermometer?
A: You can, but a thermometer removes the guesswork. If you do not have one, maintain a steady medium heat and test with a small piece first, adjusting as needed.
Q: How do I know when the oil is the right temperature?
A: A thermometer is the best method. Another sign is a steady bubbling when you dip a piece of bread into the oil; it should brown slowly, not instantly or burn.
Q: Can I use skinless chicken?
A: Yes, but the skin adds fat that helps browning and flavor. If you use skinless pieces, just be extra gentle when turning so the crust stays intact.
Q: My crust came off while frying. What went wrong?
A: Most likely the chicken was too wet or the oil was too cool. Let excess buttermilk drip off and make sure the oil is hot enough before adding pieces.
One Final Thought from My Kitchen
I hope this Perfect Fried Chicken becomes one of those recipes you return to on both ordinary and special evenings. It is forgiving, comforting, and easy to share. When the house fills with that warm, savory smell, pause for a second and listen to the little conversations around the table. Those are the moments cooking is really about. Give it a try—you might surprise yourself with how proud you feel when the first golden pieces come out of the pan.
Conclusion
If you want more ideas that celebrate traditional fried chicken with a Southern touch, I like the clear, comforting approach in The Best Southern Fried Chicken – The Country Cook for inspiration. For a chef’s take on technique and tips for home cooks, Andrew Zimmern’s guide is a helpful complement: How to Make Perfect Fried Chicken at Home – Andrew Zimmern.
Until next time, happy cooking and may your kitchen be full of good food and good company.

Perfect Fried Chicken
Ingredients
Chicken and Marination
- 4 pieces chicken pieces (legs, thighs, or breasts)
- 2 cups buttermilk Use real buttermilk for best results.
Coating Mixture
- 2 cups all-purpose flour
- 1 tablespoon paprika
- 1 teaspoon garlic powder
- 1 teaspoon onion powder
- 1 teaspoon salt
- 1/2 teaspoon black pepper
Frying
- Vegetable oil For frying
Instructions
Marination
- Marinate the chicken pieces in buttermilk for at least 2 hours, preferably overnight.
Prepare Coating
- In a separate bowl, mix the flour, paprika, garlic powder, onion powder, salt, and black pepper.
Frying
- Heat vegetable oil in a deep skillet or fryer to 350°F (175°C).
- Remove chicken from buttermilk, allowing excess to drip off.
- Dredge each piece of chicken in the flour mixture, ensuring an even coating.
- Carefully place chicken in hot oil, frying in batches if necessary to avoid overcrowding.
- Fry for about 12-15 minutes, or until the chicken is golden brown and cooked through (internal temperature should reach 165°F/75°C).
- Drain on paper towels and serve hot.