
I can still hear the clink of measuring cups and the small footsteps circling my kitchen island. The smell of browned butter and melted marshmallows once filled my home on a rainy afternoon, and the kids came running like clockwork when the pan came off the stove. That warm, sticky sweetness reminds me of my grandmother’s tiny kitchen, where a simple treat could turn a grey day into a celebration.
Why Marshmallow Rice Krispie Treats is Our New Family Favorite
This recipe lands on our table on busy afternoons, after baseball practice, or when a sudden storm makes everyone crave comfort. It comes together in minutes, uses only a handful of pantry staples, and still tastes like a hug. That is the kind of food I chase in my own kitchen: quick to make, easy to clean up, and deeply satisfying.
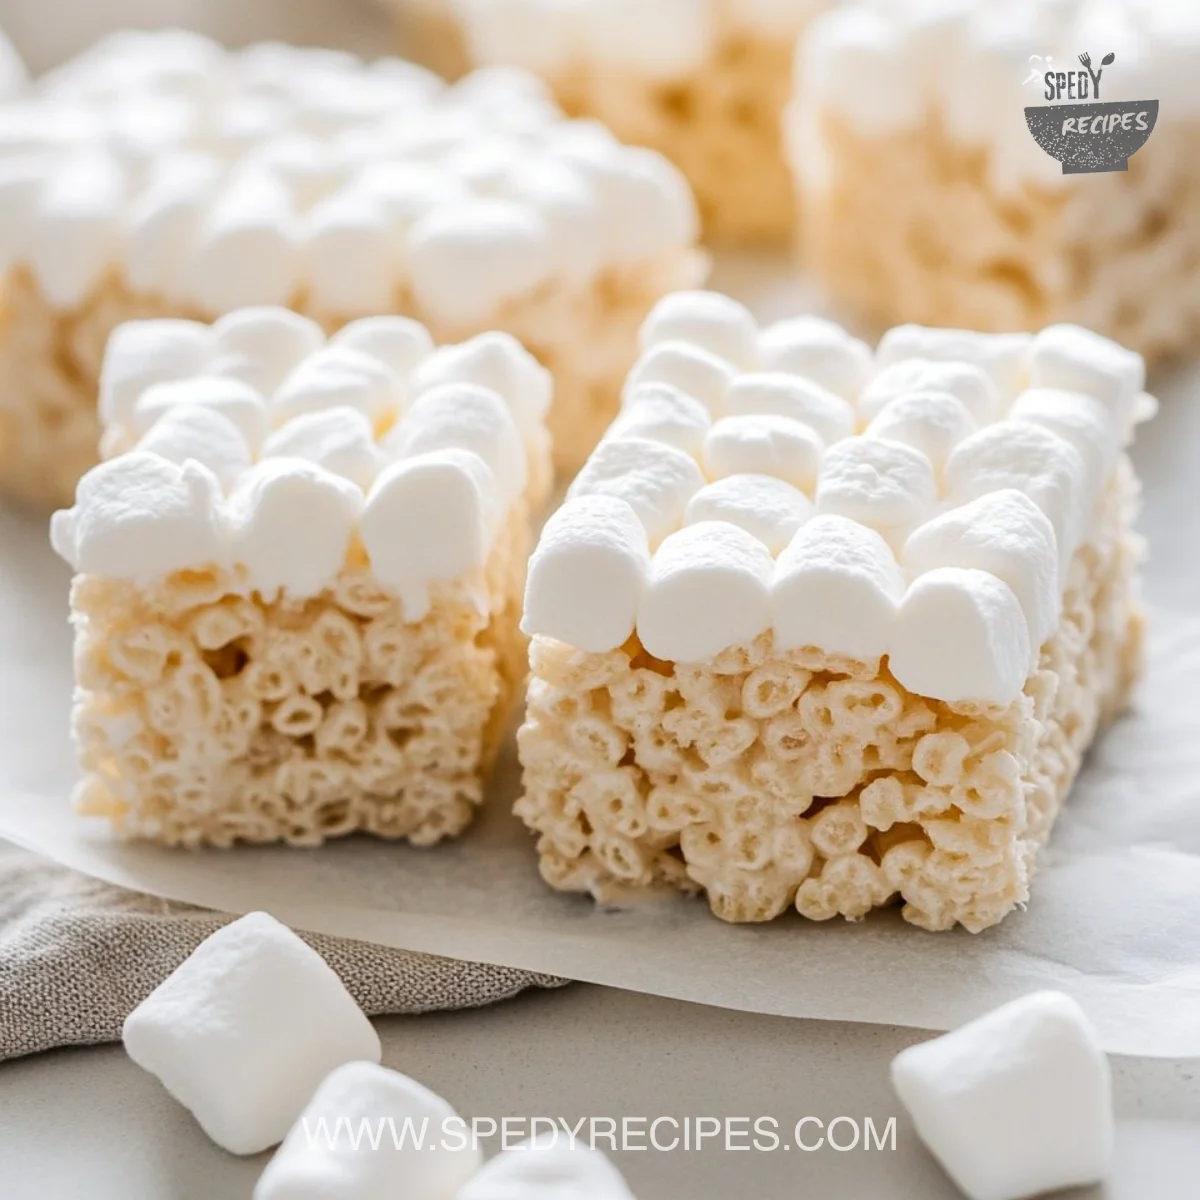
Meanwhile, these treats ask for very little skill but reward you with big smiles. The texture is that perfect mix of chewy and light, with shiny marshmallow coating the crisp rice cereal. The color is golden and welcoming, the aroma sweet and familiar. 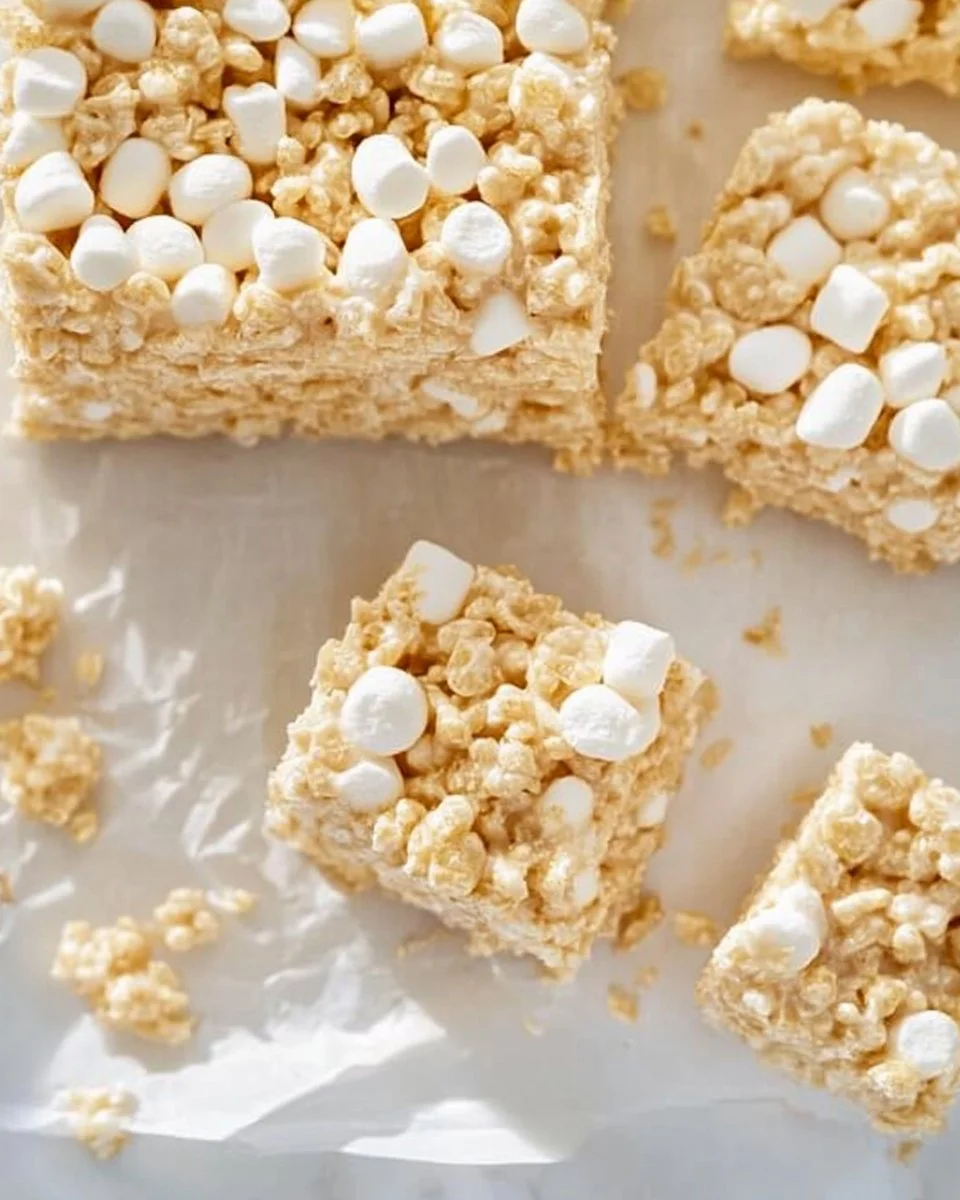
Why does this recipe feel like a tiny ritual? Because it invites helpers. Kids can press the mixture into the pan. Partners can sprinkle the top with a few extras. And once cooled, the treats disappear faster than I expect. It is a simple recipe that makes space for connection.
The Simple Magic Behind Marshmallow Rice Krispie Treats
Making these treats is less about technique and more about timing. The magic happens when the marshmallows melt into the butter and form a glossy, elastic sauce that hugs every cereal flake. From there you work quickly so the cereal keeps its crunch and the final squares hold together.
“This is where the magic happens—when the aroma fills the kitchen and my kids come running in, asking ‘Is it ready yet?’”
You can tell you are on the right track when the marshmallow mixture turns silky and smooth, and when the pan fills the kitchen with a sweet, toasted scent. The moment you press the mixture into the pan, you will notice it change from glossy to matte as it cools. Those are good signs. Give it a try you might surprise yourself.
Ingredients You’ll Need
- 3 tablespoons of butter
- 1 package (10 oz) of marshmallows
- 6 cups of Rice Krispies cereal
- 1 teaspoon of vanilla extract (optional)
A few friendly notes from my kitchen: use what you have, and do not stress if the bag of marshmallows is a little short. A splash of vanilla lifts the flavor and makes the treats feel a bit more grown up, but it is optional. If you want to add a pinch of salt, that little contrast can make the sweetness sing. Don’t skip the fun parts like sprinkles if the kids are helping.
Step-by-Step Directions
In a large saucepan over low heat, melt the butter.
Let it foam gently, but do not let it brown too quickly. Low heat keeps the marshmallows from scorching. I like to use a heavy-bottom saucepan to spread the heat.Add the marshmallows and stir until completely melted and smooth.
Keep the heat low and stir steadily. Watch for lumps to disappear and for the mixture to become glossy. This is the fun, sticky part; let the kids take turns stirring if you want an extra pair of smiles.Remove from heat and stir in the vanilla extract if using.
Do this off the stove so the delicate aroma stays bright. A splash of vanilla gives a cozy, bakery-like note that feels familiar and indulgent.Add Rice Krispies cereal and mix until well coated.
Toss with a wooden spoon or a heatproof spatula. Work quickly so the marshmallow does not cool and harden. Make sure each flake gets a little love from the marshmallow coating.Press the mixture into a greased 9×13 inch pan.
Use a sheet of wax paper or a lightly buttered spatula to press evenly. Press firm but not so hard that you crush every air pocket. Those pockets are what make the treats light.Allow to cool completely before cutting into squares. Enjoy!
Patience makes prettier squares and less sticking. Once cooled, cut into sizes your family likes. I often make smaller bites for snacks and bigger squares for dessert.
Quick tip: a little browning at the edges builds flavor, just like grandma showed me. If the marshmallows start to brown, turn the heat down immediately.
How We Enjoy Marshmallow Rice Krispie Treats at Our Table
We serve these treats family-style, right in the center of the table, and everyone helps themselves. I like to trim the edges and arrange the squares on a big plate, but sometimes I leave them in the pan so the kids can grab and go. 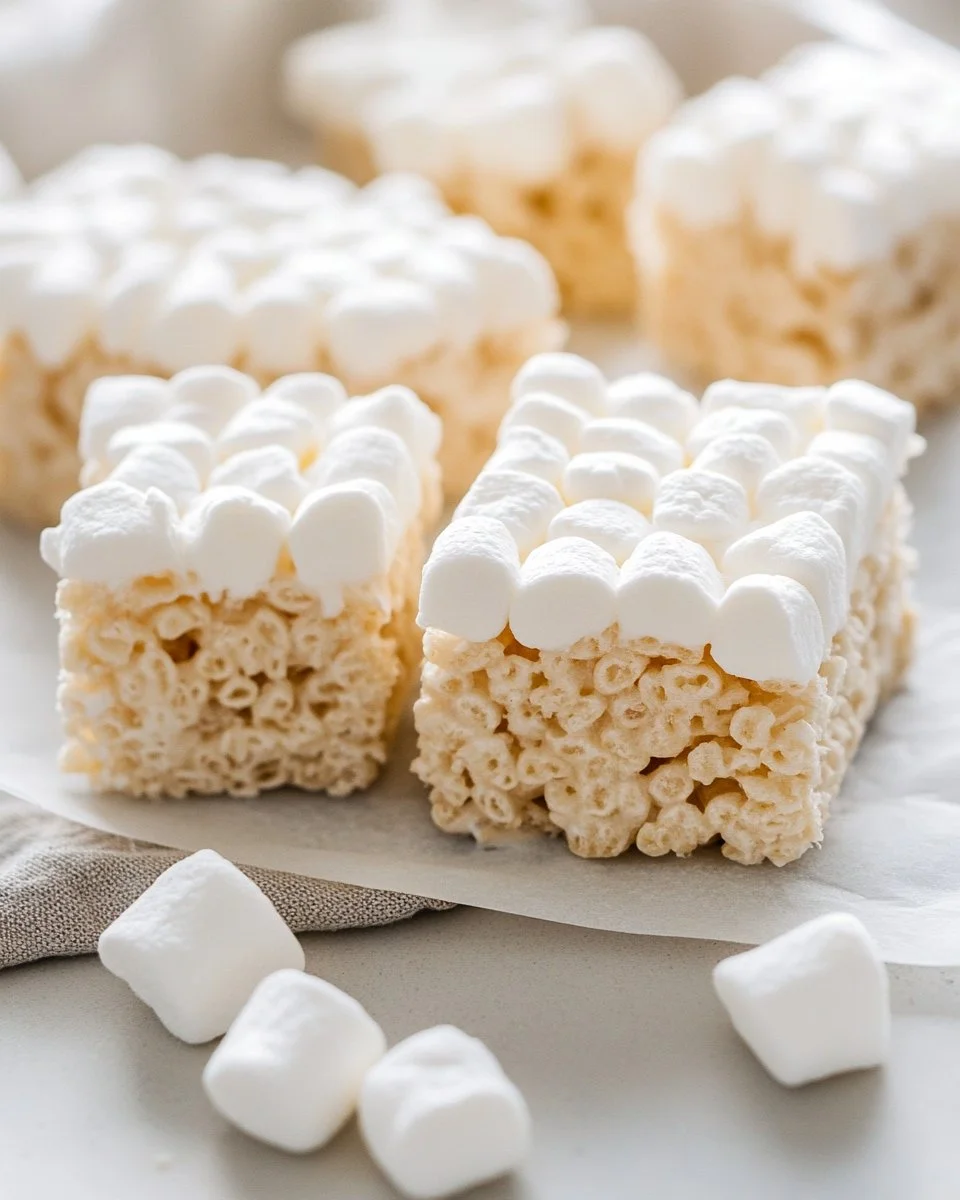
A few of our favorite pairings: a mug of hot cocoa for a chilly evening, a glass of cold milk after a long day, or a small bowl of fresh berries if we want a touch of tart to balance the sweetness. My daughter loves to top hers with mini chocolate chips, while my son insists on an extra sprinkle of rainbow confetti. Sharing these small rituals brings us closer, and the treats always open up conversation.
For a casual party, I set out a tray with the Rice Krispie squares, a jar of sprinkles, and a few small spoons of peanut butter or Nutella so guests can add their own finishing touches. It is relaxed, playful, and comfort-focused.
Storage & Reheat Tips (Keeping the Goodness)
Store the treats in an airtight container at room temperature for up to three days. Layer squares with parchment paper to keep them from sticking. If you live somewhere humid, a cool pantry is best so they do not become sticky.
For longer storage, wrap each square individually in plastic wrap and keep them in the freezer for up to six weeks. Thaw at room temperature for about 30 minutes. Once cooled, the texture comes back nicely.
If you want that just-made softness again, pop a square in the microwave for 8 to 10 seconds. That quick burst brings back the pliable texture without losing the crisp. For a more even reheat, use a 300 F oven for 4 to 6 minutes and watch closely.
Honest note: these treats are best eaten soon after making them. But with the storage tips above, you can enjoy them over a few days without losing their heart.
My Kitchen Notes & Shortcuts
- Use salted butter or add a pinch of salt. I often use salted butter because a tiny bit of salt brightens the sweetness and makes the flavor more interesting.
- Swap marshmallows for mini marshmallows for faster melting. They melt more quickly and evenly.
- Grease your pan well or line it with parchment paper for effortless removal. I learned this after many sticky experiments.
- Press with a piece of wax paper to avoid sticky hands. It saves time and keeps the top smooth.
- Let the kids measure and stir. This is a safe, fun step for little helpers and builds kitchen confidence.
These small tricks help you cook faster and with less stress, while keeping the treat full of flavor and joy.
Family-Friendly Variations
Want to play around? Here are a few of our favorite twists. Each one keeps the basic method but adds a different personality.
- Chocolate lovers: Stir in 1/2 cup of chocolate chips once the mixture is off heat, then press into the pan. The chips melt into ribbons.
- Peanut butter swirl: Microwave 1/2 cup peanut butter for 20 seconds and swirl into the top before it cools. Kids go wild for this version.
- Fruity crunch: Fold in 1/2 cup of dried fruit or mini M&Ms for color and extra flavor.
- Lighter option: Use half the marshmallows and add 2 tablespoons of honey to keep stickiness while reducing sugar slightly.
- Holiday style: Add powdered sugar and red food coloring to a small portion and press on top for a festive look.
Treat these as invitations. Mix in what your family loves. It is about keeping the soul of the dish while letting your home’s tastes lead.
FAQs About Marshmallow Rice Krispie Treats
Can I make this ahead for a busy week?
Absolutely. These keep well for a few days in an airtight container. For longer life, freeze individual squares and thaw when you need a quick treat.
Why did my treats turn out hard?
If the marshmallow mixture cooled before you mixed in the cereal, or if you pressed the mixture too firmly into the pan, the treats can become dense. Work while the marshmallow is warm and press gently.
Can I use a different cereal?
Yes. Substitute with another puffed rice cereal or a toasted oat cereal for a different texture. Keep in mind that the flavor and crunch will change slightly.
Is vanilla really necessary?
Not necessary, but it adds warmth and depth. If you skip it, consider a tiny pinch of salt to balance sweetness.
How do I keep them from sticking to the pan?
Grease the pan well, or line it with parchment paper, leaving a little overhang so you can lift the whole slab out when it cools.
One Final Thought from My Kitchen
I hope these Marshmallow Rice Krispie Treats find their way into your home on simple afternoons and big celebrations alike. They are honest, forgiving, and always ready to make a moment sweeter. If you try them and your kitchen fills with the same warm, sticky scent that moves my family to the table, then my grandmother’s little kitchen is smiling somewhere.
Conclusion
If you want to compare versions or see a classic presentation, I often look at a trusted, time-tested recipe like Marshmallow Rice Krispie Treats Recipe – Allrecipes for inspiration. For the original brand method and helpful visuals, the official recipe is also a great resource: The Original Rice Krispies Treats™ Recipe.
Until next time, happy cooking and enjoy every gooey, crispy square.

Marshmallow Rice Krispie Treats
Ingredients
Main Ingredients
- 3 tablespoons butter (Use salted butter for added flavor.)
- 10 oz marshmallows (You can use mini marshmallows for quicker melting.)
- 6 cups Rice Krispies cereal (Feel free to substitute with another puffed rice cereal if desired.)
- 1 teaspoon vanilla extract (Optional, but adds a nice flavor.)
Instructions
Preparation
- In a large saucepan over low heat, melt the butter until foamy but not browned.
- Add the marshmallows and stir until completely melted and smooth.
- Remove from heat and stir in the vanilla extract (if using).
Mixing
- Add Rice Krispies cereal and mix until well coated.
- Press the mixture into a greased 9x13 inch pan using a piece of wax paper or a lightly buttered spatula.
- Allow to cool completely before cutting into squares.