This post contains affiliate links. As an Amazon Associate, I earn from qualifying purchases. This comes at no extra cost to you.
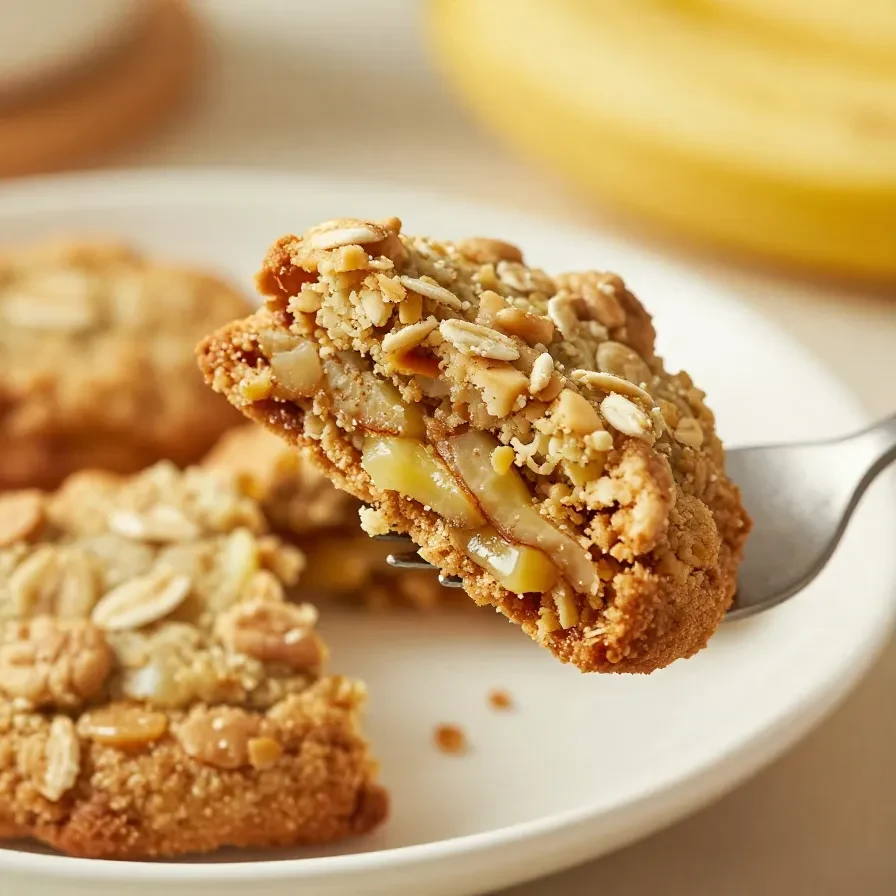
Healthy Banana Oatmeal Cookies are soft, chewy, and naturally sweetened with ripe bananas, offering a wholesome alternative to sugar-packed treats. Every bite features the subtle warmth of cinnamon paired with the creamy texture of almond butter, making them perfect for breakfast or as an afternoon snack. These cookies are not only easy to prepare but also packed with nutritious ingredients to fuel your day.
Table of Contents
- Why Healthy Banana Oatmeal Cookies Are Perfect for You
- Everything You Need for Healthy Banana Oatmeal Cookies
- How To Make Healthy Banana Oatmeal Cookies Step by Step
- Common Mistakes When Making These Cookies
- Meal Prep, Storage, and Reheating Tips
- Expert Tips for Baking Success
- What to Pair With Healthy Banana Oatmeal Cookies
Why Healthy Banana Oatmeal Cookies Are Perfect for You
- Quick and easy preparation: You can whip up a batch of these cookies in under 30 minutes, making them ideal for busy days.
- Nutritious ingredients for energy: Packed with bananas, oats, and almond butter, these cookies offer a natural source of fiber and protein to keep you full longer.
- No added sugar: Naturally sweetened with ripe bananas and raisins or dates, they’re a guilt-free way to satisfy your sweet cravings.
- Kid-friendly and versatile: These cookies are soft and chewy, making them a fun baking project for families and a healthy snack kids love.
Everything You Need for Healthy Banana Oatmeal Cookies
- 2 ripe bananas
- 1 cup rolled oats
- 1/4 cup almond butter (unsweetened)
- 1/4 cup raisins or chopped dates
- 1/4 teaspoon cinnamon
- 1/2 teaspoon vanilla extract
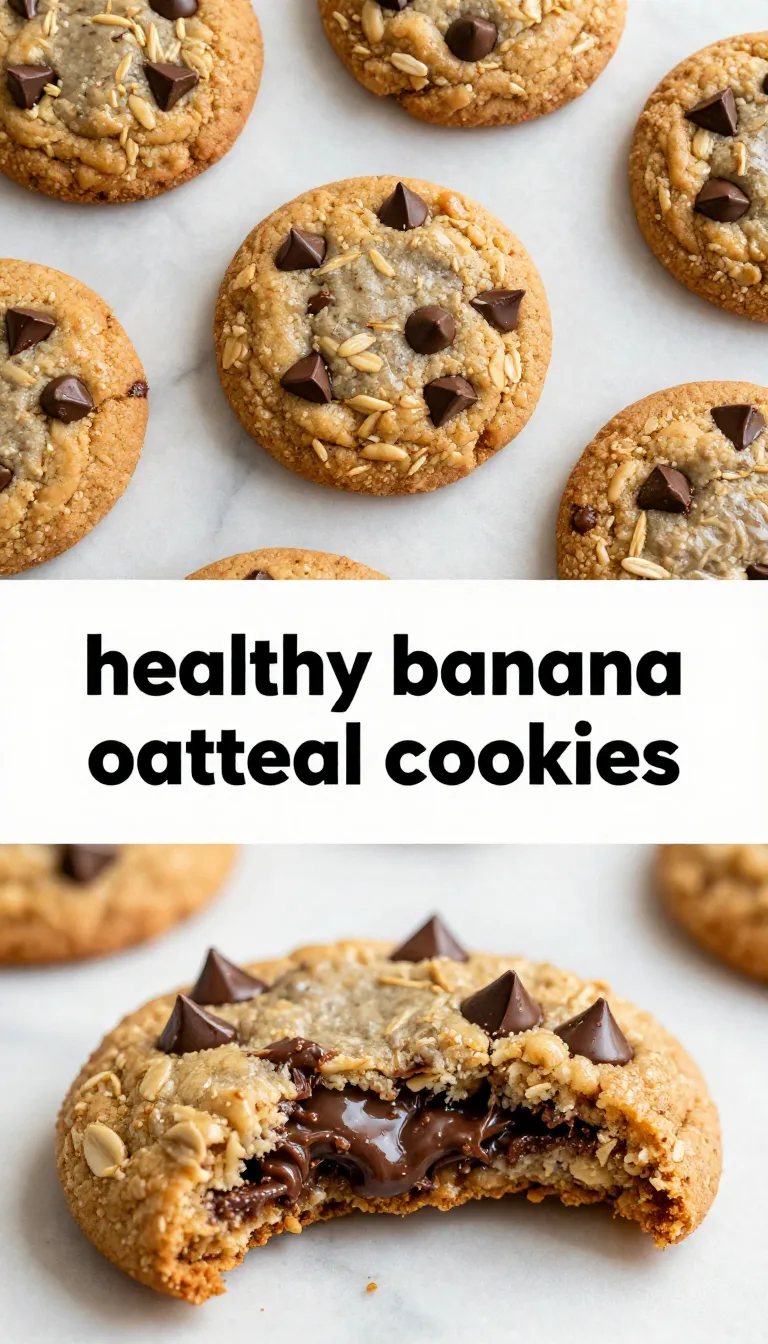
- Optional: 2 tablespoons dark chocolate chips (halal-certified)
Ripe bananas are essential for this recipe as they provide natural sweetness and a soft texture that binds the cookies together. Almond butter adds richness and a subtle nutty flavor, making the cookies moist and satisfying.
How To Make Healthy Banana Oatmeal Cookies Step by Step
- Preheat your oven to 350°F (175°C) and line a baking sheet with parchment paper.
- In a medium-sized mixing bowl, mash the ripe bananas until smooth.
- Add the rolled oats, almond butter, cinnamon, vanilla extract, and raisins or chopped dates to the bowl. Mix until well combined, ensuring the oats are evenly coated.
- If using, fold in the dark chocolate chips gently to avoid breaking them apart.
- Scoop out tablespoon-sized portions of the dough and place them onto the prepared baking sheet, spacing them evenly.
- Flatten each cookie slightly with the back of a spoon or your fingers to create a uniform shape.
- Bake the cookies in the preheated oven for 12-15 minutes, or until they are lightly golden and set.
- Remove from the oven and let the cookies cool on the baking sheet for 5 minutes, then transfer them to a wire rack to cool completely.

Makes mixing dough and batters effortless — a kitchen game-changer.
A durable and reliable baking sheet for evenly baked cookies.
Common Mistakes When Making These Cookies
- Using underripe bananas: These lack sweetness and won’t mash well, so always choose bananas with brown spots for best results.
- Overbaking: Keep an eye on the cookies to avoid drying them out — aim for a golden appearance, not deep brown.
- Skipping parchment paper: Without it, the cookies can stick to the baking sheet, making cleanup a hassle.
Meal Prep, Storage, and Reheating Tips
To store these cookies, place them in an airtight container and keep them in the refrigerator for up to 5 days. For long-term storage, freeze the cookies in a single layer before transferring them to a freezer-safe bag; they’ll keep for up to 2 months.
To reheat, simply microwave them for 10-15 seconds, or let them thaw at room temperature if frozen. This brings back their soft, chewy texture without compromising flavor.
Expert Tips for Baking Success
- Use a cookie scoop for consistent portions, ensuring even baking and perfect cookie shapes.
- Experiment with add-ins like shredded coconut or chopped nuts to enhance texture and flavor.
- Let the cookies cool completely before storing to prevent excess moisture building up in the container.
- For a sweeter touch, drizzle melted dark chocolate over the cooled cookies for added visual appeal and flavor.
What to Pair With Healthy Banana Oatmeal Cookies
- A warm cup of herbal tea or coffee complements the cookies’ natural sweetness and subtle spices.
- Pack them alongside a handful of fresh berries or apple slices for a balanced snack on the go.
- Serve with Greek yogurt for breakfast, adding a creamy element to the chewy cookies.
- Pair them with a smoothie for a nutrient-packed snack that energizes your mornings or afternoons.

Healthy Banana Oatmeal Cookies
Ingredients
- 2 ripe bananas
- 1 cup rolled oats
- 1/4 cup almond butter (unsweetened)
- 1/4 cup raisins or chopped dates
- 1/4 teaspoon cinnamon
- 1/2 teaspoon vanilla extract
- 2 tablespoons dark chocolate chips (halal-certified, optional)
Instructions
- Preheat your oven to 350°F (175°C) and line a baking sheet with parchment paper.
- In a medium-sized mixing bowl, mash the ripe bananas until smooth.
- Add the rolled oats, almond butter, cinnamon, vanilla extract, and raisins or chopped dates to the bowl. Mix until well combined.
- If using, fold in the dark chocolate chips.
- Scoop out tablespoon-sized portions of the dough and place them onto the prepared baking sheet, spacing them evenly.
- Flatten each cookie slightly with the back of a spoon or your fingers to create a uniform shape.
- Bake the cookies in the preheated oven for 12-15 minutes, or until they are lightly golden and set.
- Remove from the oven and let the cookies cool on the baking sheet for 5 minutes, then transfer them to a wire rack to cool completely.
Notes
Loved this recipe? Save it to your favorite Pinterest board so you can easily find it later! ✨