There’s something magical about afternoons in the kitchen when the scents of baking waft through the house, wrapping around you like a cozy blanket. I can picture my kids bustling about, eager to set the table, while I whisk together ingredients for a favorite treat: Hawaiian Pineapple Cake. The sweet aroma dances alongside their laughter, creating a warm and inviting atmosphere that feels deeply rooted in family tradition. It’s these moments that bring us together, stirring up memories and creating new ones as we gather around to share a slice of cake and a slice of life.
Why This Hawaiian Pineapple Cake Feels Like Home
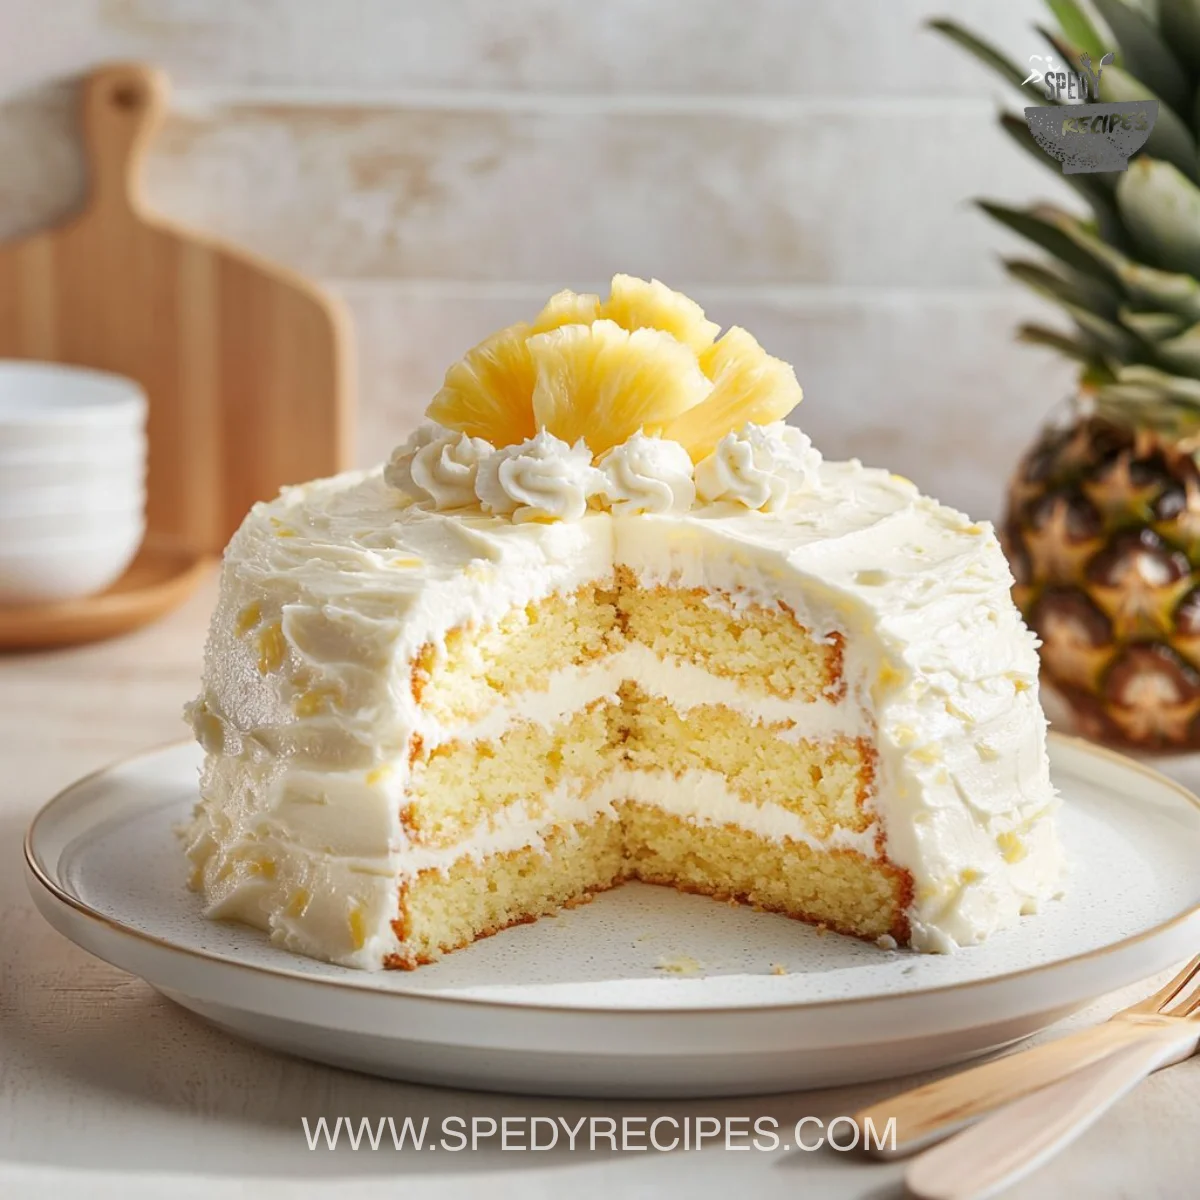
Hawaiian Pineapple Cake has a way of comforting that draws in the whole family. Its golden crust and luscious frosting transport me back to summer family gatherings, where we’d sit outside, plates full of delicious food and hearts full of memories. This cake is more than just a dessert; it’s a slice of joy, a reminder of beachy breezes and shared laughter.
Every time we make this cake, the kitchen fills with stories from my childhood. My grandmother used to whip this up for our family reunions, and it became a symbol of togetherness. Whenever I see the vibrant topping and hear the joyful chatter of my family, it feels like history repeating itself. Sharing this Hawaiian Pineapple Cake is not just about the food; it’s about continuing a legacy of love through cooking.
Why Hawaiian Pineapple Cake is Our New Family Favorite
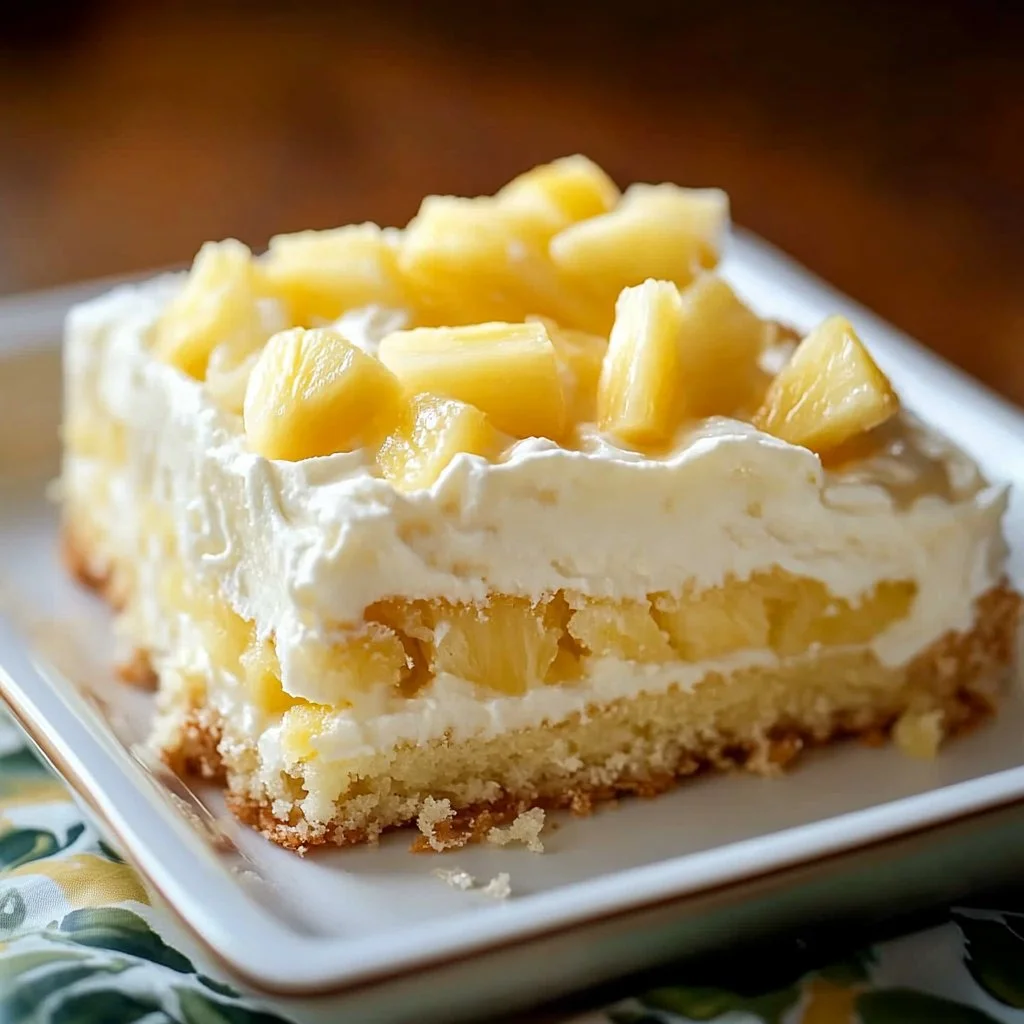
What’s not to love about a dessert that gives a tropical twist to the classic cake? This Hawaiian Pineapple Cake is not just a seasonal treat; it’s a delightful escape any time of the year. The combination of crushed pineapple and cream cheese frosting creates a light and moist texture that melts in your mouth.
Moreover, it’s easy to make, which makes it perfect for our busy family schedules. I encourage you to let this recipe become a staple in your kitchen, just as it has in mine. The joy of baking together fosters connection and builds relationships. My kids love mixing the batter and sneaking tastes along the way, and I can’t help but smile at their delight as we create this sweet masterpiece together.
The Simple Magic Behind Hawaiian Pineapple Cake
The beauty of Hawaiian Pineapple Cake lies in its simplicity. It captures the essence of home cooking with minimal fuss. It combines easy-to-find ingredients that blend wonderfully, producing flavors that evoke sunshine and happiness. This cake will surprise you with how effortlessly you can create something that tastes so special.
The best part? You don’t need to be a professional baker to get it right. You can whip this cake up in no time with just a few simple steps. Every bite feels like a gentle hug, making it the perfect addition to any family gathering or weeknight dinner.
How to Make Hawaiian Pineapple Cake, The Heartwarming Way
Baking this cake is a delightful journey from mixing to sharing. I still remember the first time I made it—flour dusted across the countertop and laughter resonating in the air. Here’s a little glimpse into the joy of making Hawaiian Pineapple Cake: warm, inviting, and oh-so-tasty!
Step 1: Preheat your oven to 350°F (175°C) and grease and flour a 9×13 inch baking pan. This is the foundation of your cake. A well-prepared pan makes all the difference.
Step 2: In a large mixing bowl, combine the flour, sugar, baking soda, baking powder, and salt. This dry mix sets the base of your cake that’s both sturdy and light.
Step 3: In another bowl, whisk together crushed pineapple with its juice, vegetable oil, eggs, and vanilla extract. You’ll start to feel that tropical flair come through as the sweet aroma emerges.
Step 4: Pour the wet ingredients into the dry ingredients and mix until just combined. It does not need to be perfect; that’s part of the charm!
Step 5: Pour the batter into the prepared pan and bake for 30-35 minutes, or until a toothpick inserted into the center comes out clean. The moment you can smell that amazing flavor in the air is where all the magic happens!
Step 6: While the cake is baking, prepare the cream cheese frosting by beating cream cheese and butter together until smooth. Gradually mix in the powdered sugar and vanilla until fluffy. A rich frosting takes the cake to a whole new level.
Step 7: Once the cake has cooled, spread the cream cheese frosting on top. The frosting adds a lovely creaminess that everyone will love.
Step 8: Serve and enjoy your delicious Hawaiian Pineapple Cake! Watching your loved ones savor each bite is the sweetest victory.
“This is where the magic happens—when the aroma fills the kitchen and my kids come running in, asking ‘Is it ready yet?’”
Ingredients You’ll Need
Now, let’s gather our ingredients. This is where the fun begins! Here’s what you’ll need for your Hawaiian Pineapple Cake:
- 2 cups all-purpose flour
- 2 cups granulated sugar
- 1 cup unsweetened crushed pineapple (with juice)
- 1 cup vegetable oil
- 4 large eggs
- 1 teaspoon baking soda
- 1 teaspoon baking powder
- 1 teaspoon vanilla extract
- 1/2 teaspoon salt
- 1 cup cream cheese
- 1/2 cup butter, softened
- 3 cups powdered sugar
- 1 teaspoon vanilla extract (for frosting)
Remember, don’t be shy about playing with the ingredients. If you have other fruits on hand, feel free to experiment. This cake is all about creativity and making it your own.
Step-by-Step Directions
When it comes to baking, the process should be as joyful as the final result. Let’s keep it simple and fun. Here’s how we make Hawaiian Pineapple Cake step by step:
-
Preheat your oven to 350°F (175°C) and grease and flour a 9×13 inch baking pan. Get the oven started so you can focus on the fun parts.
-
In a large mixing bowl, combine the flour, sugar, baking soda, baking powder, and salt. This makes for a solid base, so give it a thorough mix for even flavors.
-
In another bowl, whisk together the crushed pineapple with its juice, oil, eggs, and vanilla extract. You might be surprised how delicious this mix already smells!
-
Pour the wet ingredients into the dry ingredients and mix until just combined. This part is like a warm hug; stir gently to keep it light.
-
Pour the batter into the prepared pan and bake for 30-35 minutes, or until a toothpick inserted into the center comes out clean. Your kitchen will smell divine during this time!
-
While the cake is baking, prepare the cream cheese frosting by beating cream cheese and butter together until smooth. Gradually mix in powdered sugar and vanilla until fluffy. The frosting is a labor of love that transforms the cake.
-
Once the cake has cooled, spread the cream cheese frosting on top. This is where you can get creative with the decoration if you’d like.
-
Serve and enjoy your delicious Hawaiian Pineapple Cake! Gather everyone around and share this beauty with love.
Serving Hawaiian Pineapple Cake with Love
This cake is always served family-style. We set it in the center of the table, ready for everyone to dig in. My kids love helping themselves, adding a scoop of fruit salad or a dollop of whipped cream on the side.
It becomes a ritual in our house. Everyone shares their favorite stories while enjoying the cake, making it a moment of connection and warmth. With every bite, the laughter grows louder, and it feels like a celebration at our table.

Storage & Reheat Tips (Keeping the Goodness)
Storing your Hawaiian Pineapple Cake properly keeps it fresh for days. If you happen to have leftovers (which can be rare), simply cover the cake tightly with plastic wrap and store it in the fridge. It should last about 3 to 5 days.
When it comes time to enjoy it again, the microwave is great for a quick snack, but the oven brings back that fresh-baked warmth. Just pop it in at 350°F (around 10-15 minutes) to reheat, and you will find the flavors just as vibrant as the first day.
My Kitchen Notes & Shortcuts
Here are a few kitchen tips I’ve gathered over the years that make baking Hawaiian Pineapple Cake a breeze:
-
If you’re short on time, you can use store-bought frosting instead of making your own.
-
For extra flavor, consider adding crushed nuts to the batter. They add a delightful crunch.
-
Cracking the eggs into a separate bowl before adding them to the mixture helps avoid any shell mishaps.
-
Get the kids involved in mixing and pouring the batter; they love the hands-on experience!
-
If you’re using fresh pineapple, ensure it’s well-drained to avoid excess moisture in the cake.
Family-Friendly Variations
As a family, we love to play with our Hawaiian Pineapple Cake recipe. Here are some fun variations to consider:
-
Substitute the crushed pineapple with diced peaches or mango for a tropical twist.
-
For a lighter version, try using applesauce instead of oil.
-
Add a sprinkle of shredded coconut into the batter for that extra tropical feel.
-
Top the cake with toasted coconut or additional fresh fruit for a colorful presentation.
Feel free to mix and match! This cake is all about celebrating your unique taste.
FAQs About Hawaiian Pineapple Cake
Can I make this ahead for a busy week?
Absolutely! In fact, letting it sit for an hour allows the flavors to meld beautifully, just like an old family recipe.
How do I make this gluten-free?
You can substitute the flour with a 1:1 gluten-free blend. Most work just as well in this cake.
Can I freeze leftover Hawaiian Pineapple Cake?
Definitely! Wrap the cake tightly in plastic wrap and foil before freezing. Just defrost in the fridge when you’re ready to enjoy it again.
One Final Thought from My Kitchen
As we gather around the table, sharing stories and laughs over a piece of Hawaiian Pineapple Cake, I am reminded once again that food is more than just sustenance. It’s a bridge connecting our past with our present, our families with each other, and our hearts with laughter.
I hope this delightful meal finds its way into your family’s laughter and stories. If it does, my grandmother’s kitchen is smiling. Until next time, happy cooking!

Hawaiian Pineapple Cake
Ingredients
For the cake
- 2 cups all-purpose flour
- 2 cups granulated sugar
- 1 cup unsweetened crushed pineapple (with juice)
- 1 cup vegetable oil
- 4 large eggs
- 1 teaspoon baking soda
- 1 teaspoon baking powder
- 1/2 teaspoon salt
- 1 teaspoon vanilla extract
For the frosting
- 1 cup cream cheese Softened
- 1/2 cup butter Softened
- 3 cups powdered sugar
- 1 teaspoon vanilla extract For frosting
Instructions
Preparation
- Preheat your oven to 350°F (175°C) and grease and flour a 9x13 inch baking pan.
- In a large mixing bowl, combine the flour, sugar, baking soda, baking powder, and salt.
- In another bowl, whisk together crushed pineapple with its juice, vegetable oil, eggs, and vanilla extract.
- Pour the wet ingredients into the dry ingredients and mix until just combined.
- Pour the batter into the prepared pan and bake for 30-35 minutes, or until a toothpick inserted into the center comes out clean.
Make the Frosting
- While the cake is baking, prepare the cream cheese frosting by beating cream cheese and butter together until smooth.
- Gradually mix in the powdered sugar and vanilla until fluffy.
Finish the Cake
- Once the cake has cooled, spread the cream cheese frosting on top.
- Serve and enjoy your delicious Hawaiian Pineapple Cake!