I can still hear my youngest dragging a wooden chair across the kitchen floor the very first time I made these Healthy Protein Bites for an after-school snack. The smell of peanut butter and honey filled the room, and my daughter announced, very seriously, that they smelled like a hug. That small moment — sticky fingers, proud little helpers, and a quiet cupboard-full of simple staples — is exactly why this recipe lives on our counter.
Why This Healthy Protein Bites Feels Like Home
These little bites are honest food. They are simple, not fussy, and they make the kind of sense a busy family needs. They come together in minutes, require one bowl, and ask only a short nap in the freezer before they are ready to be shared. That ease is a comfort when work, school, and sports collide.
I like to call them family glue. They bridge the gap between hurried afternoons and the slower moments we try to steal back. If you love snacks that travel well and tuck easily into lunchboxes, you will appreciate how these bites behave. And if you enjoy high-protein dessert ideas for a post-dinner nibble, this will become a go-to in your kitchen for more inspiration on protein-packed treats. 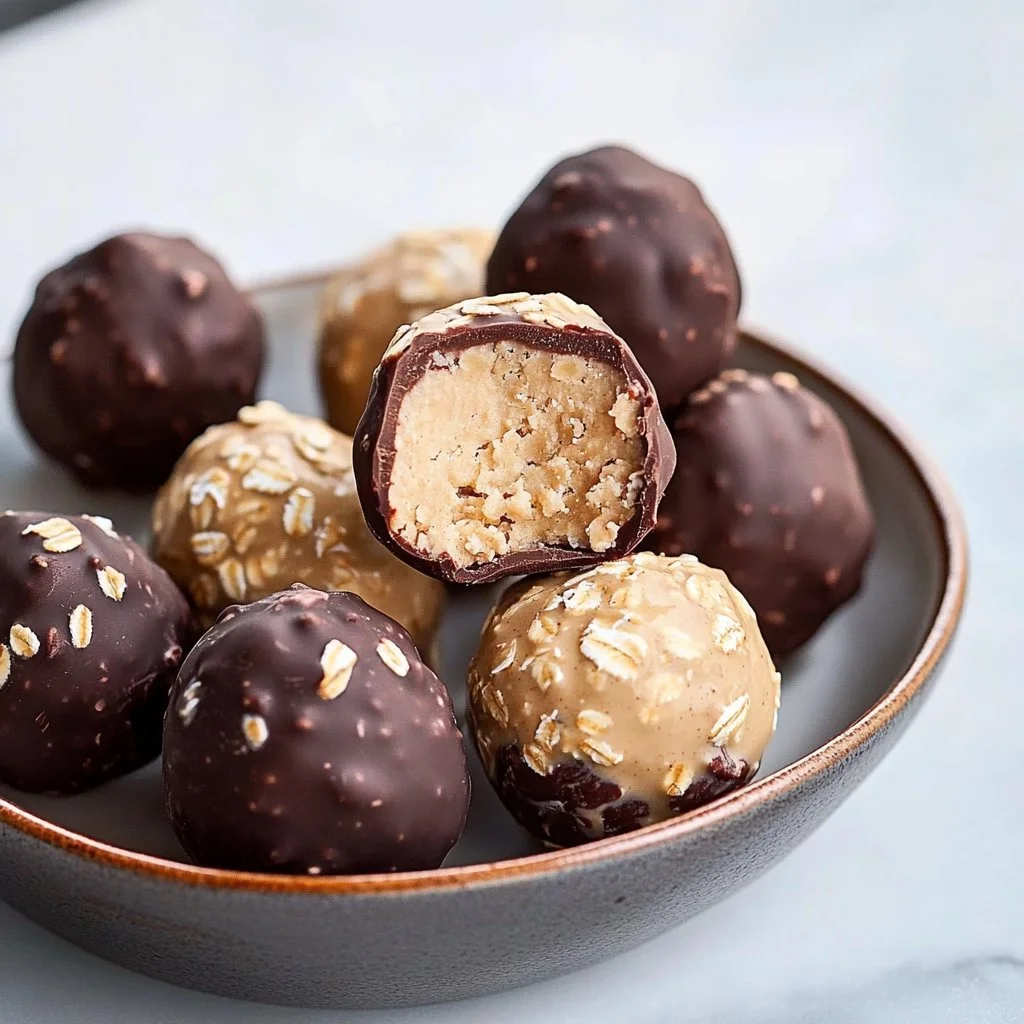
Why Healthy Protein Bites is Our New Family Favorite
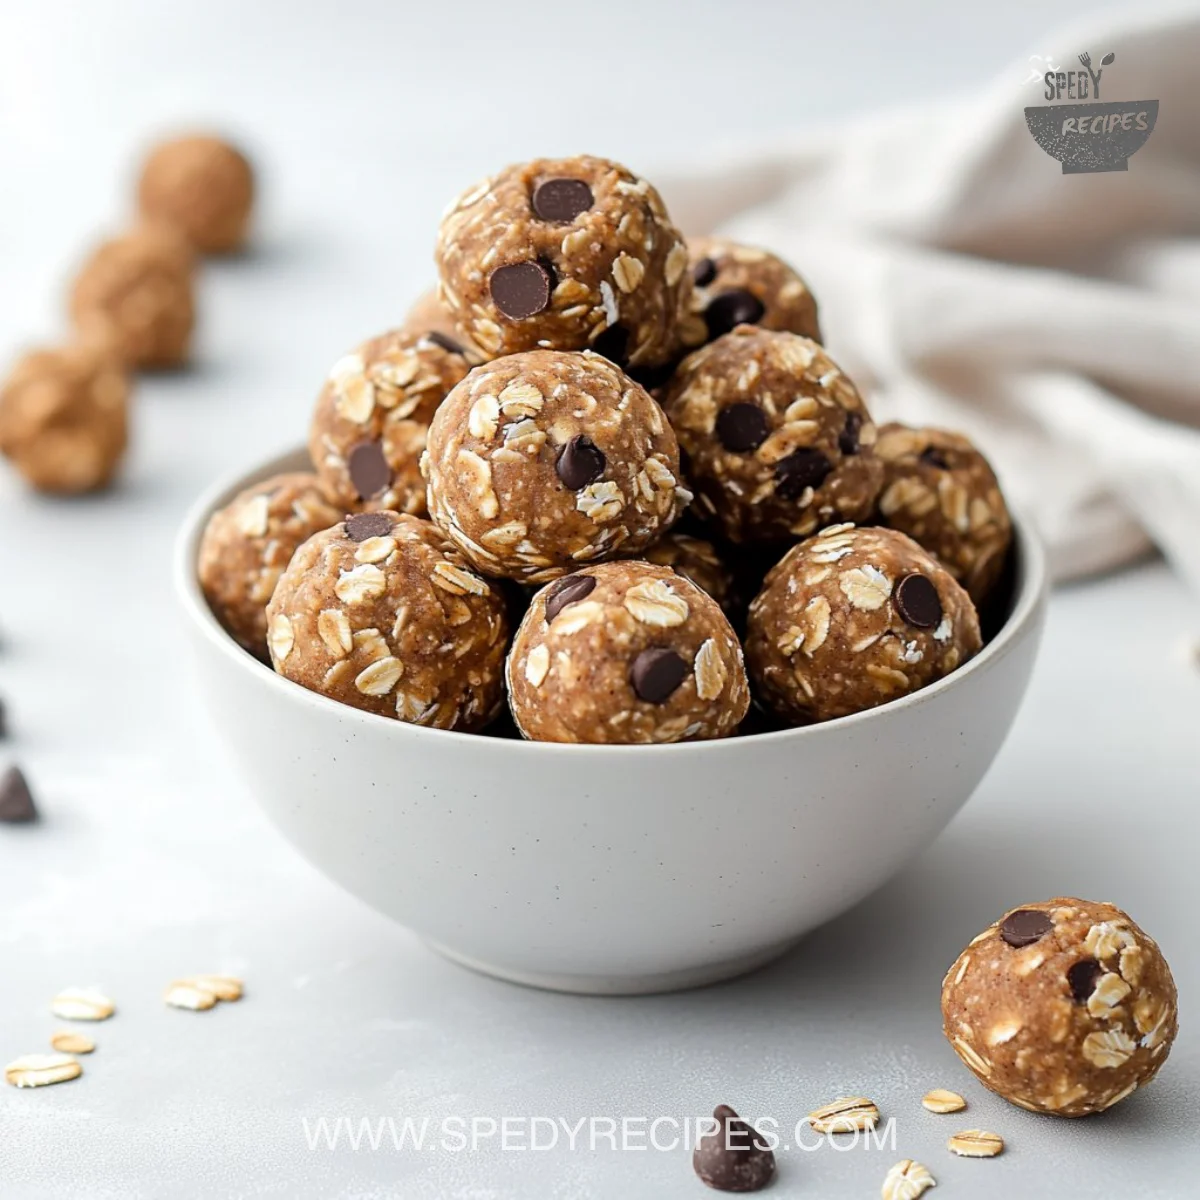
They please everyone without causing too much planning. Kids can help measure and stir. Adults can feel good about the protein and wholesome oats. The texture is both soft and a little chewy, with the oats giving a gentle bite and the chocolate chips offering a playful pop of joy when you least expect it.
These bites are forgiving. Swap the nut butter, change the sweetener, or skip the chocolate and still end up with something comforting and familiar. They have the same kind of reliability as the simplest weeknight staples, the dishes you return to again and again when life needs a little less decision-making and a little more warmth like that simple chicken salad you rely on.
The Simple Magic Behind Healthy Protein Bites
“This is where the magic happens—when the aroma fills the kitchen and my kids come running in, asking ‘Is it ready yet?’”
The magic is mostly texture and balance. The Greek yogurt keeps things creamy and adds a fresh tang; peanut butter brings richness and stickiness so the bites hold together; oats give structure and whole-grain goodness. If you add chocolate chips, they introduce a small, delightful contrast in flavor and texture. Watch for a soft sheen on the surface as you mix; that tells you the peanut butter is well distributed and the mixture will form easily into balls.
How to Make Healthy Protein Bites, The Heartwarming Way
This is a quick, no-fuss process that invites helpers. I set out the yogurt, peanut butter, and oats, and my kids choose who will sprinkle in the chocolate chips. It becomes a little ceremony: one child scoops, another rolls, and we all claim one or two as a job well done.
Step-by-step, you will see the dough thicken, change color slightly, and gather into a cohesive mass that holds shape. The cold from the freezer firms them up quickly, so you do not need a long wait. Once chilled, they are easy to store and even easier to reach for when someone needs a pick-me-up.
Step-by-Step Overview: Keeping It Simple
-
In a bowl, mix together Greek yogurt, peanut butter, and honey until smooth.
- Use a rubber spatula and press the sides of the bowl as you stir so everything becomes silky.
- If the peanut butter is very thick, warm it briefly in the microwave for 10 seconds to loosen it.
-
Stir in the rolled oats, vanilla extract, and chocolate chips if using.
- Fold gently until the oats are evenly distributed and the mixture looks uniform.
- The texture should be cohesive but not wet; if it seems too loose, add a tablespoon of oats at a time.
-
Once combined, scoop the mixture into small balls and place them on a baking sheet.
- A small cookie scoop makes even bites and keeps little hands happy.
- Press gently to smooth any rough edges so they freeze into neat shapes.
-
Freeze for about 30 minutes or until firm.
- They will hold their shape after a short chill but benefit from a longer rest if you want them rock solid.
- If you plan to transport them, a brief flash-freeze will help them travel without sticking.
-
Store in an airtight container in the refrigerator.
- Keep stacks separated by parchment if you plan to layer them.
- They last a week in the fridge and up to a month in the freezer for longer prep.
Each of these steps is an invitation to make the recipe your own. Have the kids taste the mix before chilling so they learn about seasoning and balance. I often tell my children that recipes are guides, not rules, and then watch them add a little extra vanilla with grand confidence.
Ingredients You’ll Need
1 cup Greek yogurt
1/2 cup peanut butter
1/4 cup honey or maple syrup
1 cup rolled oats
1/4 cup chocolate chips (optional)
1/2 teaspoon vanilla extract
Friendly note: If you prefer nut-free, use sunflower seed butter instead of peanut butter. The recipe is about creativity, not perfection, so use what’s in your pantry and keep the mood light. If your yogurt is very watery, strain it briefly for a thicker result. For a boost of green, a spoonful of ground flax or chia seeds is a welcome addition. You might also explore more high-protein dessert ideas if you enjoy swapping textures and flavors for more recipes to try.
Step-by-Step Directions
-
In a bowl, mix together Greek yogurt, peanut butter, and honey until smooth.
- Stir firmly, scraping the sides so the ingredients become one.
- Tip: Let the peanut butter sit at room temperature if it is stiff, so it blends more easily.
-
Stir in the rolled oats, vanilla extract, and chocolate chips if using.
- Fold all ingredients until the oats are fully coated and the chips are scattered throughout.
- Tip: If the mixture feels too loose, add up to two tablespoons more oats until the texture becomes scoopable.
-
Once combined, scoop the mixture into small balls and place them on a baking sheet.
- Use a teaspoon or small scoop for uniform bites.
- Encouragement: Let the kids roll a few; they are proud of their creations and it’s the fun part.
-
Freeze for about 30 minutes or until firm.
- Check at 20 minutes if your freezer is especially cold; you do not want them rock-hard unless you prefer that.
- Tip: A short freeze also helps prevent sticking when storing.
-
Store in an airtight container in the refrigerator.
- For layered storage, separate layers with parchment paper.
- Pro tip: Label the container with the date so you always know how fresh they are.
These simple instructions are deliberately short because this recipe is meant to be accessible. You do not need special tools. A bowl, a spoon, and a tray are all you need to create a snack that feels like love.
Serving Healthy Protein Bites with Love
We serve these family-style, right in the middle of the table on a small platter. Everyone helps themselves, sometimes with a napkin or sometimes with sticky fingers and big smiles. My son likes them straight from the fridge; my husband prefers them after they sit at room temperature for five minutes so the flavors bloom.
For a dessert-style touch, add a dollop of plain yogurt and a drizzle of honey on the side. For lunchbox pairings, pack them with sliced apples and a small bottle of milk. They play well with fresh fruit, a handful of nuts, or a smear of jam on whole-grain toast. If you want ideas for a balanced snack plate, I often build combos that echo the simplicity of my favorite weeknight meals that same kind of easy comfort. 
The Best Way to Share This Meal
Make a small moment of it. Place a stack of napkins, a glass of water, and a few fun toppings like extra chips or chopped nuts in the center. Let each person choose a bite and tell a tiny story about their day. Food is a reason to pause together and these bites are a gentle, low-prep excuse to do just that.
Storage & Reheat Tips (Keeping the Goodness)
Storing these bites is forgiving and practical. In the fridge they stay soft and pleasantly chewy. In the freezer they become firmer and last longer.
If you want them softer, allow them to sit at room temperature for five to ten minutes before serving. For a near-fresh feel after freezing, pop them into the microwave for 5 to 8 seconds on a plate; that little warmth brings back the peanut-scented comfort. For reheating for a small party, place them in a single layer in a shallow dish and warm at very low oven heat for a few minutes, watching closely so they do not melt.
If you are curious about how other family meals hold up, I once compared storage notes when we tried a tangy soup and realized that some dishes actually benefit from an overnight rest, just like these bites might after a day in the fridge I write about simple ways to keep meals bright.
My Kitchen Notes & Shortcuts
- Substitute ideas: Use almond butter or sunflower seed butter for a different flavor or nut-free option.
- Prep-ahead: Make a double batch and freeze half. They thaw quickly for a ready snack.
- Kid-friendly trick: Let kids press a few extra chocolate chips on top as decoration.
- Texture tweak: For chewier bites, swap half the rolled oats for quick oats.
- Flavor lift: Add a pinch of cinnamon or a tablespoon of cocoa powder for a small twist.
These little shortcuts save time without losing the heart of the recipe. They also leave space for laughter and small mistakes that turn into best-loved variations.
Family-Friendly Variations
- Lemon pop: Add a teaspoon of lemon zest and swap chocolate chips for chopped dried cranberries.
- Cocoa crunch: Stir in a tablespoon of unsweetened cocoa and a handful of chopped hazelnuts.
- Tropical note: Use almond butter, swap honey for a little maple, and add shredded coconut.
- No-sugar option: Skip chocolate chips and use mashed banana or a sprinkle of raisins if you want natural sweetness.
Invite your family to a tasting day where everyone suggests a swap. It becomes a shared story and a recipe evolves into something that truly belongs to your household.
FAQs About Healthy Protein Bites
Can I make this ahead for a busy week?
Absolutely. In fact, letting them chill in the fridge for an hour helps flavors settle, and freezing a portion means you always have a snack on hand.
Are these safe for lunchboxes?
Yes. They travel well, and a short freezer flash before packing keeps them cool until lunchtime. Pack in a small insulated box for warm days.
Can I use flavored yogurt?
You can, but I prefer plain Greek yogurt because it keeps the flavor balanced and prevents the bites from becoming overly sweet.
What if my mixture is too wet or too dry?
If too wet, add oats one tablespoon at a time. If too dry, stir in a teaspoon of yogurt or a hint more honey.
Are they suitable for toddlers?
For toddlers, make sure the bites are small and that any add-ins like nuts are safe for your child’s chewing ability. I usually leave out whole nuts and go for finely chopped or seed butter.
One Final Thought from My Kitchen
I hope these Healthy Protein Bites find their way into a quiet after-school spread or a busy morning routine at your house. They are the kind of recipe that welcomes little hands, encourages small conversations, and reminds us that good food does not need to be complicated to be meaningful.
Conclusion
If you are looking for ideas to expand your snack repertoire, you might like this No-Bake Protein Balls Recipe – Love and Lemons for a different take with bright flavors. And for more ways to enjoy easy no-bake snacks, try this Easy No Bake Protein Balls – Eating Bird Food.

Healthy Protein Bites
Ingredients
Base Ingredients
- 1 cup Greek yogurt Use plain Greek yogurt for best flavor.
- 1/2 cup peanut butter Can substitute with almond or sunflower seed butter.
- 1/4 cup honey or maple syrup Use honey for a more traditional sweetness.
- 1 cup rolled oats For chewier bites, swap half with quick oats.
- 1/4 cup chocolate chips Optional; can add more for decoration.
- 1/2 teaspoon vanilla extract Adds a nice flavor to the bites.
Instructions
Preparation
- In a bowl, mix together Greek yogurt, peanut butter, and honey until smooth.
- Stir firmly, scraping the sides so the ingredients become one.
- If the peanut butter is very thick, warm it briefly in the microwave for 10 seconds to loosen it.
- Stir in the rolled oats, vanilla extract, and chocolate chips (if using).
- Fold all ingredients until the oats are fully coated and the chips are scattered throughout.
- Once combined, scoop the mixture into small balls and place them on a baking sheet.
- Press gently to smooth any rough edges so they freeze into neat shapes.
Chilling
- Freeze for about 30 minutes or until firm.
- Check at 20 minutes if your freezer is especially cold; you do not want them rock-hard unless preferred.
Storage
- Store in an airtight container in the refrigerator.
- For layered storage, separate layers with parchment paper. They last a week in the fridge and up to a month in the freezer.