The clatter of forks and the soft rustle of napkins, my children arguing over who gets the last slice, and the warm, tangy scent of baking cheese drifting from the oven. That aroma takes me straight back to a summer kitchen where my grandmother let us lick the mixing bowl while she talked about the dam at the edge of town. Mini Cheesecakes have a way of turning ordinary evenings into small celebrations, and that little ritual of sharing dessert is part of why I keep making them.
Why Mini Cheesecakes is Our New Family Favorite
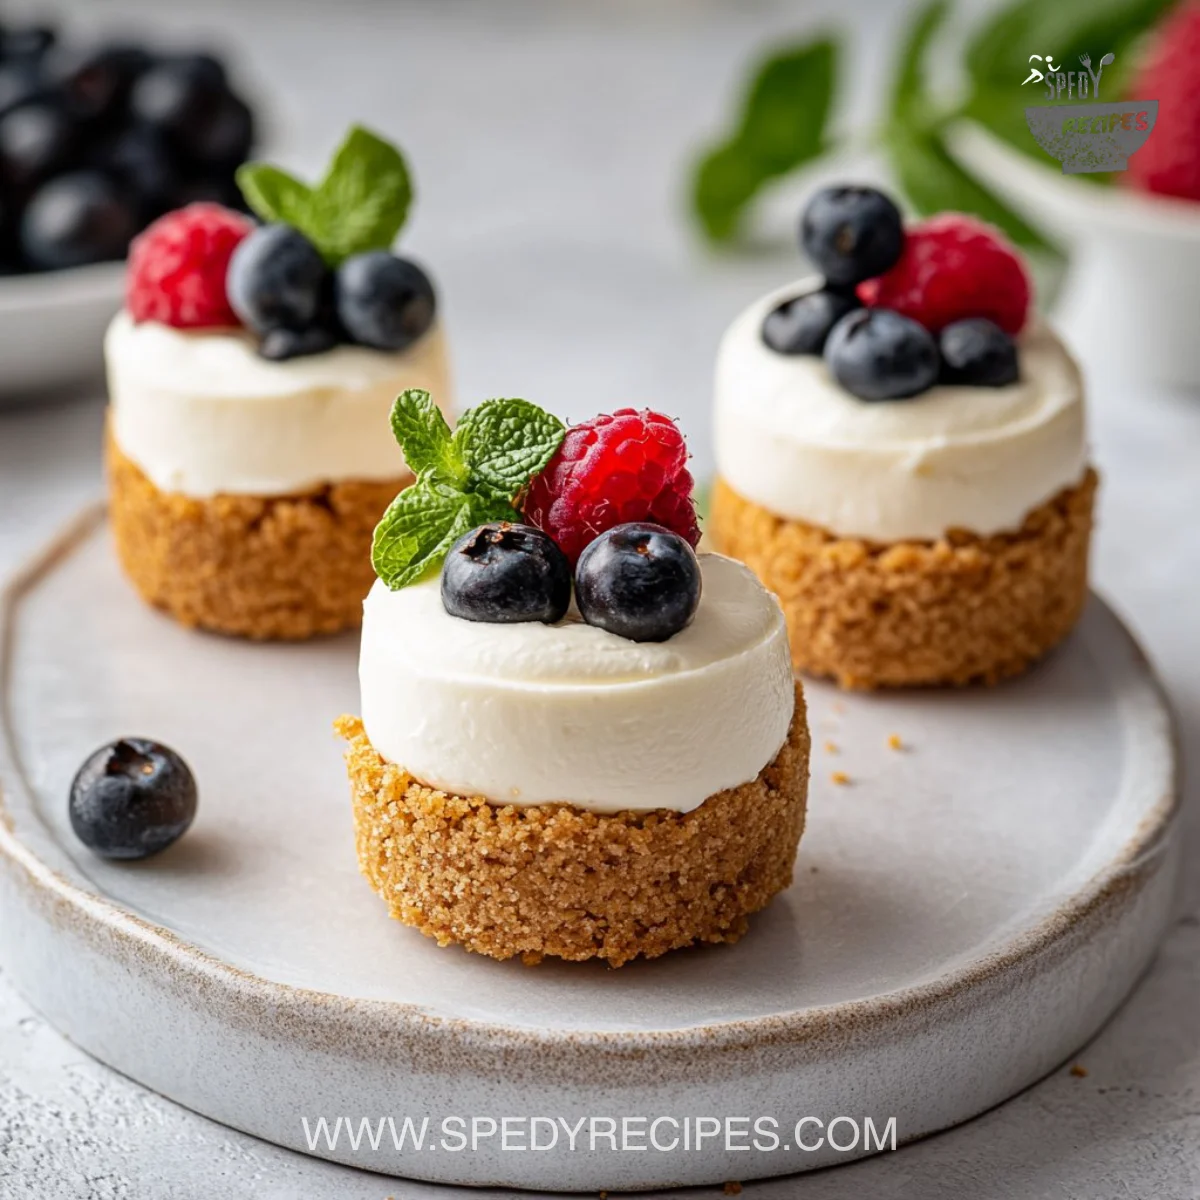
There is comfort in something that fits in the hand and feels personal. Mini Cheesecakes make dessert easy to pass around, and they always invite conversation. They are creamy, with a gentle tang from the cream cheese and sour cream, and they carry a crumbly, buttery base that gives the first bite a satisfying contrast.
Because they are small, these cheesecakes are also forgiving. They bake quickly, chill faster, and you can offer a variety of toppings so everyone gets something they love. For busy weeknights or weekend gatherings, they are a simple little showstopper that keeps me feeling calm and creative at the same time.
The Cooking Process, Made Joyful
“This is where the magic happens, when the aroma fills the kitchen and my kids come running in, asking ‘Is it ready yet?’”
In plain terms, the method is gentle. You build a crisp base of graham cracker crumbs and butter, then fold a silky cream cheese filling into it. Look for a pale golden edge on the cheesecakes and a slight jiggle in the center when they are done. That jiggle means the center is set but still creamy, not wet or wobbly. Meanwhile, the top should be smooth and not cracked, which tells you the temperature and mixing were on target.
Ingredients You’ll Need
8 oz cream cheese, softened
1/2 cup sugar
1 teaspoon vanilla extract
2 large eggs
1/2 cup sour cream
1/2 cup graham cracker crumbs
1/4 cup melted butter
Fresh fruit or chocolate sauce for topping (optional)
Use what’s in your fridge; this recipe is about comfort, not perfection. If you have a different crumbly cookie, swap it for graham crackers. If you prefer less sugar, a touch less still keeps them divine. Don’t skip the vanilla; it makes the filling sing.
Step-by-Step Directions
-
Preheat the oven to 325°F (163°C).
This gentle temperature helps avoid cracking. I preheat early so pans are warm and ready. -
In a bowl, mix the graham cracker crumbs and melted butter until combined. Press the mixture into the bottom of mini cheesecake cups.
Press firmly but not too hard. A small glass helps get an even crust. Let the crust chill for a few minutes if it seems loose. -
In another bowl, beat the cream cheese, sugar, and vanilla extract until smooth.
Use room temperature cream cheese for the smoothest filling. Scrape the bowl so no lumps hide in the folds. -
Add the eggs, one at a time, mixing until well incorporated.
Mix on low speed to avoid whipping too much air. Overwhipping can lead to cracks later. -
Stir in the sour cream until fully blended.
The sour cream keeps the texture bright and silky. Mix until the batter is homogenous and glossy. -
Pour the cheesecake mixture over the crusts in the mini cups.
Fill each cup almost to the top but leave a little room; the filling puffs slightly while baking. -
Bake for 20-25 minutes or until set.
Look for a slight jiggle in the center and edges that are just set. A few golden spots are fine. -
Let cool, then refrigerate for at least 2 hours.
Cooling slowly helps the texture firm up. Overnight is even better if you can wait. -
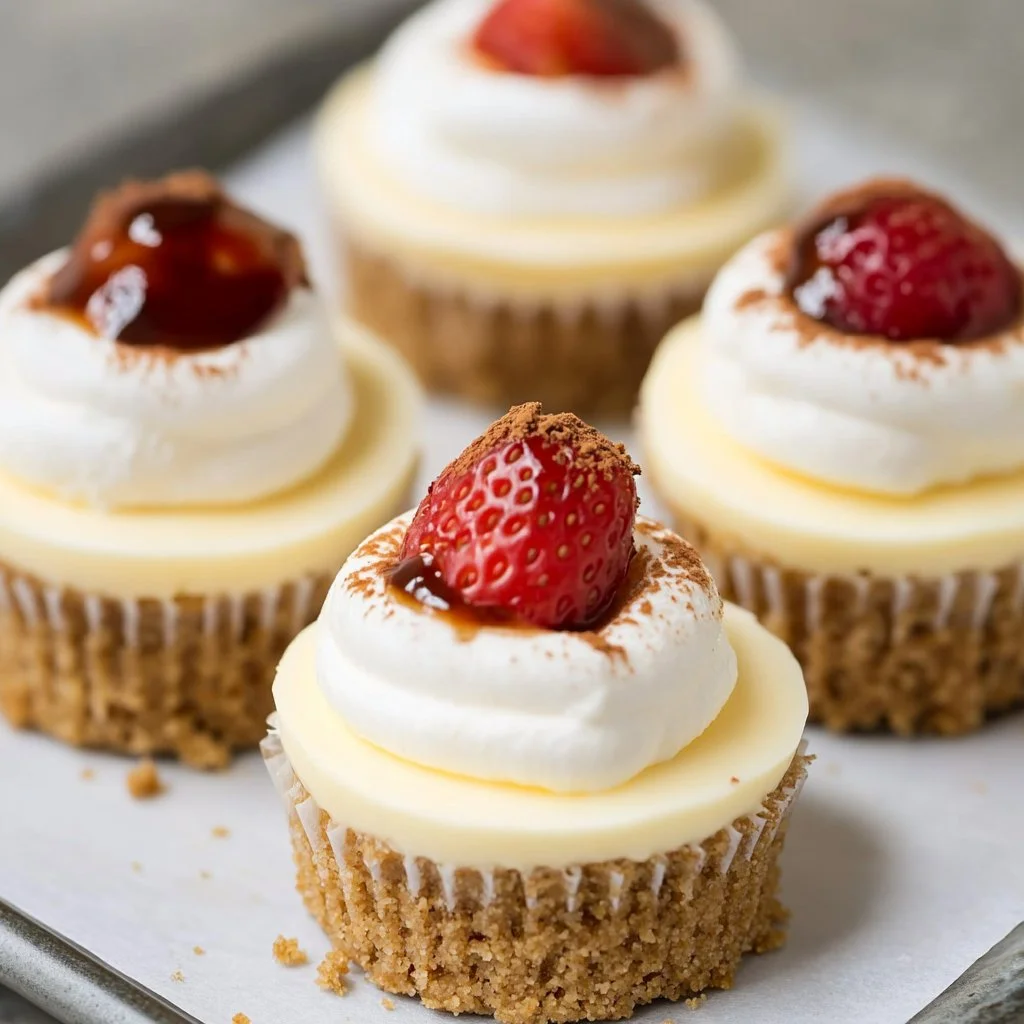
Serve with fresh fruit or drizzle chocolate sauce on top if desired.
Fresh berries add color and bright flavor; chocolate is a cozy classic. Try a sprinkle of toasted nuts for crunch.
A quick tip from my kitchen: a little browning along the edge adds depth, just like my grandmother used to say. And let the kids stir the crust if they want; that part is always the most fun.
Serving Mini Cheesecakes with Love
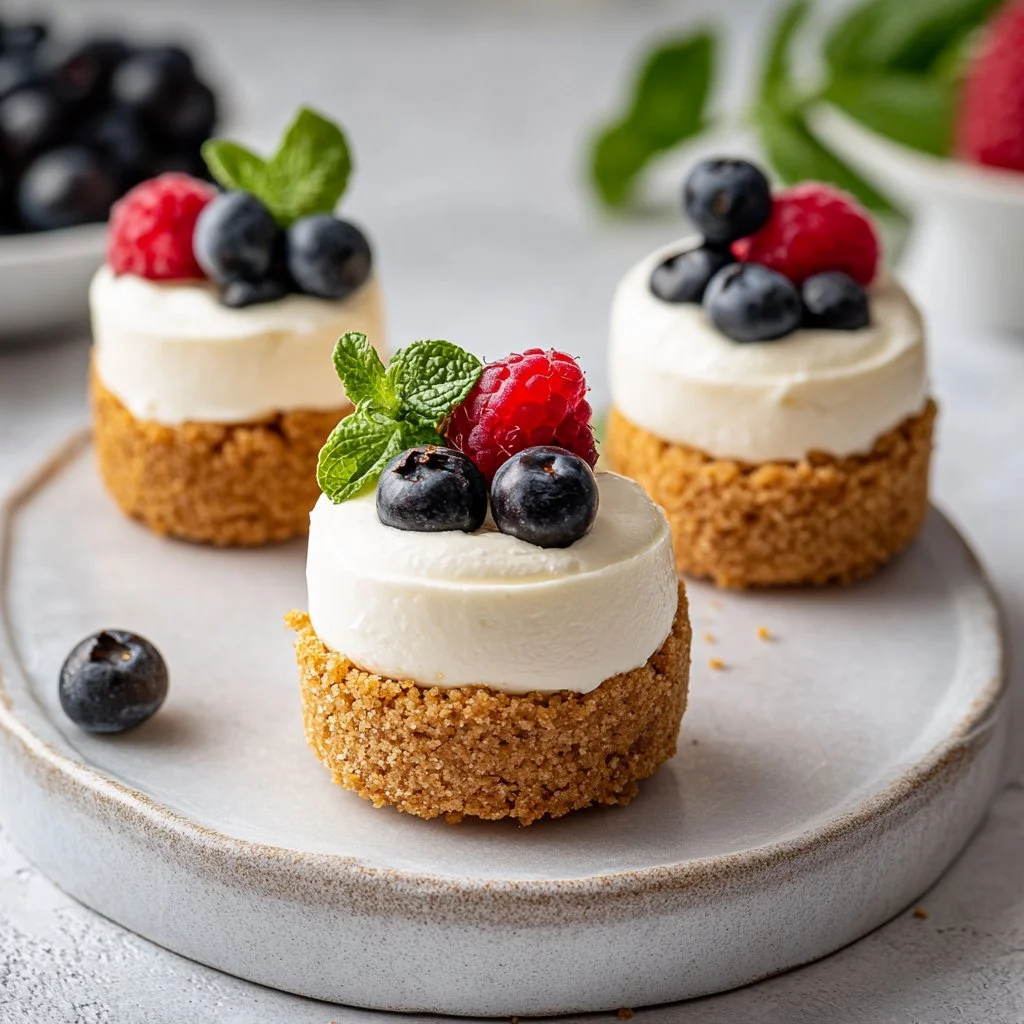
I serve these family-style in the center of the table, on a pretty platter, and let everyone choose their topping. One child loves strawberries and a dusting of powdered sugar, another wants chocolate sauce and a dollop of whipped cream. We pass small spoons and chat while everyone helps themselves. For a more festive touch, arrange a small selection of toppings in bowls: sliced fruit, a bowl of warm caramel, grated dark chocolate, and a jar of lemon curd.
If you have a dinner with friends, line these up on a tiered stand so they look as lovely as they taste. For weekday comfort, I place them on a simple plate and bring them out with a pot of coffee. The mini size makes portion control effortless, and it feels like a special reward at the end of the day.
Storage & Reheat Tips (Keeping the Goodness)
Keep leftover mini cheesecakes in an airtight container in the refrigerator. They will stay fresh for up to 5 days. If you need to freeze them, wrap each one individually in plastic wrap and place them in a single layer in a freezer-safe container for up to 2 months.
To serve from frozen, thaw overnight in the refrigerator. For a quick revival, let them sit at room temperature for 20 minutes before serving. The microwave is fine for a quick warm-up on a low power setting for 10 to 15 seconds, but the oven at 300°F for 5 to 8 minutes brings back a near-just-made texture and a bit of warmth that feels comforting.
If the topping is delicate, store it separately and add it just before serving. Honest tip: homemade whipped cream softens over a day, so make it right before you plan to eat if you can.
My Kitchen Notes & Shortcuts
- Swap crusts easily: Use crushed shortbread or digestive biscuits if graham crackers are not on hand. The flavor changes, but the result is just as satisfying.
- Make ahead: Prepare the crusts and filling the night before. Assemble and refrigerate; bake the next day for fresher texture.
- Kid helpers: Let children press the crust into the cups and decorate the tops. It keeps them involved and proud of the result.
- Batch baking: These reheat well. Bake a double batch and freeze half for busy nights when you want a fast, sweet finish.
- No-fuss toppings: Keep a jar of good jam and a bag of frozen berries in the freezer for an instant topping that warms beautifully.
These little tricks save time and keep the soul of the dish intact. My goal is always to preserve flavor and connection without adding stress.
Family-Friendly Variations
Play around and make it yours. Try a lemon zest and poppy seed filling for a lighter, citrusy bite. For a chocolate twist, fold a few tablespoons of melted chocolate into the batter. Add a swirl of peanut butter for a kid-approved favorite, or top with salted caramel and toasted pecans for a grown-up treat.
If you want a lighter version, use reduced-fat cream cheese and Greek yogurt in place of some of the sour cream. The texture will be a touch different, but the flavor holds. You can also make them gluten-free by substituting gluten-free cookies for the crust.
Invite family members to add one small twist each time you make them. Over the years, these mini cheesecakes have turned into a scrapbook of flavors for us.
FAQs About Mini Cheesecakes
Can I make this ahead for a busy week?
Absolutely. These chill beautifully, and I often make them the day before. They actually taste better after a rest because the flavors settle.
How can I prevent cracks on top?
Mix gently and bake at a steady, moderate temperature. Avoid overwhipping and let them cool slowly. A water bath helps but is not necessary for minis.
Can I use a standard muffin pan instead of mini cups?
Yes, you can. Baking times will be longer. If you want inspiration for that method, there are reliable online recipes that walk you through the adjustments.
What’s the best topping for a crowd?
A simple berry compote or a selection of fresh fruit bowls lets everyone pick. Chocolate sauce is always a hit for kids.
If a cheesecake wobbles a lot when cooled, did I overbake or underbake it?
A very wobbly center often means underbaked. Bake a few extra minutes and check for that slight jiggle in the middle. If the edges are very brown, it might be overbaked, which can lead to a drier texture.
One Final Thought from My Kitchen
Making mini cheesecakes is a small ritual that brings warmth to ordinary days. It is less about perfection and more about the conversations that happen while we wait for the oven to do its work. Share the stirring, pass the spoons, and remember that a little sweetness can heal a long day. Give it a try you might surprise yourself.
Conclusion
If you want a different technique that adapts this idea to a standard muffin pan, this recipe from Mini Cheesecakes (in a Standard Muffin Pan) – Sally’s Baking is a clear, reliable guide. For more variations and topping ideas that have helped me expand our family favorites, I often look to Mini Cheesecakes – Live Well Bake Often for inspiration.

Mini Cheesecakes
Ingredients
For the Crust
- 1/2 cup graham cracker crumbs Can substitute with another crumbly cookie.
- 1/4 cup melted butter Helps bind the crust together.
For the Filling
- 8 oz cream cheese, softened Use room temperature for smooth texture.
- 1/2 cup sugar Adjust to taste for sweetness.
- 1 teaspoon vanilla extract Essential for flavor.
- 2 large eggs Add one at a time for best results.
- 1/2 cup sour cream Keeps the filling creamy.
Toppings (Optional)
- Fresh fruit or chocolate sauce Customization for each taste.
Instructions
Preparation
- Preheat the oven to 325°F (163°C).
- In a bowl, mix the graham cracker crumbs and melted butter until combined. Press the mixture into the bottom of mini cheesecake cups.
- In another bowl, beat the cream cheese, sugar, and vanilla extract until smooth.
- Add the eggs, one at a time, mixing until well incorporated.
- Stir in the sour cream until fully blended.
Baking
- Pour the cheesecake mixture over the crusts in the mini cups, filling each cup almost to the top.
- Bake for 20-25 minutes or until set with a slight jiggle in the center.
Cooling and Serving
- Let cool, then refrigerate for at least 2 hours before serving.
- Serve with fresh fruit or drizzle chocolate sauce on top if desired.