
I can still smell the lemon-lime fizz when I think back to the first time I made frozen gummy bears with my kids. The kitchen hummed with the freezer, a clink of spoons, and little voices asking if it was ready yet. The bright citrus scent of the soda mixed with the sweet candy aroma and the whole house felt cheerful.
This treat is simple enough for kids to help and special enough to make any ordinary afternoon feel like a celebration. You do not need fancy tools. A few minutes of prep and a few hours in the freezer give you tiny, icy bites that are playful and refreshing. They pop with color and make great snacks for warm days, parties, and after-school smiles.
Why this works
Family-friendly and time-saving
Frozen gummy bears work because they take a tiny bit of effort and return pure delight. Children enjoy stirring and choosing colors. Parents appreciate that it is quick, low-mess, and requires no baking.
The recipe saves time. You pour, freeze, and go about your day. When you come back, the treat is ready. That makes it perfect for busy families who want a fun snack without a long commitment.
This version keeps things simple and safe. You can set it up as a small project, hand off the stirring to older kids, and let younger ones pick their favorite colors. It builds memories and gives you a ready-to-serve treat that everyone will reach for.
Process Overview
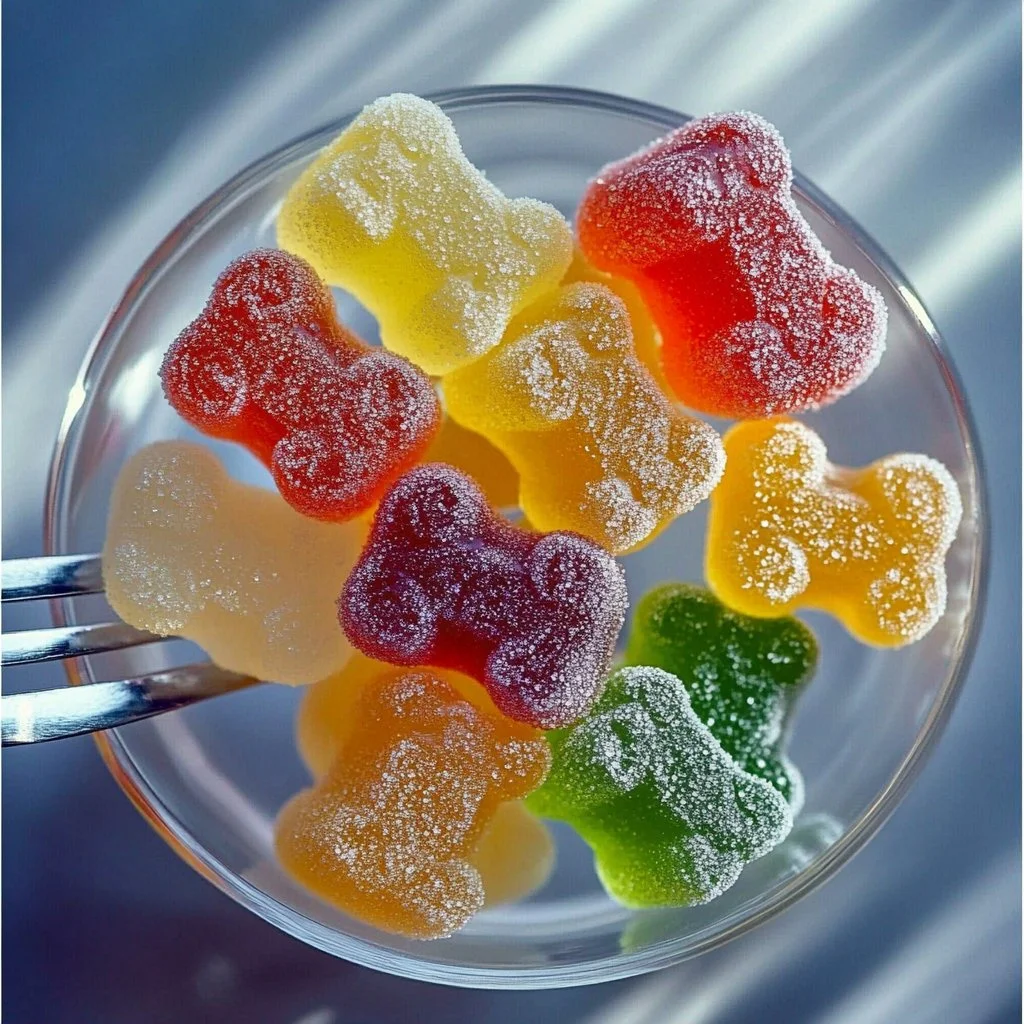
“This is where the magic happens—when the aroma fills the kitchen.”
I like to prepare everything on the counter, so the kids can help without fussing around. We use a shallow container so the soda covers the gummy bears evenly. The key moment is when you pour the soda and hear the soft fizz settle over the candy. That little sound makes everyone smile.
After that, patience does the rest. The freezer does the heavy lifting while you tidy up, set out bowls, and plan who gets which color. When the bears are ready, they have a firm, icy texture on the outside and a chewy center that kids love.
Ingredients
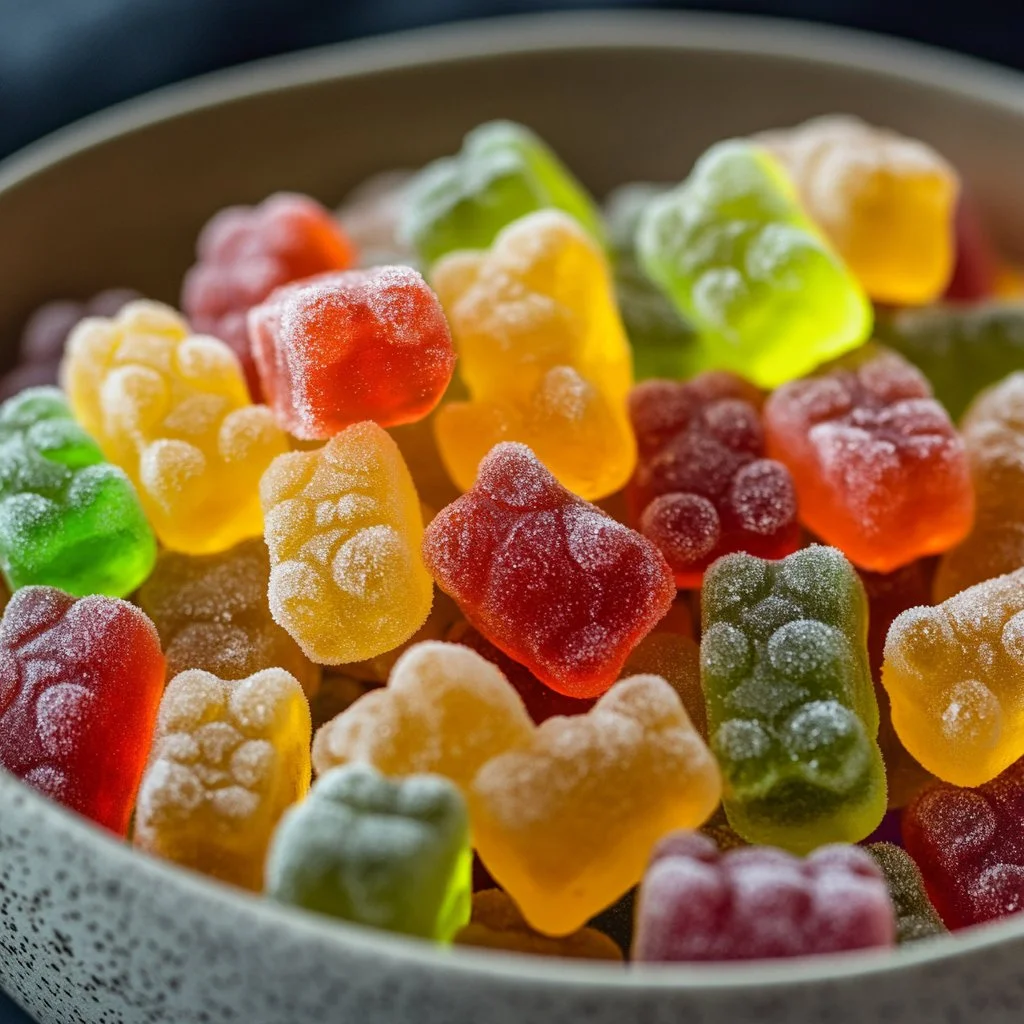
- Gummy bears. Use about 8 oz or one standard bag. Choose classic fruit flavors or a mix.
- Lily’s tip: Pick firmer gummy bears if you can. They hold their shape better after freezing and do not fall apart when the soda soaks in.
- Lemon-lime soda. About 2 cups, chilled.
- Lily’s tip: Use a fresh, cold bottle. The carbonation helps the soda penetrate the candy and adds a bright flavor. If you prefer less sweetness, choose a diet or lower-sugar version.
H3: Optional small tools
- A shallow baking dish or a flat plastic container.
- Small bowls or an ice cube tray if you want individual portions.
- Tongs or a slotted spoon for serving.
I keep the ingredient list short on purpose. This recipe shines because it is simple. The fewer ingredients you use, the more your family can enjoy the fun of making and eating the treat together.
Directions
- In a bowl or shallow container, pour gummy bears.
Be patient when you pour the candy. Let the kids arrange colors if they like. This is a great moment to talk about which flavors each child thinks will be best. - Pour lemon-lime soda over the gummy bears until they are fully submerged.
Pour slowly so you can watch the fizz. If you are working with little ones, let them pour under your supervision. The sound of the soda settling is part of the joy. - Freeze the mixture for several hours or until the gummy bears are solid.
Place the container flat in the freezer. Set a timer for at least 4 hours, though overnight is better. Use this time to clean up and get bowls ready. - Enjoy your frozen gummy bears as a cool treat! Scoop them into small bowls or share directly from the tray.
Serve right away or keep some in the freezer for later. Watch the delight on the kids faces as they try their icy candies.
These directions are straightforward on purpose. Each step is short and clear so that the whole family can join in without stress. If you want to involve younger children, give them safe tasks like choosing colors or lining up bowls.
Serving
Serve frozen gummy bears family-style on a platter fitted with small bowls. Let everyone scoop their favorites into personal dishes. This keeps things neat and makes the treat feel like a shared moment.
For a warm-weather party, add a small scoop of frozen gummy bears to cups of shaved ice or soft lemonade. For movie night, put them in a divided snack tray alongside popcorn and fruit. If you are serving to a group, label each bowl with flavor suggestions so kids can pick their preferred tastes.
A little napkin and a small spoon go a long way. Kids can either pop them with a tiny fork or pick them up with fingers for fun. Either way, the serving is flexible and easy to tailor to your family.
Storage
Keep the frozen gummy bears in the freezer in an airtight container. They will stay good for up to 2 weeks, though I recommend eating them within a few days for the best texture.
If they stick together, gently spread them on a flat tray and refreeze for 30 minutes before returning them to the container. Avoid stacking heavy items on top of the container so the bears do not get crushed.
Reheat tips. If someone wants a softer bite, let the bears sit at room temperature for 5 to 10 minutes. They will soften quickly. You can also microwave a small portion for 10 to 15 seconds at a low power setting, then check and add a few more seconds if needed. Supervise closely when using the microwave with children.
If you put them in the refrigerator instead of the freezer, they will soften too much. For this treat, the freezer is best.
Kitchen Notes
- Use a shallow container for even freezing. A depth of about 1 inch of soda leads to consistent texture.
- Make individual portions in an ice cube tray for parties. It makes serving quick and cute.
- Chill your soda and gummy bears beforehand for faster freezing.
- If you want firmer bears, pre-freeze the tray for 30 minutes, then gently re-position the bears so they do not clump.
- Clean-up is easy. Line the container with a small sheet of plastic wrap for quick removal and washing.
These shortcuts help you save time and keep the project enjoyable. They are the little life hacks I use when I have a full day and still want a fun family activity.
Variations
- Lower sugar. Swap regular lemon-lime soda for a diet or zero-sugar version. The texture changes only slightly.
- Juice instead of soda. Use lemon-lime flavored juice or dilute citrus juice with water for a less fizzy option. Note that carbonation helps with flavor penetration.
- Add fresh fruit. Layer small pieces of strawberry or pineapple under the gummy bears for contrast. Make sure fruit pieces are bite-sized so they freeze evenly.
- Make them sugar-free. Use sugar-free gummy bears and sugar-free soda for a lower-calorie version suitable for some diets.
- Combine flavors. Use a mix of lemon-lime soda and a splash of orange soda for a more complex taste. Keep the total liquid volume the same.
These ideas let you adapt the recipe to picky eaters or different dietary needs. Test one variation at a time to find what your family prefers. Often a small tweak makes the treat more appealing to a child who is unsure.
FAQ
Q: How long do they take to freeze?
A: Expect at least 4 to 6 hours. Overnight yields the best firm texture.
Q: Are frozen gummy bears safe for small children?
A: Yes, with supervision. Because the bears are small, watch children who may not chew well. Serve age-appropriately and encourage sitting down while eating.
Q: Can I use diet soda?
A: Yes. Diet or lower-sugar sodas work fine. The texture will be similar, and the treats will be less sweet.
Q: Will the gummy bears dissolve?
A: They will absorb liquid and puff up slightly but should not dissolve if you use a shallow container and proper freezing time. Firmer candies hold up best.
Q: Can I make these in advance for a party?
A: Absolutely. Freeze them ahead and keep them in an airtight container in the freezer until serving. If you make them more than a day ahead, separate portions into small containers so guests can grab what they want.
Conclusion
I hope this little recipe brings a bright moment to your family table. Frozen gummy bears are one of those simple pleasures that make ordinary afternoons sweeter, and they are a great project for kids and grown-ups to do together. For a step-by-step guide and some classroom-friendly ideas, I like the clear directions at the Smart School House frozen gummy bears recipe. If you want to see a playful video version and some visual tips, the TikTok-inspired take at I Am A Food Blog’s frozen gummy bears is a fun watch.
Warmly, Lily

Frozen Gummy Bears
Ingredients
Main Ingredients
- 8 oz Gummy bears Choose classic fruit flavors or a mix. Pick firmer gummy bears if you can.
- 2 cups Lemon-lime soda Use a fresh, chilled bottle for best results.
Instructions
Preparation
- In a bowl or shallow container, pour gummy bears.
- Let the kids arrange colors if they like.
- Pour lemon-lime soda over the gummy bears until they are fully submerged.
- Pour slowly to enjoy the fizz. Supervise kids while pouring.
- Freeze the mixture for several hours or until the gummy bears are solid.
Serving
- Enjoy your frozen gummy bears as a cool treat! Scoop into small bowls or share from the tray.
- Serve right away or keep in the freezer for later.