There’s a warm buzz of excitement in the kitchen as I hear my kids chattering while setting the table. The familiar sound of dishes clinking together brings back a rush of memories from my grandmother’s house, where laughter and good food were always on the menu. Today, the aroma of something delicious is wafting through the air, pulling us all closer together. We are about to dive into a sweet treat that feels like a hug, yet is surprisingly healthy: Healthy Homemade Butterfingers.
Why This Healthy Homemade Butterfingers Feels Like Home
Every time we make Healthy Homemade Butterfingers, it reminds me of simpler times when my family would gather around a table, sharing stories and savoring every bite. This recipe captures that essence beautifully—it’s a delightful blend of nostalgia and health that warms not just our bellies but our hearts too.
What I love most is how easy it is to whip up these homemade bars. With just a few ingredients, you get a snack that pleases everyone. It’s like a little slice of happiness that wants to be shared. With a recipe this straightforward, I’m reminded how cooking at home can create lasting memories and foster family connections. There’s a familiar joy every time the kids ask for these sweet treats, and you can almost hear their giggles as they munch on the buttery goodness.
Why Healthy Homemade Butterfingers is Our New Family Favorite
In our busy lives, finding time to bond over food can be challenging. Healthy Homemade Butterfingers has turned into a cornerstone of our family snacks. It’s a recipe we can rely on during our hurried weeknights or lazy weekends when we want something satisfying without the fuss. Each bite brings an explosion of flavor, giving us the comfort of a classic candy bar without the worries of unhealthy ingredients.
With each batch, we not only satisfy our sweet tooth but also enjoy the process of making them together. It’s not uncommon to find my kids giggling as they crush the cornflakes or watch the chocolate melt for dipping. The experience always ends with sticky fingers and happy faces—pure joy!
The Simple Magic Behind Healthy Homemade Butterfingers
What makes this recipe feel like a kitchen miracle is its simplicity. Despite using just a handful of ingredients, the taste is extraordinary and satisfying. I always tell my family, the best dishes don’t have to be complicated. This recipe embodies that philosophy.
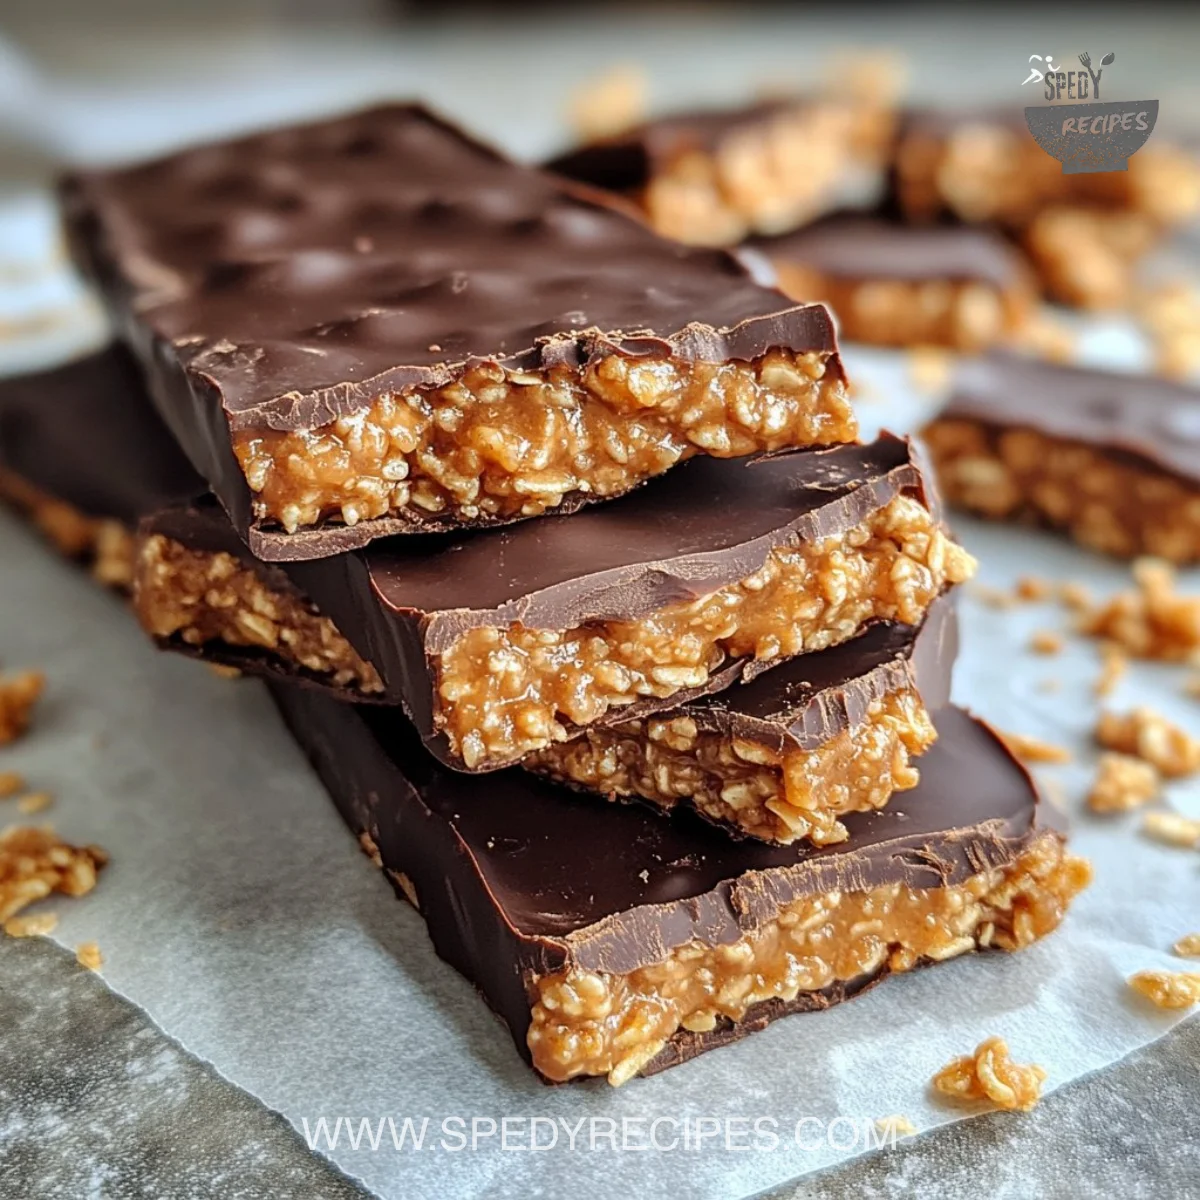
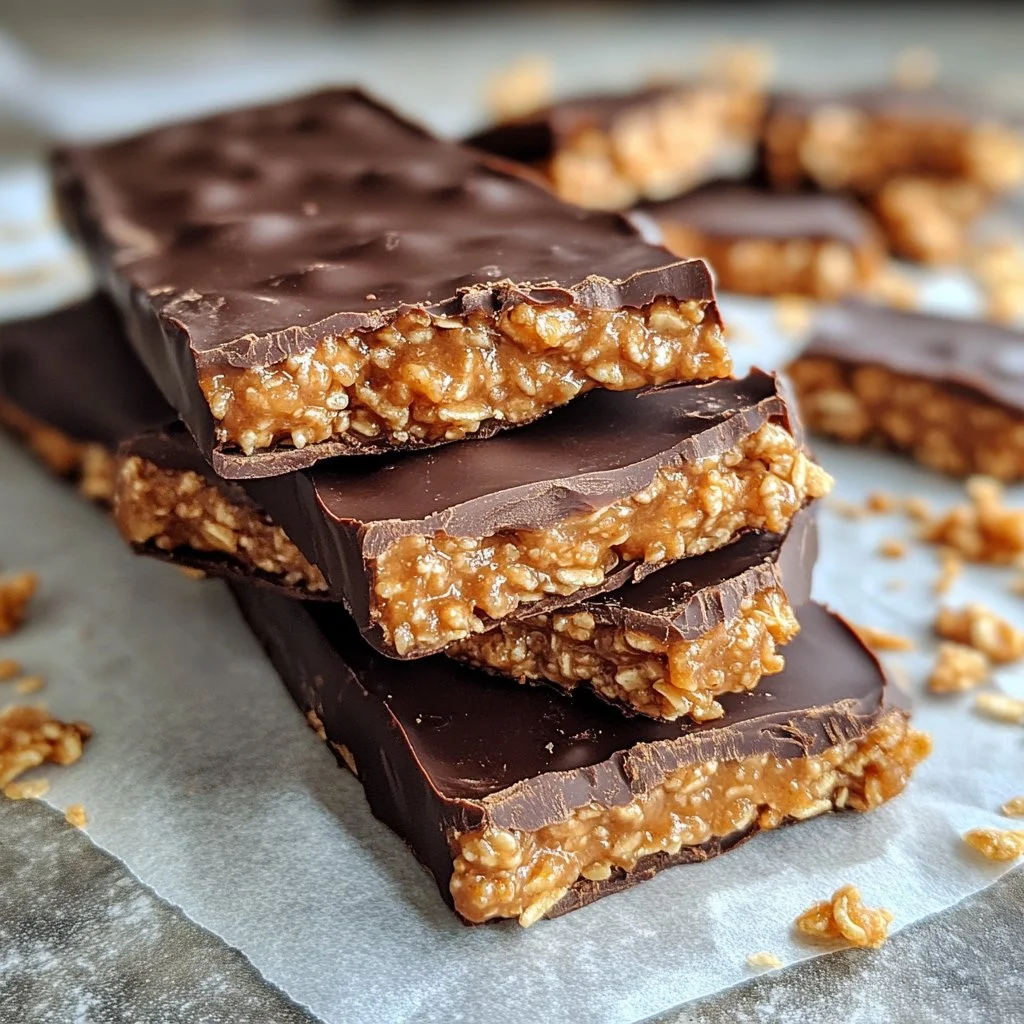
The combination of peanut butter and honey gives the butterfingers their rich, sweet flavor. Meanwhile, the crunchy cornflakes provide that signature crunch we all love. These elegant yet humble ingredients transform into a divine snack worthy of any family gathering.
Furthermore, you’ll find that this recipe ties into our routine seamlessly. It comes together within just a few minutes of prep, making it perfect for those busy evenings when we want something easy yet delicious.
Why This Recipe Works for Our Busy, Joyful Nights
One thing I appreciate is how quickly this recipe comes together. When I say it’s stress-free, I mean it. Given how life can get hectic, especially with the kids running around, I find comfort in knowing that this treat can be made in no time.
With Healthy Homemade Butterfingers, I usually set aside an hour to prepare them; this includes the time it takes for the mixture to set in the freezer. Trust me, once you try making this treat, you’ll discover that it fits perfectly into your busy nights. It’s as if the butterfingers were made for families like ours, always on the lookout for delicious snacks that don’t require hours in the kitchen.
How to Make Healthy Homemade Butterfingers, The Heartwarming Way
Let me share how to prepare these delightful butterfingers, step by step. Cooking should feel joyful, not stressful, so I promise to keep it simple and fun. Remember, the goal is to create something that nourishes both the body and soul.
Step-by-Step Overview: Keeping It Simple
-
Mix the Base: In a saucepan over medium-low heat, combine 1 cup peanut butter, 1/3 cup honey, 1/2 tsp vanilla extract, and 1/2 tsp sea salt. Heat it for about 2-4 minutes. Stir until everything is nicely blended and smooth. This is where the magic happens—when the aroma fills the kitchen and my kids come running in, asking “Is it ready yet?”
-
Combine with Cereal: Transfer your peanut butter mixture to a large mixing bowl, then add in 1 and 3/4 cups cornflake cereal. Mix everything until it’s well combined, crushing a bit of the cereal to make sure it gets coated evenly.
-
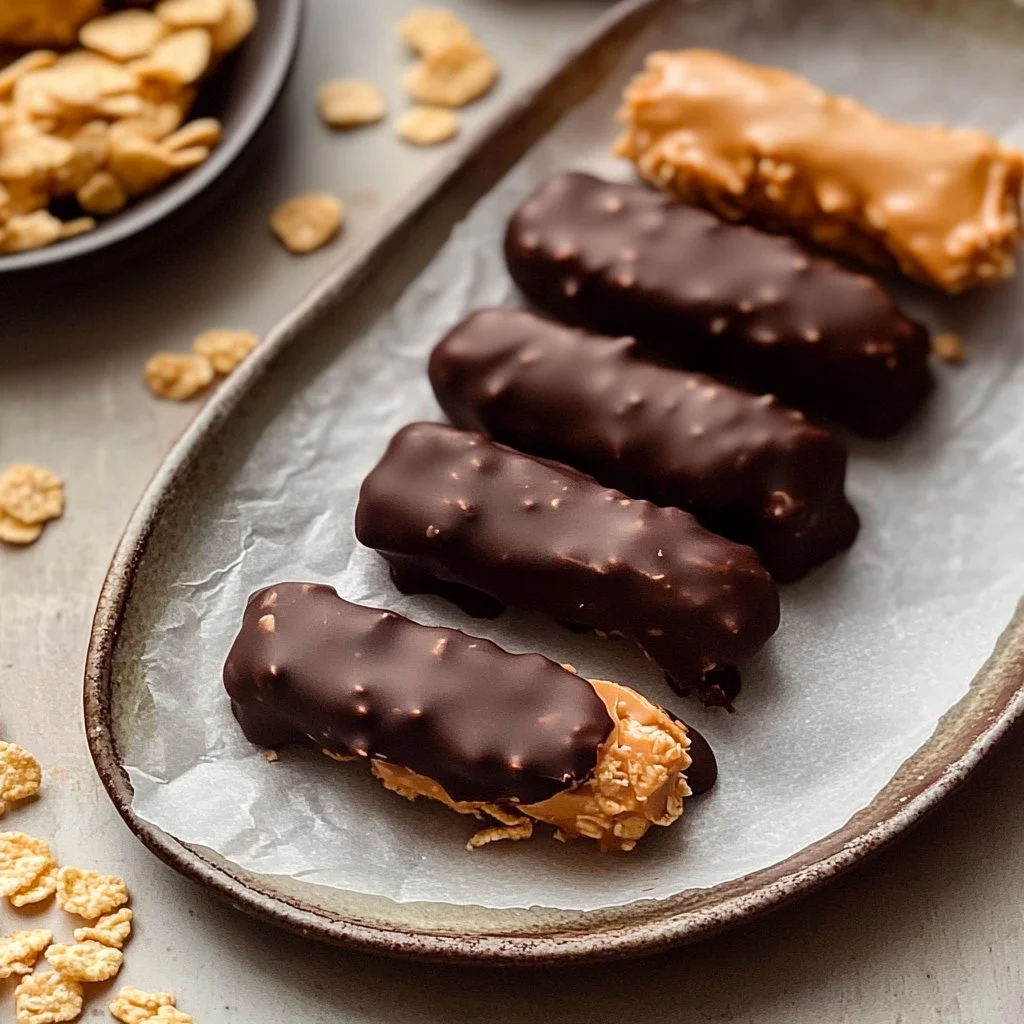
Form the Logs: Take a handful of the mixture and form it into logs—about 12-14 pieces should do. Place these on a parchment-lined plate or baking sheet. Don’t worry too much about perfection; the beauty is in the homemade charm!
-
Freeze for Texture: Pop the logs in the freezer for about an hour. This step is essential for achieving that satisfying bite.
-
Chocolate Coating: Once your butterfingers are nice and firm, melt 1 cup chocolate chips and 1 tsp of coconut oil in the microwave or on the stovetop. Be cautious not to scorch the chocolate. Dip each log in the melted chocolate, letting the excess drip off.
-
Set and Store: Return the coated butterfingers to the lined plate and stick them back into the freezer until the chocolate sets, which usually takes only about 10 minutes. Store any leftovers in the refrigerator or freezer for a quick grab-and-go snack!
From there, you will notice how easy and rewarding it is to enjoy something homemade that everyone loves.
Ingredients You’ll Need
To make Healthy Homemade Butterfingers, you’re going to gather some simple, wholesome ingredients. Here’s what you’ll need:
- 1 cup peanut butter
- 1/3 cup honey
- 1/2 tsp vanilla extract
- 1/2 tsp sea salt
- 1 and 3/4 cups cornflake cereal
- 1 cup chocolate chips (dairy-free, if needed)
- 1 tsp coconut oil
Remember, feel free to play around with what you have. You could swap the peanut butter for almond or sun butter. Cooking is about creativity, not perfection.
Serving Healthy Homemade Butterfingers with Love
When it comes to serving these delightful butterfingers, I like to keep things simple and inviting. I place them in the center of our dinner table, allowing everyone to help themselves. It creates a fun, communal experience that brings us all together.
Sometimes, I’ll pair these butterfingers with a fresh fruit salad or a bowl of yogurt for a quick breakfast option. My family enjoys them as an after-school snack, before heading out for activities. The laughter and chatter that fills our home when we share these treats always makes my heart full.
Storage & Reheat Tips (Keeping the Goodness)
After all that hard work, it’s important to know how to store these delicious butterfingers without losing their charm. I recommend wrapping them individually in parchment paper or placing them in airtight containers.
In the refrigerator, they can last up to a week, while frozen butterfingers will be good for a couple of months. If you decide to heat them up, the microwave is perfectly fine for a quick snack. However, if you want that fresh taste, pop them in the oven for a few minutes to warm them up—an effortless way to bring back that just-made warmth!
My Kitchen Notes & Shortcuts
Here are a few notes and tips I’ve picked up along the way that could save you time and add more joy to the process:
- Involve the Kids: Let your children help with the mixing and forming. It’s a fantastic way to bond while teaching them how to cook.
- Substitutions Are Your Friend: Not a fan of cornflakes? Use oats or crushed rice cereal instead.
- Make a Big Batch: If your family loves them as much as mine does, consider doubling the recipe. They freeze beautifully!
- Change It Up: Want to add a little extra? Try throwing in a handful of chopped nuts or dried fruit to the mixture.
With these little hacks, you’ll wonder how you ever lived without this blissful snack.
Family-Friendly Variations
If you want to spice things up a bit, it’s easy to make Healthy Homemade Butterfingers your own. Here are some twists that my family has enjoyed:
- Nut-Free Version: Substitute peanut butter with sunflower seed butter for a nut-free version.
- Flavor Variations: Add a pinch of cinnamon or a few tablespoons of cocoa powder to the peanut mixture for a new flavor profile.
- Add-In Ideas: Mix in some chia seeds or protein powder to boost the nutrition factor.
Just like that, you can let your creativity run wild with every batch. Cooking should be personal and fun!
FAQs About Healthy Homemade Butterfingers
Can I make this ahead for a busy week?
Absolutely! In fact, letting it sit for an hour allows the flavors to meld beautifully, just like an old family recipe.
Are there any alternatives to honey?
Yes, you can use maple syrup or agave as a sweetener if you prefer!
Can I add other ingredients like nuts or dried fruit?
Definitely! Feel free to customize the recipe with your favorite mix-ins.
One Final Thought from My Kitchen
As you prepare these Healthy Homemade Butterfingers, I hope they become a cherished part of your family gatherings and casual evenings alike. Cooking is about love, connection, and the sweet memories we build with one another. I truly believe that when we gather around to share meals, even simple snacks can elevate our day.
Until next time, happy cooking. May your time in the kitchen be filled with laughter and delicious moments.
Healthy Homemade Butterfingers
Ingredients
Base Ingredients
- 1 cup peanut butter Can substitute with almond or sun butter.
- 1/3 cup honey Can substitute with maple syrup or agave.
- 1/2 teaspoon vanilla extract
- 1/2 teaspoon sea salt
Cereal and Coating
- 1 and 3/4 cups cornflake cereal Can substitute with oats or crushed rice cereal.
- 1 cup chocolate chips Use dairy-free if needed.
- 1 teaspoon coconut oil For melting chocolate.
Instructions
Preparation
- In a saucepan over medium-low heat, combine peanut butter, honey, vanilla extract, and sea salt. Heat for about 2-4 minutes, stirring until smooth.
- Transfer the mixture to a large mixing bowl and add cornflake cereal. Mix until well combined, crushing some cereal for even coating.
- Form the mixture into logs—about 12-14 pieces—and place them on a parchment-lined plate.
- Freeze the logs for about an hour.
- Melt chocolate chips and coconut oil in the microwave or stovetop, being cautious not to scorch.
- Dip each log in the melted chocolate, letting excess drip off, then return to the lined plate.
- Freeze again until the chocolate sets, usually about 10 minutes.
- Store leftovers in the refrigerator or freezer for quick snacks.