
I remember the clatter of spoons and the soft murmur of my kids, setting the table while a sweet, nutty scent warmed the kitchen. That aroma always pulls me back to simple afternoons at my grandmother’s house near the dam, where tiny treats meant the world. Today, those small rituals became Homemade Healthy Peanut Butter Eggs — a treat we can feel good about sharing. If you like quick, clever recipes, you might also enjoy my guide to my four-ingredient chicken salad, another family staple that proves simple can be spectacular.
Why This Homemade Healthy Peanut Butter Eggs Feels Like Home
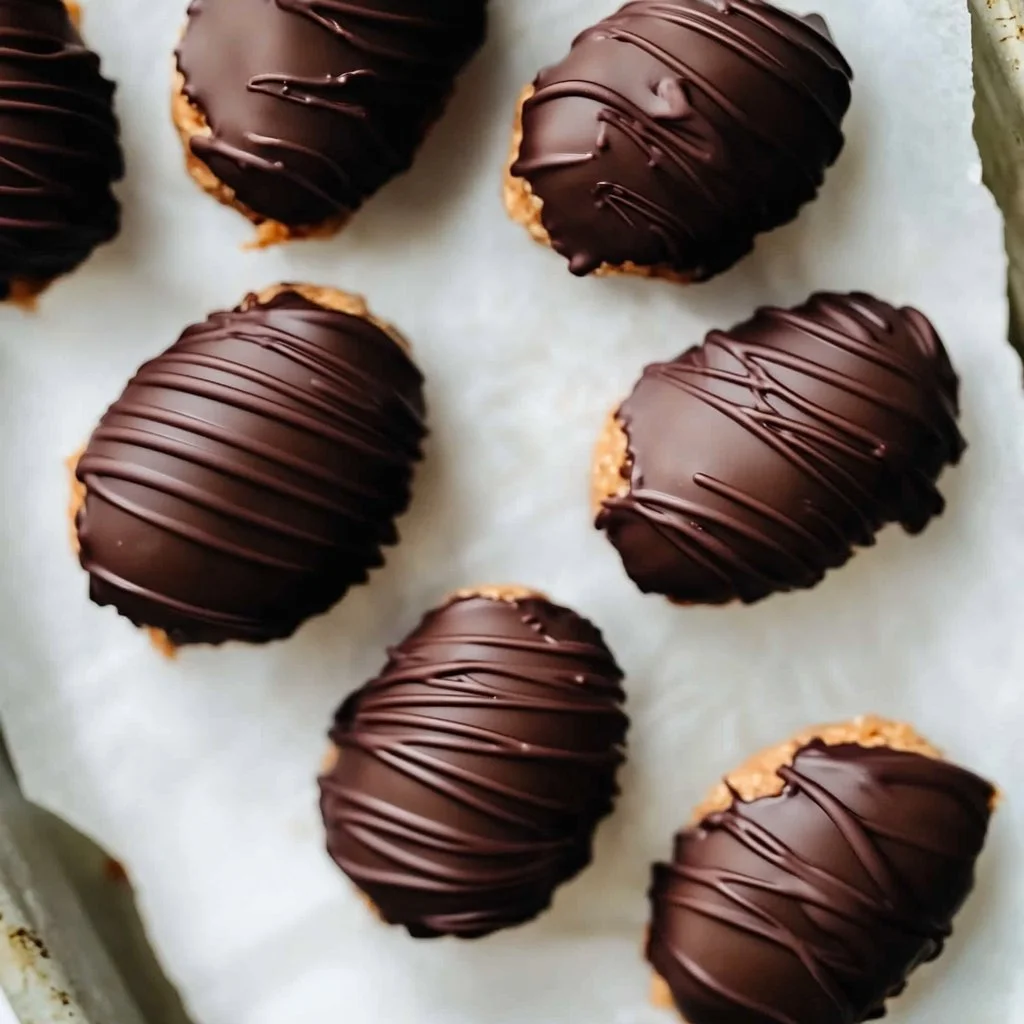
These little peanut butter eggs are comfort in a bite. They are creamy, slightly sweet, and wrapped in glossy chocolate, and they take me right back to cozy afternoons with my grandmother.
They come together with only a handful of pantry-friendly ingredients and minimal fuss. That means you get the warmth of homemade treats without a long list of steps or a sink full of dishes.
They are also great for busy nights or a slow weekend bake. When you need something that tastes special but is easy to prep, these eggs fit the bill. Meanwhile, if you are planning a larger dessert spread, think of pairing them with something bold like this cowboy butter steak for an indulgent weekend meal.
How to Make Homemade Healthy Peanut Butter Eggs, The Heartwarming Way
“This is where the magic happens—when the aroma fills the kitchen and my kids come running in, asking ‘Is it ready yet?’”
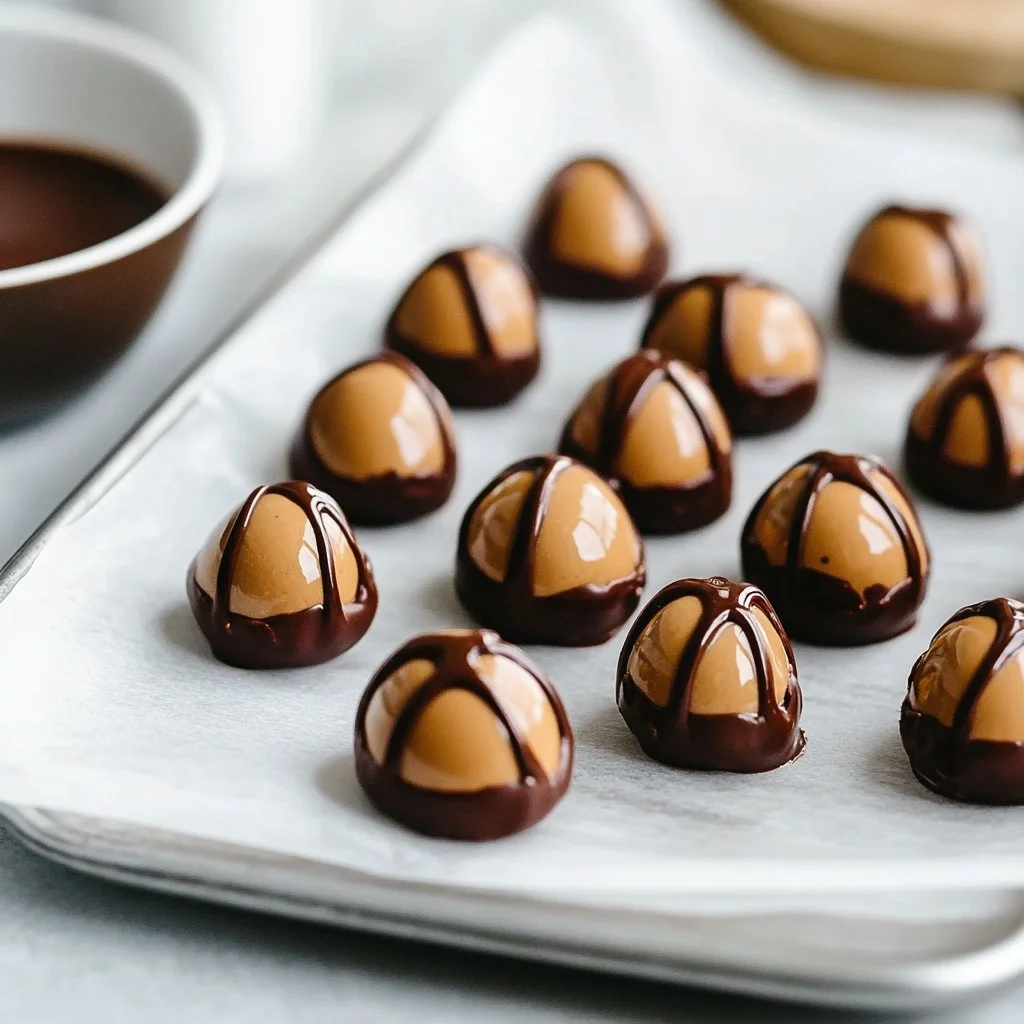
The process is short and satisfying. You start with a thick, scoopable peanut butter mixture, shape it into eggs, chill until firm, and then give each one a shiny chocolate coat. Look for a soft, peanut-buttery interior and a solid, not-too-thin chocolate shell.
Watch the color and texture: the filling should be pale and smooth, easy to shape. The chocolate should be glossy and pourable but not too hot when you dip; that keeps the peanut butter center firm and the shell neat.
The aroma is a bright mix of roasted peanuts and chocolate. When the kitchen smells like that, you know you are on the right path. If you want a similar no-fuss dessert idea, try my notes on garlic butter beef for another family-pleasing dish.
Ingredients You’ll Need
1 cup peanut butter, creamy
1/3 cup coconut flour
1/4 cup maple syrup
1 cup chocolate chips, dark or semi sweet
1/2 Tablespoon coconut oil
A friendly note: use a peanut butter you love. If your jar has swirls of oil on top, stir it well first. Coconut flour is absorbent, so measure carefully. Maple syrup gives a rounded sweetness; honey works in a pinch, but flavor shifts slightly.
I always say: use what’s in your fridge when you must, and keep it simple. If you are thinking about drinks for dessert time, pairing these with a bright cocktail is easy if you have my homemade margarita mix ready.
Step-by-Step Directions
-
In a medium sized mixing bowl, combine the peanut butter, coconut flour and maple syrup.
Stir until smooth. Keep the mixture thick but workable; a little tackiness is normal.
Give the kids a spoon to lick—this part is the best reward and harmless. -
Form the peanut butter mixture into egg shapes by rolling 1 inch balls and flattening them into ovals with your fingers.
Work on parchment or a silicone mat; it saves cleanup and fingers.
Make them roughly the same size so they chill and dip evenly. -
Place the ovals on parchment paper on a cookie sheet and freeze for 30 minutes.
Freezing firms them up quickly so they keep their shape during dipping.
Use this time to melt chocolate or tidy the kitchen. -
Next, heat the chocolate chips and coconut oil in a small bowl in the microwave 30 second at a time, stirring between times until completely melted.
Stop when the chocolate is smooth and just pourable. Avoid overheating; chocolate seizes easily.
If it cools too much, warm in 10-second bursts and stir. -
Using two forks, coat the peanut butter eggs in the melted chocolate, letting the chocolate drip off for a few seconds.
Tap the forks gently on the bowl rim to remove excess chocolate and keep shells thin and even.
If you like, have a helper drain the chocolate while you place each egg down. -
Transfer each egg to parchment paper to harden.
Leave space between eggs so the shell sets cleanly.
A cool counter is fine, or pop them back into the fridge. -
Optional: After the chocolate has hardened for a few minutes, drizzle with more melted chocolate to make them look extra special.
Use a spoon or a small piping bag for neat lines. A quick sprinkle of sea salt adds contrast.
This is the part where presentation becomes playful. -
Refrigerate the eggs until you are ready to enjoy them.
Chilling helps the shells snap and the centers stay firm.
Let them sit a few minutes at room temperature before serving for the best bite.
Quick tip from my kitchen: if your peanut butter is extra oily, chilling the mixture for 10 minutes before shaping helps. Also, let children do the shaping—little hands make imperfect eggs with big charm.
Serving Homemade Healthy Peanut Butter Eggs with Love
These are happiest when served family-style on a small plate or in a shallow bowl in the middle of the table. Everyone can take a treat and pass around coffee or milk.
We like to serve them after a cozy meal, with the lights dimmed and a playlist of soft songs. My youngest loves pairing them with orange slices; my partner always goes for extra chocolate drizzle.
If you are hosting, arrange them on a platter with small paper cups so guests can grab without melting the shells. These eggs also travel well in a lunchbox or tucked into a picnic basket.
Storage & Reheat Tips (Keeping the Goodness)
Store these eggs in an airtight container in the fridge for up to two weeks. They keep their texture best chilled. For longer storage, freeze them layered between parchment for up to three months.
To defrost, move the eggs from the freezer to the fridge overnight. Then let them sit at room temperature for 10 minutes before serving. The microwave is tempting for a quick warm bite, but it can soften the center unevenly.
If you want a soft-center treat, take them out of the fridge 15 minutes before serving. For firm, snackable eggs, serve straight from the fridge. If you love storing desserts like I do, these methods echo how I keep my homemade pistachio cookies fresh and ready.
My Kitchen Notes & Shortcuts
- Swap the maple syrup for honey if you prefer a different sweetness profile. Taste first—honey can be stronger.
- Make mini eggs by scaling the dough to 3/4 inch balls for bite-sized treats that kids adore.
- Prep the filling a day ahead and keep it chilled in the fridge. Shape and dip when you have a quiet half hour.
- Use dark chocolate for a less sweet shell, or semi-sweet if you want a milder finish.
- Let the kids handle the drizzle step; it is messy but worth the laughter.
These little shortcuts keep the heart of the recipe while saving time. They also welcome family creativity without stressing technique.
Family-Friendly Variations
Make them nut-free by substituting sunflower seed butter for peanut butter. The texture and flavor change slightly but they remain rich and satisfying.
Add a pinch of flaky sea salt to the top of each egg after dipping for a gourmet touch. You can also roll the centers in finely chopped toasted coconut before freezing for a coconut coating beneath the chocolate.
For a holiday twist, tint a small portion of melted white chocolate and add festive stripes. Or mix a tablespoon of cocoa powder into the filling for a chocolatey peanut-butter core.
These changes are invitations to make the recipe your own. Each family can add a small tradition, whether a drizzle pattern or a favorite topping.
FAQs About Homemade Healthy Peanut Butter Eggs
Q: Can I make this ahead for a busy week?
A: Absolutely. Make the filling a day ahead and shape just before dipping, or finish the whole batch and keep them chilled. They hold well and taste even friendlier on a busy day.
Q: Is coconut flour necessary?
A: Coconut flour is the ingredient that soaks up moisture and gives the filling body. You can experiment with almond flour, but you will need to adjust amounts to get a similar texture.
Q: Can I use a double boiler instead of the microwave to melt chocolate?
A: Yes. A gentle double boiler is perfect if you prefer stovetop control. Keep the heat low and stir often to prevent scorching.
Q: My chocolate seized. What should I do?
A: Stir in a small amount of warm coconut oil or vegetable oil to smooth it. If that does not help, start with new chocolate and melt more slowly next time.
Q: Can kids safely help with this recipe?
A: Yes. Kids can mix, shape, and drizzle. For dipping, an adult should handle the hot chocolate. It makes a great family activity.
One Final Thought from My Kitchen
Cooking small, joyful things like these peanut butter eggs has always been my way of building memory and warmth around the table. They are simple, satisfying, and a little bit playful. Give them a try and you might find they become a tiny tradition in your home, too.
Conclusion
If you are looking for a similar healthy, no-bake treat with minimal ingredients, check out this helpful version of Healthy 4 Ingredient Reese’s Eggs | Ambitious Kitchen for more inspiration. For another take with approachable swaps and tips, I also like this guide to Easy and Healthy Reese’s Eggs – Erin Lives Whole.
I hope these Homemade Healthy Peanut Butter Eggs bring laughter and little celebrations to your countertop. Try them with family, let the kids get a little messy, and enjoy the small comforts they bring. Until next time, happy cooking and warm kitchens.

Homemade Healthy Peanut Butter Eggs
Ingredients
Peanut Butter Mixture
- 1 cup peanut butter, creamy Use a peanut butter you love; stir well if oil has separated.
- 1/3 cup coconut flour Measure carefully as coconut flour is very absorbent.
- 1/4 cup maple syrup Honey can be used as a substitute but will alter flavor.
Chocolate Coating
- 1 cup chocolate chips, dark or semi-sweet Melt carefully in the microwave or double boiler.
- 1/2 Tablespoon coconut oil Helps to achieve a smooth chocolate consistency.
Instructions
Preparation
- In a medium sized mixing bowl, combine the peanut butter, coconut flour, and maple syrup.
- Stir until smooth, keeping the mixture thick but workable.
- Roll the mixture into egg shapes by forming 1 inch balls and flattening them into ovals.
- Place the ovals on parchment paper and freeze for 30 minutes.
Chocolate Coating
- Heat the chocolate chips and coconut oil in the microwave, checking every 30 seconds.
- Using two forks, coat the peanut butter eggs in the melted chocolate.
- Transfer the coated eggs to parchment paper to harden.
- For extra decoration, drizzle with more melted chocolate after hardening.
Serving
- Refrigerate the eggs until you're ready to serve.
- Let them sit at room temperature for a few minutes before serving.