
There’s something special about the sounds and smells of a kitchen filled with love. The gentle bubbling of water, the soft hiss of rice cooking, and the faint crackle of nori as you prepare your dish create a cozy atmosphere. Today, we’re diving into a simple yet delightful recipe: Tuna Rice Balls. These little morsels are not just fun to make; they are filled with flavor and perfect for family gatherings or a quick snack any day of the week.
Why This Works
Tuna Rice Balls, or onigiri, are a fantastic way to bring the family together. They are easy to prepare, making them a great option for busy weeknights. You can involve your kids in the kitchen, teaching them how to mold the rice and fill it with delicious tuna. Plus, they are a time-saving meal—pain-free to make in batches, and they can be stored for later.
Process Overview
“This is where the magic happens—when the aroma fills the kitchen.”
Making Tuna Rice Balls is a straightforward process that reveals incredible flavors. You will find joy in the rhythm of rinsing the rice, cooking it to the perfect texture, and forming your tasty rice balls. It’s a fun activity that brings a delightful blend of scents and sounds into your kitchen.
Ingredients
Let’s gather what you need for this dish:
- 1 cup sushi rice: Sushi rice is sticky and holds together perfectly, making it ideal for shaping.
- 1 can of tuna (drained): Use your favorite type—chunk light or albacore work well!
- 2 tablespoons mayonnaise: This adds creaminess and keeps the filling moist.
- Salt to taste: Just a pinch enhances the flavors.
- Nori (dry roasted seaweed) sheets: These are available in the Asian aisle; they add a wonderful crunch.
- Water: You’ll need it for cooking the rice. Make sure to measure correctly for the perfect texture.
Tip from Lily: When rinsing the sushi rice, do it until the water is clear. This step helps remove excess starch and ensures your rice has the right consistency.
Directions
-
Rinse the sushi rice under cold water until the water runs clear. Cook the rice according to package instructions. This is the foundation for your rice balls.
-
In a bowl, mix the drained tuna with mayonnaise and a pinch of salt. This creamy filling is the star of the show, so make sure it’s well combined.
-
Once the rice is cooked and slightly cooled, wet your hands to prevent the rice from sticking. Take a handful of rice; this should be about one-third of a cup.
-
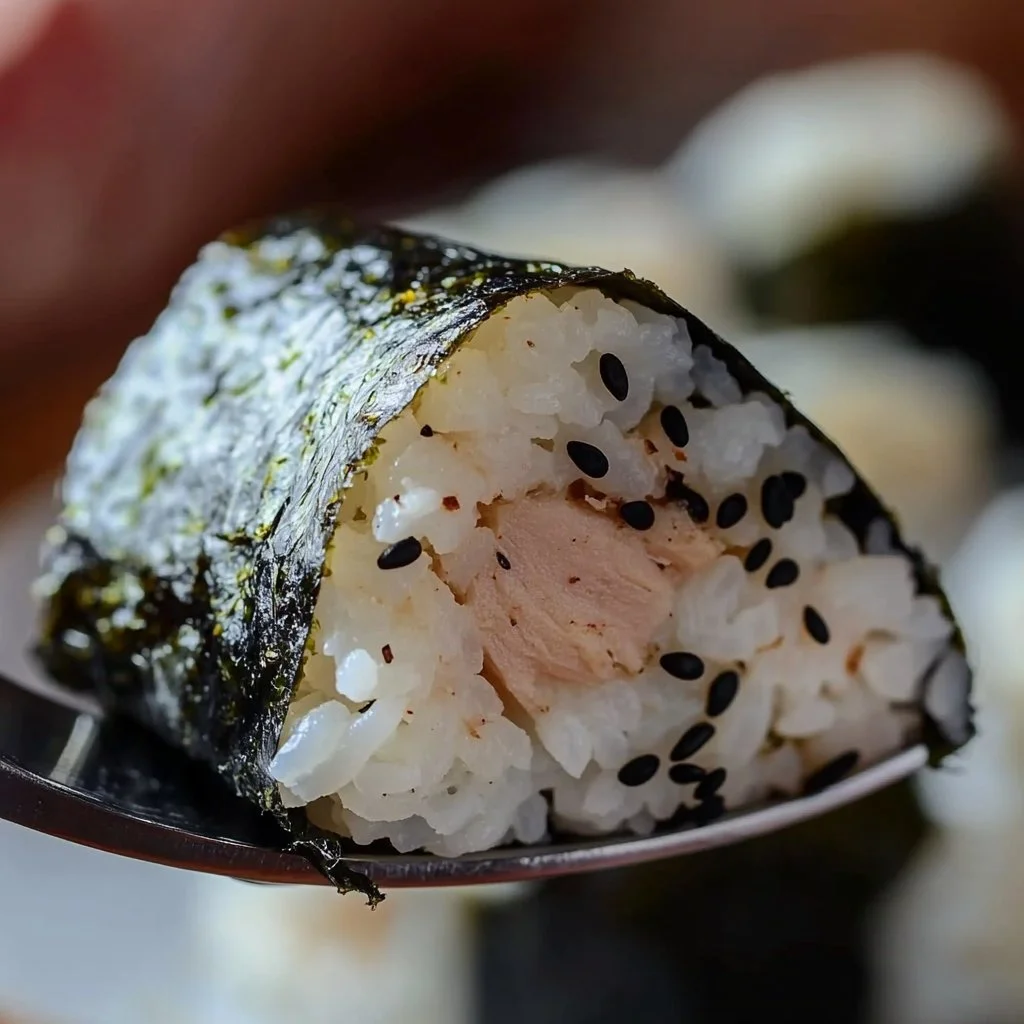
Flatten the rice in your palm, then place a teaspoon of the tuna mixture in the center. Molding the rice around the filling is a fun step, so make a triangle or ball shape, whatever you prefer!
-
Wrap each onigiri with a strip of nori. This not only looks beautiful but also adds that distinct flavor we love.
-
Serve and enjoy! These are sure to bring smiles, whether you’re having a family meal or a picnic in the park.
Serving
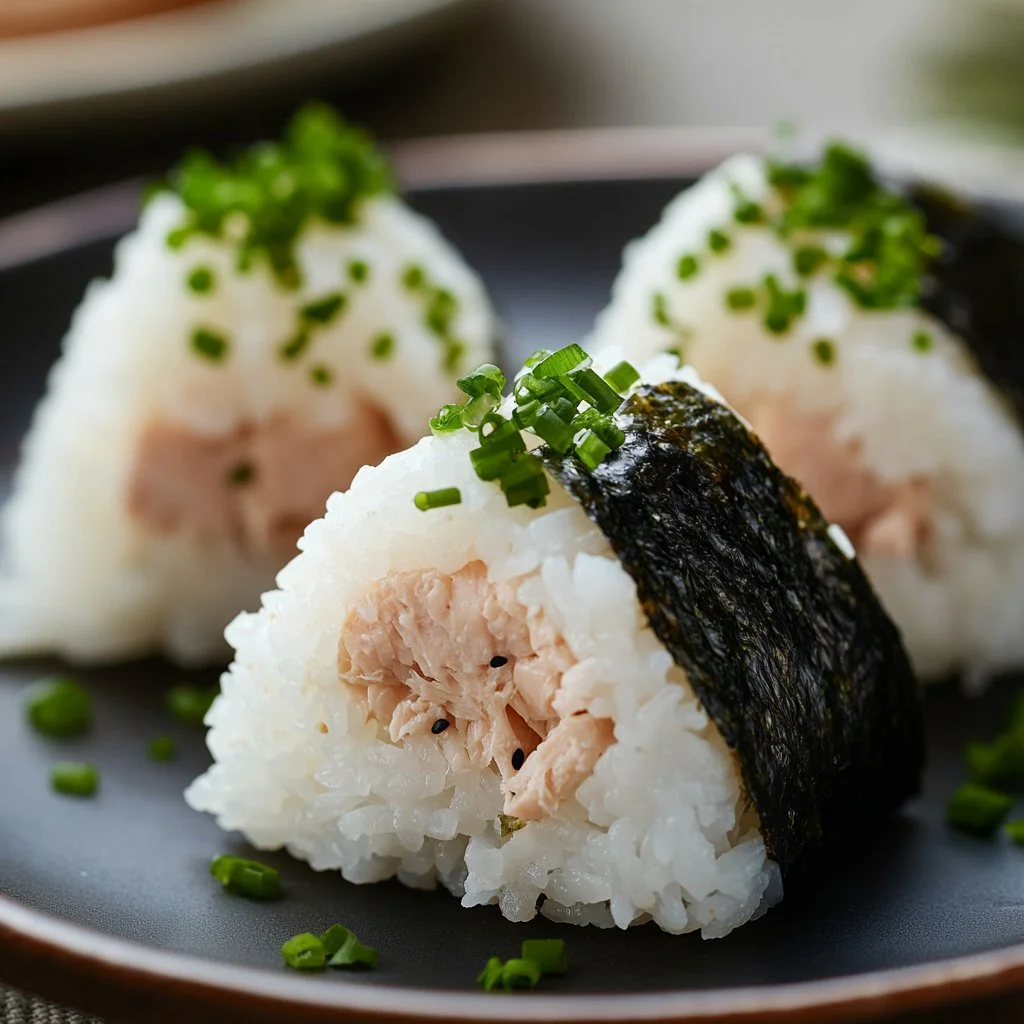
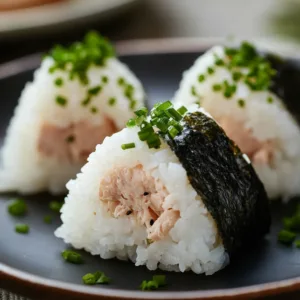
Serving Tuna Rice Balls family-style is a treat. Place them on a large plate or a wooden board for a rustic feel. Encourage everyone to pick up their favorite onigiri, adding a hint of excitement to mealtime. They can enjoy the rice balls as is or dip them in soy sauce for an extra layer of flavor. This sharing aspect brings everyone together and makes each meal feel like a celebration.
Storage
If you have leftovers, don’t worry! Tuna Rice Balls can be stored in the refrigerator for up to two days. Place them in an airtight container to keep them fresh. When you’re ready to enjoy them again, reheat them in the microwave for about 10-15 seconds. Just be careful not to overheat, as the rice can dry out.
Kitchen Notes
Here are some shortcuts to make your cooking experience even smoother:
- Keep rice freshly cooked: Sushi rice is best fresh, so plan your prep accordingly.
- Use canned tuna: It saves time, and you can find it in various flavors.
- Make extra: These store well, so double the recipe for quick meals later on.
- Prep ahead: Cook and season the rice in the morning if you plan to assemble later in the day.
- Include the kids: Let them help with shaping rice balls—this makes for great bonding and learning.
Variations
Consider these tweaks to cater to picky eaters or special diets:
- Add veggies: Finely chopped vegetables like carrots or cucumbers can add more crunch and flavor.
- Change the filling: If tuna isn’t a hit, try using shredded chicken or cooked shrimp mixed with mayo.
- Explore flavors: Try different sauces like sriracha mayo or adding sesame oil for a twist.
- Make it vegetarian: Replace tuna with seasoned tofu or avocado for a delicious alternative.
- Experiment with spices: Mix in a dash of teriyaki sauce or spicy mayo for added zest.
FAQ
1. Can I use leftover rice?
Yes, you can! Just ensure it’s sticky enough to hold together when forming the rice balls.
2. How long does it take to prep?
The entire process takes about 30 minutes from start to finish, perfect for a quick family meal.
3. Can I freeze these rice balls?
Yes, they freeze well! Just wrap them tightly before placing them in the freezer. Thaw and reheat when ready to eat.
4. What can I serve with Tuna Rice Balls?
These pair well with a side salad, miso soup, or pickled vegetables for a complete meal.
5. What kind of tuna is best to use?
Chunk light or albacore tuna works best. Choose your favorite based on your taste!
Conclusion
Making Tuna Rice Balls is not only about the food; it’s about creating memories with family. The process is simple, and the result is a delightful treat that everyone can enjoy. Cooking together strengthens family bonds, so gather your loved ones and dive into this fun recipe. The warmth of home-cooked meals is truly a treasure, and I hope this dish brings joy to your table. Enjoy!
Tuna Rice Balls
Ingredients
For the rice
- 1 cup sushi rice Sushi rice is sticky and holds together perfectly.
- 1 cup water Measure correctly for the perfect texture.
For the filling
- 1 can tuna (drained) Chunk light or albacore work well.
- 2 tablespoons mayonnaise Adds creaminess and keeps the filling moist.
- to taste pinch salt Enhances the flavors.
For assembly
- nori (dry roasted seaweed) sheets Adds a wonderful crunch.
Instructions
Preparation
- Rinse the sushi rice under cold water until the water runs clear.
- Cook the rice according to package instructions.
- In a bowl, mix the drained tuna with mayonnaise and a pinch of salt until well combined.
- Once the rice is cooked and slightly cooled, wet your hands to prevent sticking.
- Take a handful of rice (about one-third of a cup) and flatten it in your palm.
- Place a teaspoon of the tuna mixture in the center, molding the rice around the filling into a triangle or ball shape.
- Wrap each onigiri with a strip of nori.
Serving
- Serve the Tuna Rice Balls on a large plate or wooden board for a rustic feel.
- Encourage everyone to pick up their favorite onigiri, optionally dipping in soy sauce.