This post contains affiliate links. As an Amazon Associate, I earn from qualifying purchases. This comes at no extra cost to you.
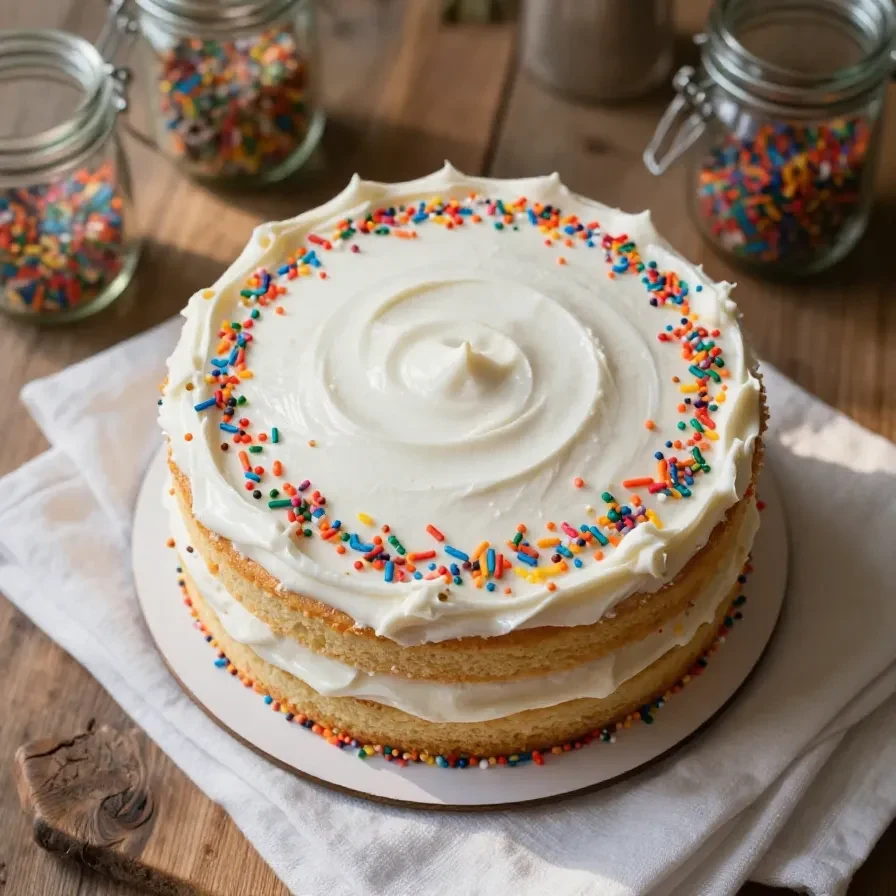
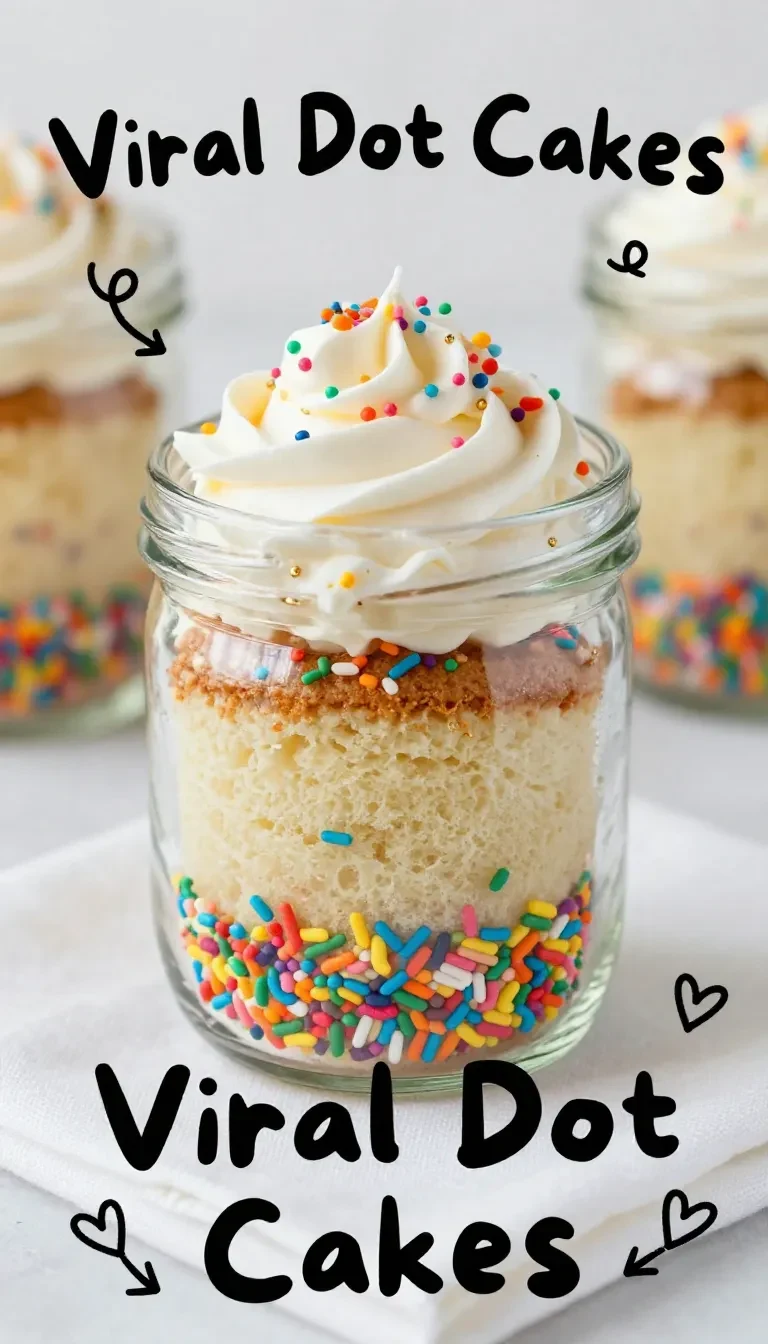
Dot Cakes are a delightful treat that combines soft, fluffy texture with bursts of sweet flavor in every bite. These bite-sized cakes are perfect for snacking, dessert, or even as centerpiece treats at a gathering. Their charming appearance makes them a favorite among children and adults alike while keeping preparation simple and adaptable.
Table of Contents
- Why Dot Cakes Are Perfect
- Ingredients List
- Step-by-Step Instructions
- Tips and Shortcuts
- Serving Ideas
- Ingredient Swaps
- Avoid Common Mistakes
Why Dot Cakes Are Perfect
- Their small size makes them perfect for portion control, ideal for those looking for a guilt-free indulgence. The ability to customize toppings adds flair that suits your taste preferences.
- Dot Cakes are quick to make, perfect for busy bakers juggling work and family. You’ll appreciate how easily this recipe fits into your schedule without sacrificing flavor or quality.
- They’re ideal for entertaining, thanks to their visual appeal and versatility. Guests will love the balance of sweetness, and you’ll enjoy how easily they come together.
- This recipe is kid-friendly and fun to make as a family activity. The vibrant “dots” encourage creative decorating that’s simple and engaging for kids.
Ingredients List
- 2 cups all-purpose flour
- 1 teaspoon baking powder
- 1/2 teaspoon baking soda
- 1/4 teaspoon salt
- 1 cup unsalted butter, softened
- 1 cup granulated sugar
- 2 large eggs
- 1 teaspoon vanilla extract
- 1/2 cup milk
- Assorted sprinkles or small candies for decoration
The butter adds richness and moisture, creating the tender texture key to dot cakes. Meanwhile, vanilla extract enhances the sweetness and aroma, making them irresistible.
Step-by-Step Instructions
- Preheat your oven to 350°F (175°C) and prepare a muffin tin or small cake molds by greasing them lightly. This ensures the cakes pop out easily once baked.
- In a medium bowl, whisk together the flour, baking powder, baking soda, and salt. This dry mixture helps the cakes rise evenly while achieving their signature fluffiness.
- In a larger bowl, beat the softened butter and sugar until light and creamy, for about 3 minutes. Proper creaming creates a smooth batter and traps air for a lighter texture.
- Add the eggs one at a time, beating well after each addition, then stir in the vanilla extract. Be sure not to overmix, as this can affect the cake’s structure.
- Alternate adding the dry ingredients and milk in three batches, starting and ending with the dry mix. This step keeps the batter smooth and prevents clumping.
- Fill the prepared molds about two-thirds full with batter, leaving room for the cakes to rise. Tap the molds gently to remove air bubbles for a uniform bake.
- Bake for 15-20 minutes or until a toothpick inserted into the center comes out clean. Let them cool for 10 minutes in the molds before transferring to a wire rack.
- Decorate each dot cake with assorted sprinkles or candies, gently pressing them into the surface.
 Kitchen ApplianceKitchenAid Artisan Stand Mixer
Makes mixing batters effortless — perfect for achieving smooth, lump-free results
Essential CookwareWilton Non-Stick Muffin Pan 12-CupEssential for baking dot cakes — ensures even baking and easy release
This step is perfect for adding color and fun personalization.

Tips and Shortcuts
- Use room temperature butter for better creaming—it blends more easily with sugar. This step is key to achieving a smooth, lump-free batter.
- Sift the dry ingredients to prevent clumps and ensure even mixing. A well-sifted flour mixture makes the cakes light and airy.
- If short on time, use cupcake liners instead of greasing molds. This simplifies cleanup while keeping the dot cakes intact.
- For even baking, rotate the pan midway through the baking time. This ensures all cakes bake uniformly in texture and color.
Serving Ideas
- Serve dot cakes with a cup of tea or coffee for a mid-afternoon snack. The sweetness pairs perfectly with warm beverages.
- Top them with whipped cream and fruit for a burst of freshness. This turns them into a more elegant dessert suitable for special occasions.
- Include them in kids’ lunchboxes for a fun, bite-sized surprise. Their vibrant decorations make them a standout treat to brighten any meal.
- Arrange them on a tiered cake stand for parties or gatherings. This makes them visually appealing while allowing guests to easily grab one.
Ingredient Swaps
- Swap all-purpose flour for whole wheat flour for a nuttier flavor and added fiber. Keep in mind that the cakes may be slightly denser with this substitution.
- Replace butter with coconut oil for a subtle tropical twist. This will also make the recipe dairy-free if paired with almond milk instead of regular milk.
- Switch granulated sugar for brown sugar to add a hint of caramel-like sweetness. This adjustment deepens the flavor and gives the cakes a slightly richer taste.
Avoid Common Mistakes
- Don’t overfill the molds, as the batter will rise and may overflow. Aim for about two-thirds full to give the cakes space to expand without spilling.
- Avoid opening the oven door frequently during baking, as this can cause the cakes to sink. Use the oven light instead to check their progress.
- Ensure ingredients are measured accurately to maintain the right texture. Even small variations can affect the fluffiness and overall balance of the cakes.

Dot Cakes
Loved this recipe? Save it to your favorite Pinterest board so you can easily find it later! ✨