Category

Uncategorized

Category

This post contains affiliate links. As an Amazon Associate, I earn from qualifying purchases. This comes at no extra cost to you.

Zombie pies are savory hand-held treats made with ground turkey, diced onions, bell peppers, corn, and black beans, all seasoned with taco spices, and enveloped in flaky pie crusts. Ready in about 40 minutes, this easy recipe yields eight servings and makes for a perfect snack or meal accompaniment. One bite, and you’ll savor the delightful combination of warm spices and tender vegetables encased in a golden crust. I remember serving these to my friends during a Halloween get-together, and they disappeared as fast as I could bring them out of the oven!

Table of Contents

Zombie pies are gaining popularity for their delicious fusion of tastes and textures, making them a favorite at any gathering.

  • Portable and Easy to Serve: These hand pies are perfect for parties as they don’t require utensils. Guests can enjoy them while mingling.
  • Flavorful Filling: The combination of taco-seasoned turkey with vegetables creates a savory explosion in every bite.
  • Simple Ingredients: With common pantry staples, it’s easy to whip up Zombie Pies with minimal fuss.
  • Festive Appeal: Their fun name and presentation make them an ideal choice for themed events, especially Halloween.

What ingredients do you need for Zombie Pies?

The key ingredients for Zombie Pies include ground turkey, a blend of vegetables, taco seasoning, and pie crusts for a flaky finish.

The ground turkey serves as a lean protein, while taco seasoning infuses bold flavors. Together, they form a hearty, satisfying filling.

How do you make Zombie Pies step by step?

To make Zombie Pies, prepare the filling, assemble the pies, and bake until golden brown. Here’s how to do it step by step.

Step 1 — Preheat the Oven

Preheat your oven to 400°F (200°C).

Step 2 — Sauté the Aromatics

In a large skillet, heat a tablespoon of olive oil over medium heat. Add the diced onions and garlic, sautéing until the onions are translucent.

You might also enjoy our mini apple pies.

Step 3 — Cook the Turkey

Add the ground turkey to the skillet, breaking it apart with a spatula. Cook until browned and fully cooked through.
A spooky zombie pie decorated with green frosting and candy eyes

Step 4 — Add the Vegetables

Stir in the diced bell peppers, corn, black beans, taco seasoning, salt, and black pepper. Cook for another 5 minutes until the veggies are tender. Remove from heat and let the mixture cool slightly.

KitchenAid Artisan Stand Mixer

Kitchen ApplianceKitchenAid Artisan Stand Mixer

Makes mixing dough and batters effortless — a kitchen game-changer

View on Amazon →

Lodge Cast Iron Skillet 12-inch

Essential CookwareLodge Cast Iron Skillet 12-inch

Perfect for searing and baking — this recipe needs even heat distribution

View on Amazon →

Step 5 — Prepare the Pie Crusts

Roll out one pie crust and cut it into circles (about 4-5 inches in diameter). Repeat with the second crust.

For more ideas, check out our mini apple pies.

Step 6 — Assemble the Pies

Place about 2 tablespoons of the turkey mixture in the center of each pie crust circle. Fold the crust over to create a half-moon shape and press the edges to seal. Use a fork to crimp the edges for a decorative touch.

Step 7 — Bake the Pies

In a small bowl, beat the egg and brush the mixture over the top of each pie to give them a golden color when baked. Place the pies on a baking sheet lined with parchment paper and bake in the preheated oven for 20-25 minutes, or until golden brown.

Step 8 — Serve and Enjoy

Remove from the oven and let cool slightly before serving. Serve with sour cream and garnish with chopped fresh cilantro.

Looking for something similar? Try our homemade fried apple pies just.

Frequently Asked Questions About Zombie Pies

Can I make Zombie Pies ahead of time?

Yes, you can make them ahead and store them in the refrigerator for up to two days before baking.

What can I use instead of pie crusts?

Puff pastry can be used as a substitute for a flakier texture, but baking times may slightly differ.

Are Zombie Pies suitable for vegetarians?

No, but you can replace the turkey with a plant-based protein for a vegetarian version.

How long do Zombie Pies stay fresh?

Once baked, they stay fresh for up to three days in an airtight container in the refrigerator.

Can I freeze Zombie Pies?

Yes, freeze unbaked pies for up to three months. Bake directly from frozen, adding extra time as needed.
Zombie Pies

Prep Time 20 minutes
Cook Time 25 minutes
Total Time 45 minutes
Servings 6 servings
Calories 350
These Zombie Pies are a fun and delicious way to enjoy a savory filling wrapped in flaky crust. Perfect for parties or a spooky-themed dinner!

Equipment

  • Mixing bowl
  • Skillet
  • Baking Sheet
  • Oven
  • Fork

Ingredients

Instructions 

  • Preheat your oven to 400°F (200°C).
  • In a large skillet, heat a tablespoon of olive oil over medium heat. Add the diced onions and garlic, sautéing until the onions are translucent.
  • Add the ground turkey to the skillet, breaking it apart with a spatula. Cook until browned and fully cooked through.
  • Stir in the diced bell peppers, corn, black beans, taco seasoning, salt, and black pepper. Cook for another 5 minutes until the veggies are tender. Remove from heat and let the mixture cool slightly.
  • Roll out one pie crust and cut it into circles (about 4-5 inches in diameter). Repeat with the second crust.
  • Place about 2 tablespoons of the turkey mixture in the center of each pie crust circle. Fold the crust over to create a half-moon shape and press the edges to seal. Use a fork to crimp the edges for a decorative touch.
  • In a small bowl, beat the egg and brush the mixture over the top of each pie to give them a golden color when baked.
  • Place the pies on a baking sheet lined with parchment paper and bake in the preheated oven for 20-25 minutes, or until golden brown.
  • Remove from the oven and let cool slightly before serving. Serve with sour cream and garnish with chopped fresh cilantro.

Notes
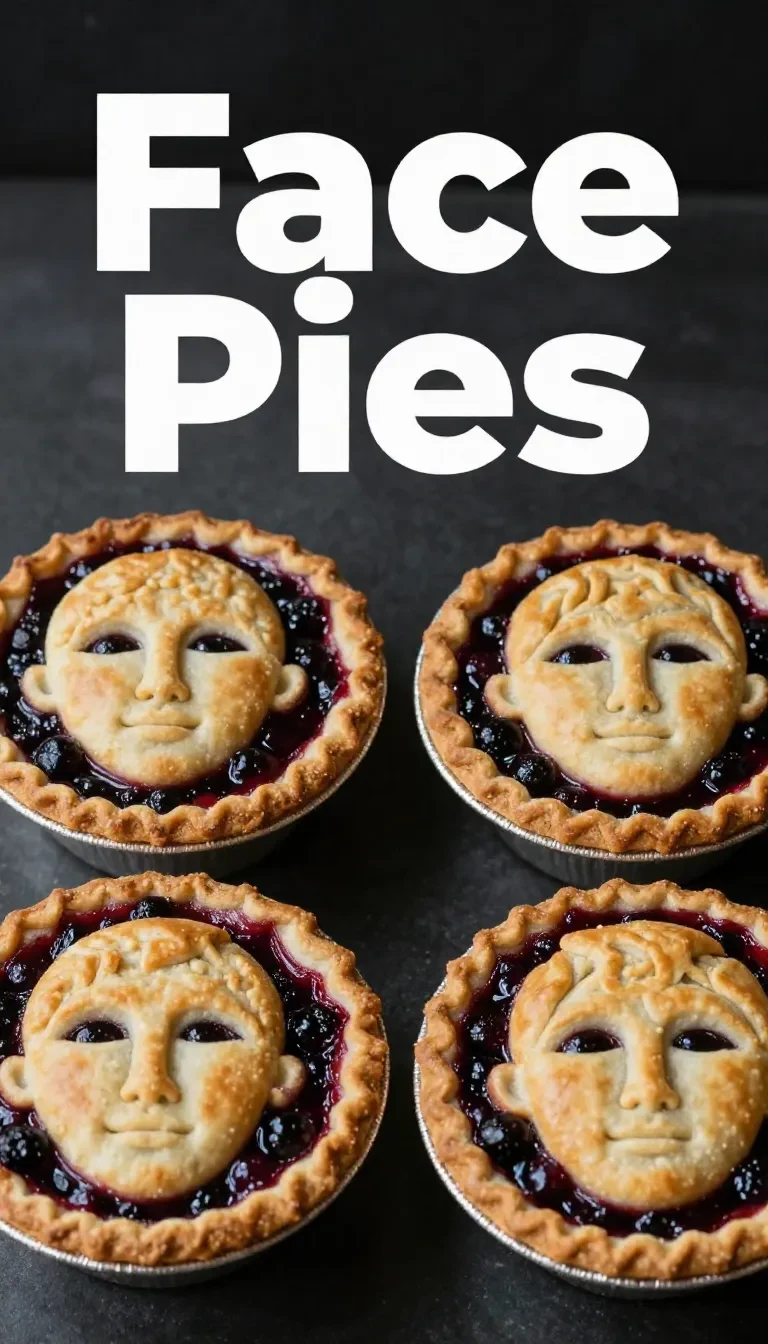
Feel free to customize the filling with your favorite vegetables or spices.
Calories: 350kcal
Cost: $15
Course: Main Course
Cuisine: American
Keyword: turkey pies
A spooky zombie pie decorated with green frosting and candy eyes

Loved this recipe? Save it to your favorite Pinterest board so you can easily find it later! ✨
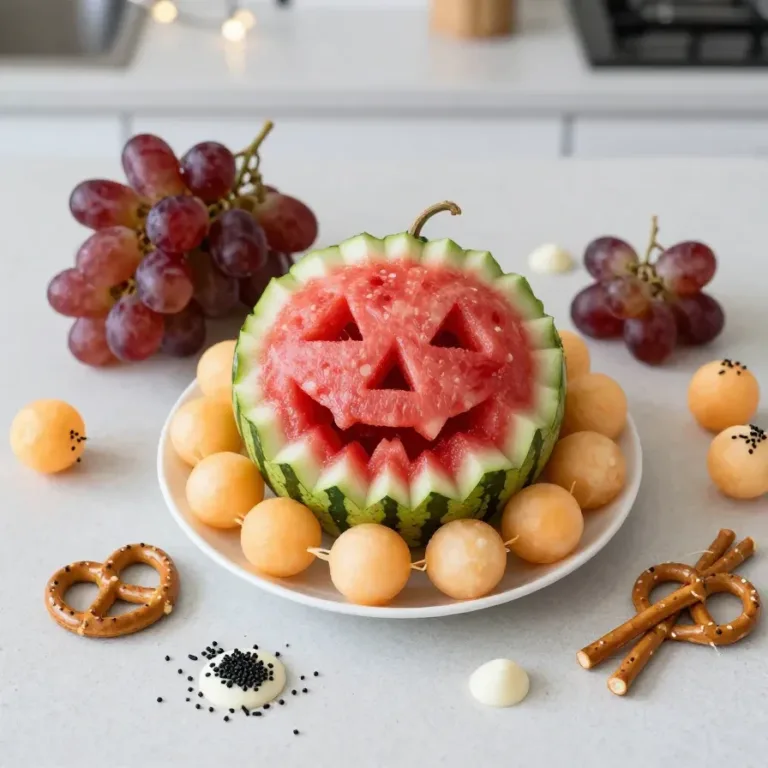
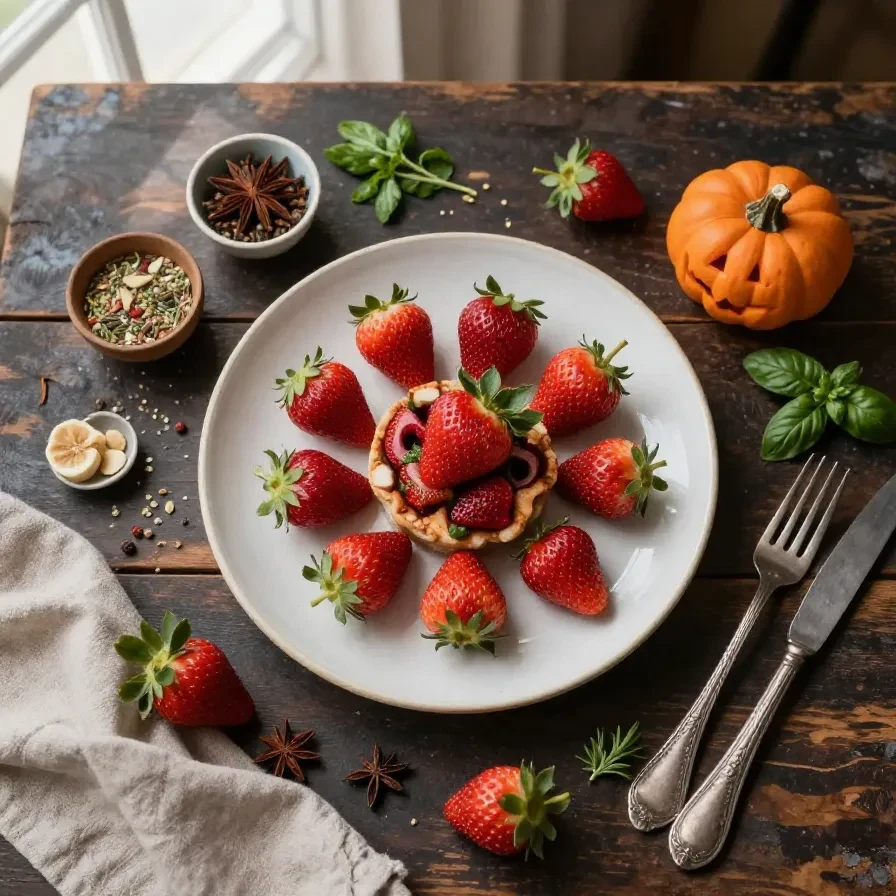
Halloween is just around the corner, and if there’s one thing my grandmother taught me, it’s that food is at the heart of any celebration. This collection of 36 spooky and easy Halloween snacks for adults is perfect for those looking to add a touch of eerie elegance to their festivities. Whether you’re hosting a hauntingly fun party or enjoying a cozy night in with friends, these recipes will help you create deliciously ghoulish treats that are as delightful to make as they are to eat.

Table of Contents

Halloween Strawberries

These vibrant strawberries are dipped in white chocolate and decorated with spooky faces, making them as fun to create as they are to eat. A perfect balance of sweet and tart, they’re a bite-sized delight for any Halloween gathering. get the recipe.

Easy Halloween Candy Bark

This candy bark combines dark chocolate with an array of colorful Halloween candies, creating a visually striking treat. In just 15 minutes, you can craft a snack that’s both eye-catching and deliciously addictive. see the full recipe.

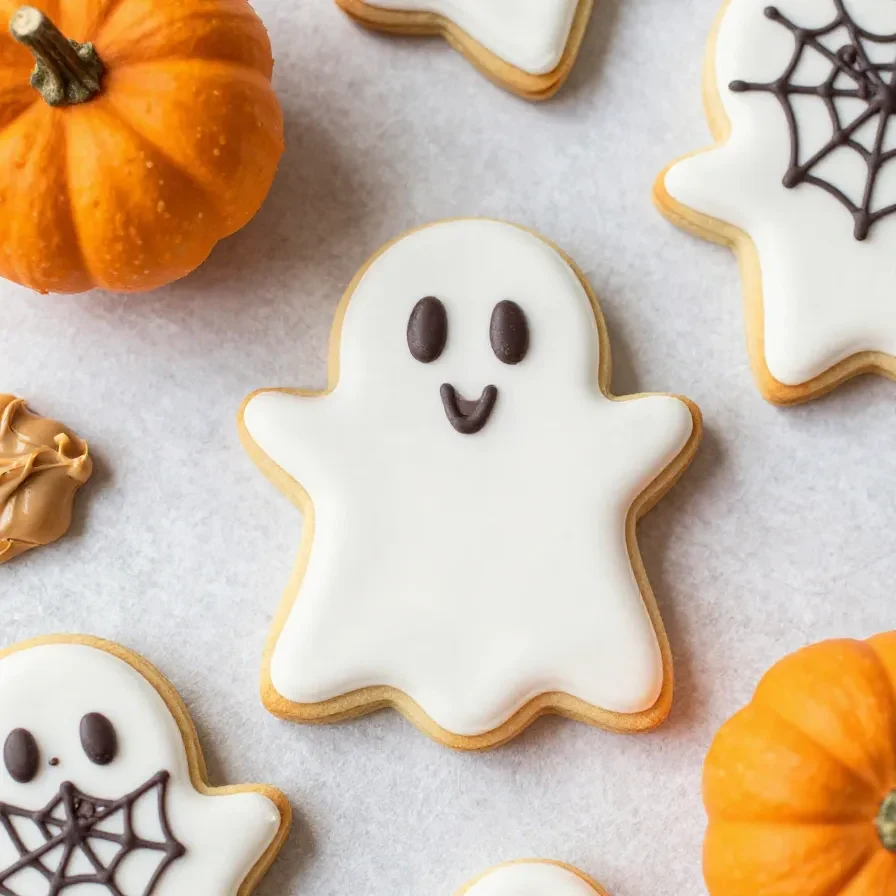
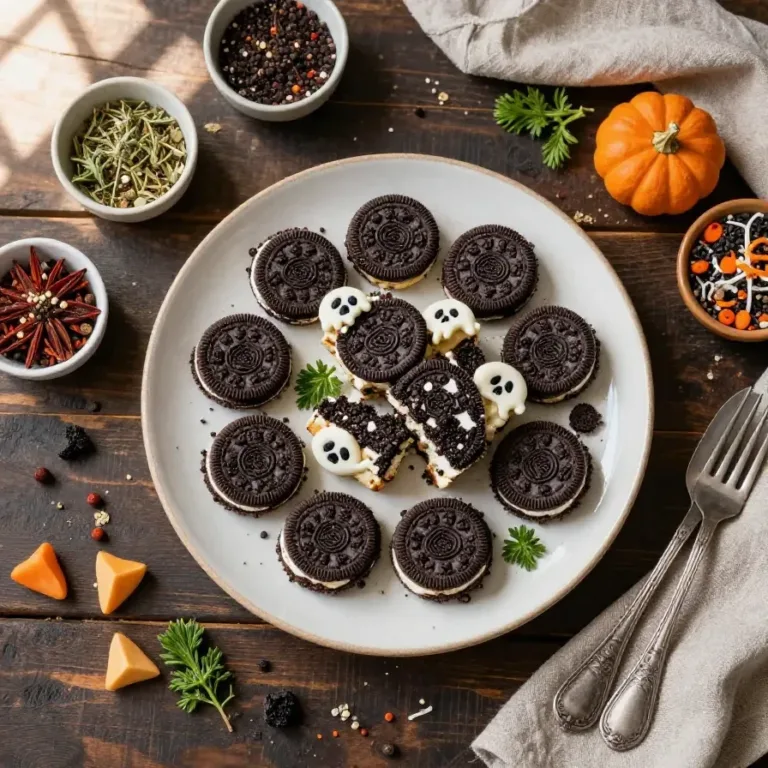
A variety of spooky Halloween snacks arranged on a table, including ghost-shaped cookies and pumpkin dip.

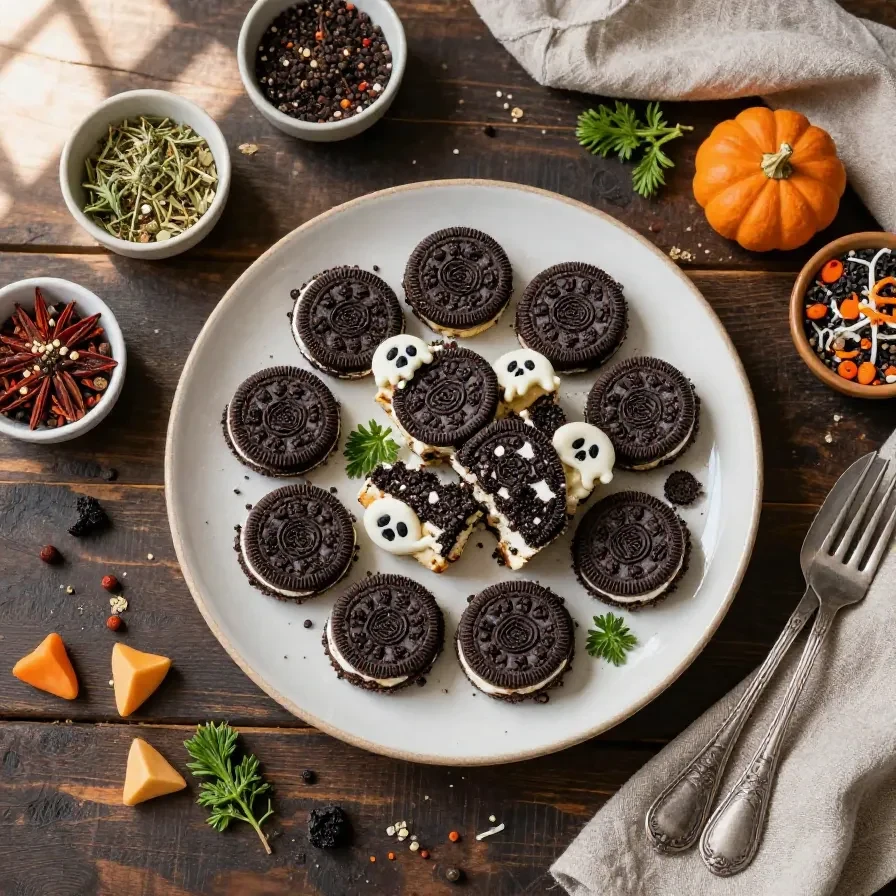
Halloween Oreo Treats

Transform classic Oreos into a Halloween sensation with a simple dip in white chocolate and a sprinkle of festive toppings. It’s a quick and easy way to elevate a beloved cookie into a seasonal favorite. read more.

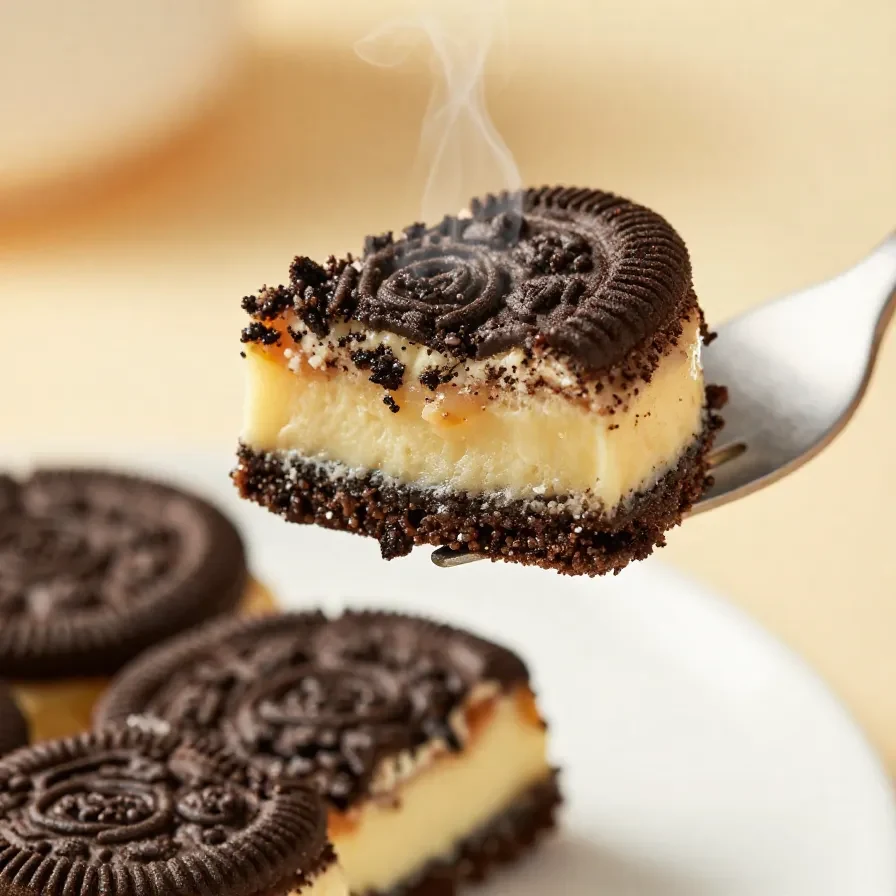
Halloween Candy Corn Mini Cheesecakes

These mini cheesecakes mimic the iconic candy corn with layers of vibrant color and creamy texture. Ideal for individual servings, they offer a playful twist on a classic dessert. check the recipe.

Pumpkin Chocolate Covered Strawberries

Give strawberries a Halloween makeover by dipping them in orange-tinted chocolate and adorning them with jack-o’-lantern faces. These treats combine the freshness of fruit with the indulgence of chocolate. view the recipe.

Halloween BBQ Party Platter

This platter is a carnivore’s dream, featuring an assortment of BBQ meats with a spooky twist. Arrange ribs, sausages, and chicken wings in a way that mimics eerie shapes, and watch your guests devour them with delight. get the recipe.

Witch Brooms

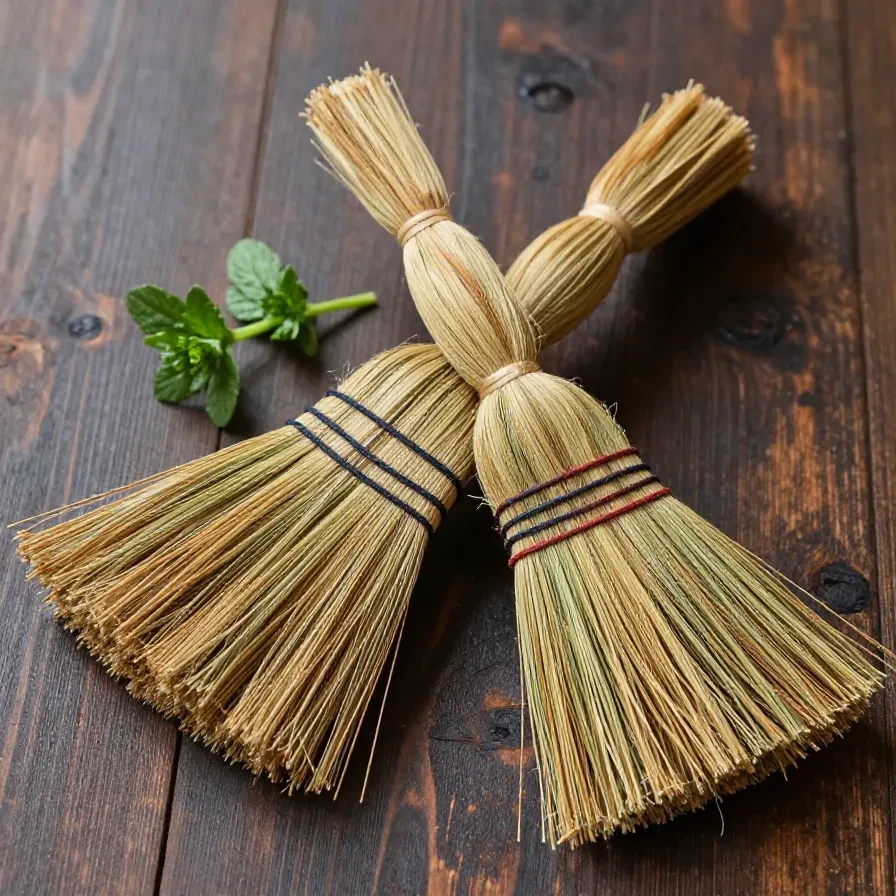
Craft these whimsical witch brooms with pretzel sticks and cheese, creating a savory snack that’s both charming and easy to assemble. In under 10 minutes, you can whip up a coven’s worth of brooms! see the full recipe.

Halloween Chocolate Chip Cookies

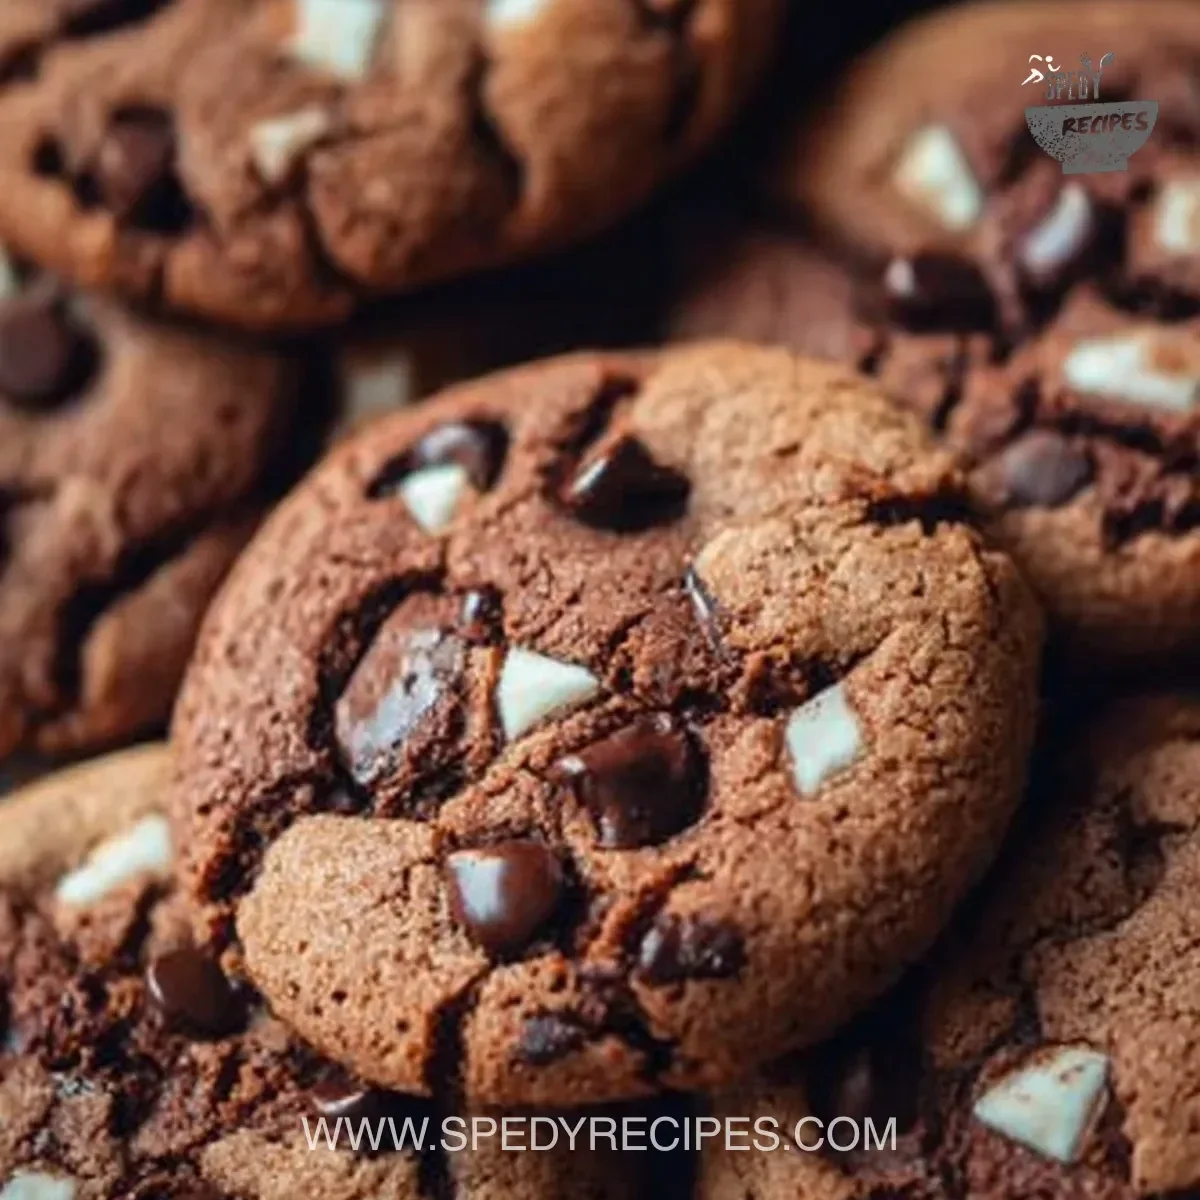
Elevate your classic chocolate chip cookies with festive Halloween sprinkles and a hint of cinnamon. These cookies will fill your kitchen with a warm, inviting aroma that screams ‘Halloween’. read more.

Jack-O’-Lantern Brownies

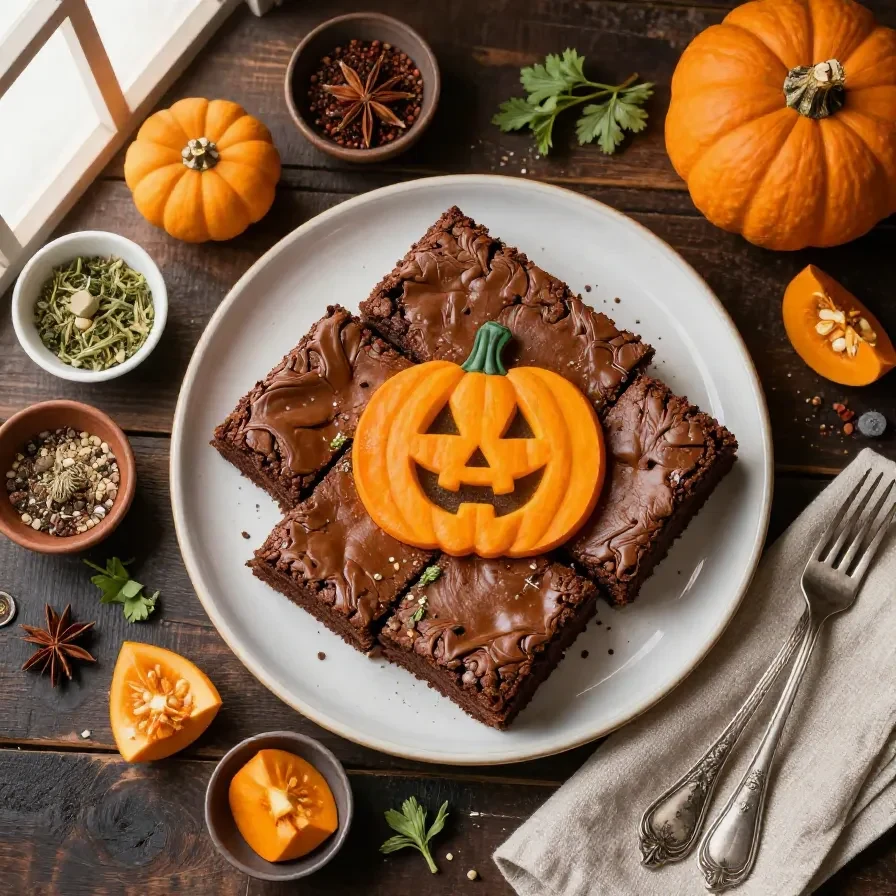
Rich and fudgy brownies are transformed with a touch of orange icing to create jack-o’-lantern faces. They’re the perfect handheld treat for any spooky celebration. check the recipe.

Bloody Eyeball Jello Cups

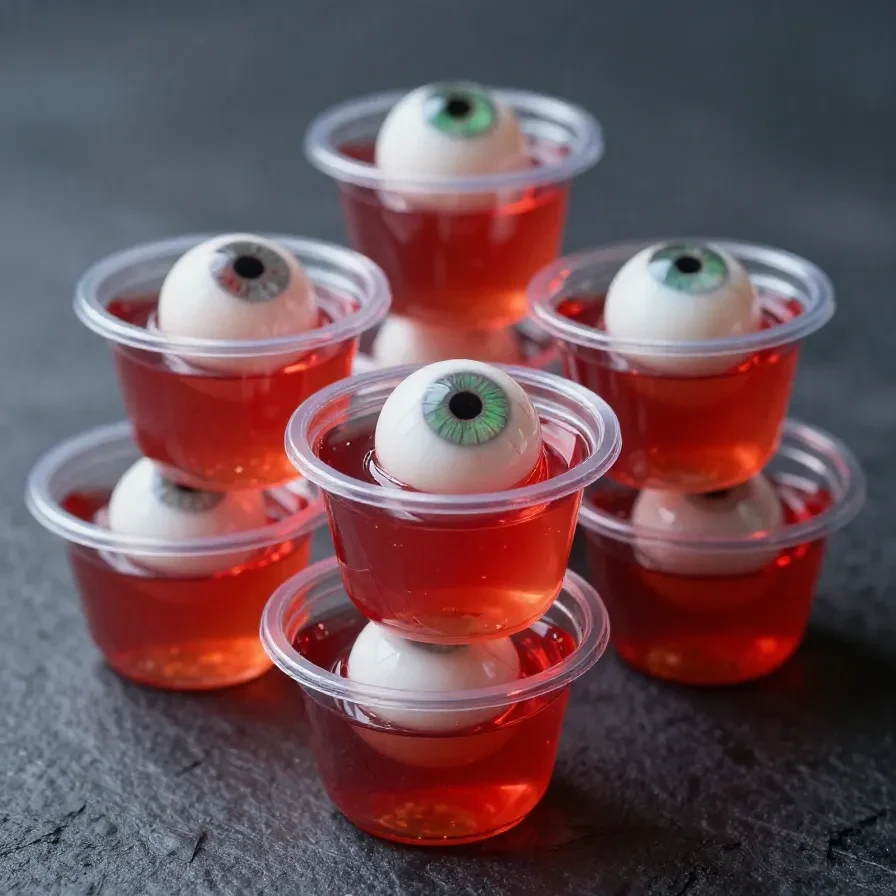
These jello cups are as creepy as they are delicious, featuring a floating ‘eyeball’ made from lychee and blueberries. They’re a show-stopping addition to any Halloween dessert table. view the recipe.

Vampire Bite Trail Mix

Combine dried fruits, nuts, and dark chocolate for a trail mix that’s both satisfying and slightly sinister. A handful of this mix will keep your energy up for trick-or-treating or dancing the night away. get the recipe.

Skull Snack Board

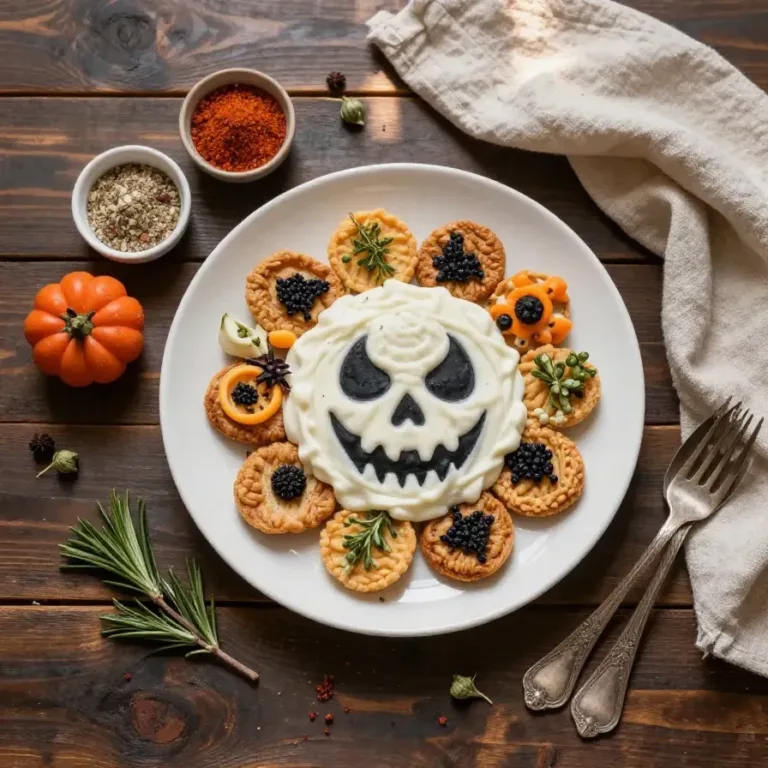
Create a hauntingly beautiful snack board filled with cheeses, meats, and crackers artfully arranged in the shape of a skull. It’s a sophisticated way to add a touch of macabre to your Halloween spread. see the full recipe.

Boo Halloween Salad

This spooky salad features ghost-shaped croutons and a mix of seasonal greens. It’s a refreshing and healthy addition to balance out the otherwise indulgent Halloween treats. read more.

Ghost Pretzels

These ghostly pretzels are dipped in white chocolate and adorned with tiny chocolate faces. They’re a salty-sweet snack that’s as easy to make as they are to enjoy. check the recipe.

5-Minute Halloween Snack Mix

Combine popcorn, candy corn, and pretzels for a mix that’s ready in minutes and perfect for last-minute gatherings. It’s a crunchy, sweet, and salty combination that’s irresistible. view the recipe.

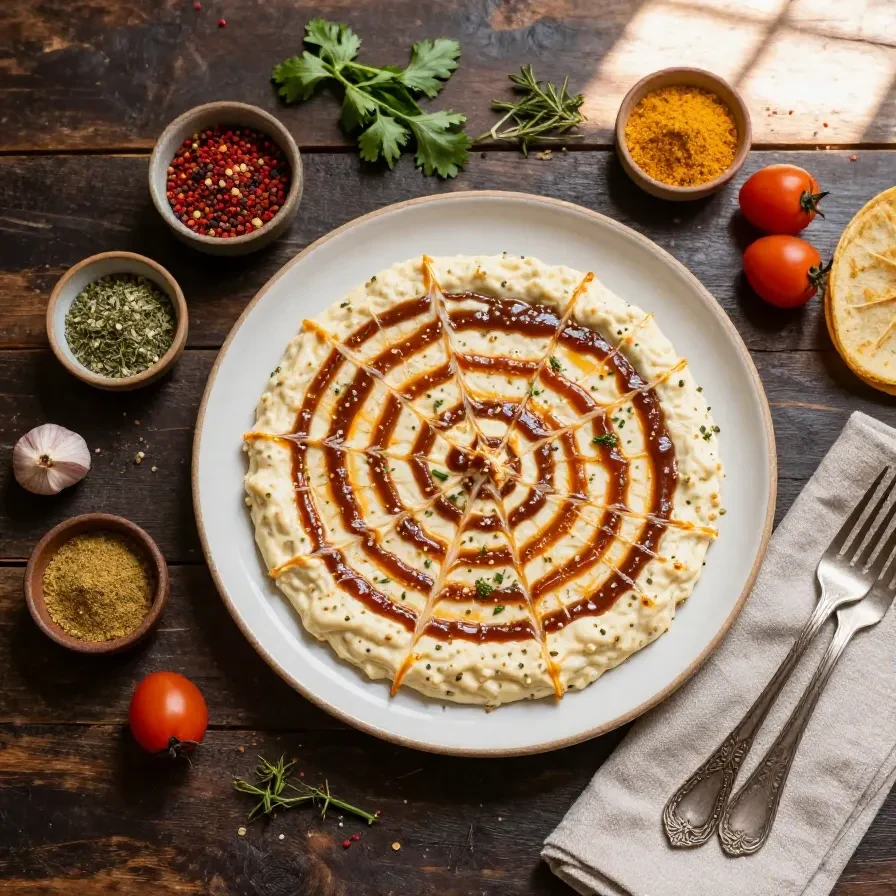
Bloody Spider Cheese Dip

This cheese dip is both creepy and delicious, topped with a ‘bloody’ salsa and served with a side of spider-shaped tortilla chips. It’s a crowd-pleaser with a spicy kick. get the recipe.

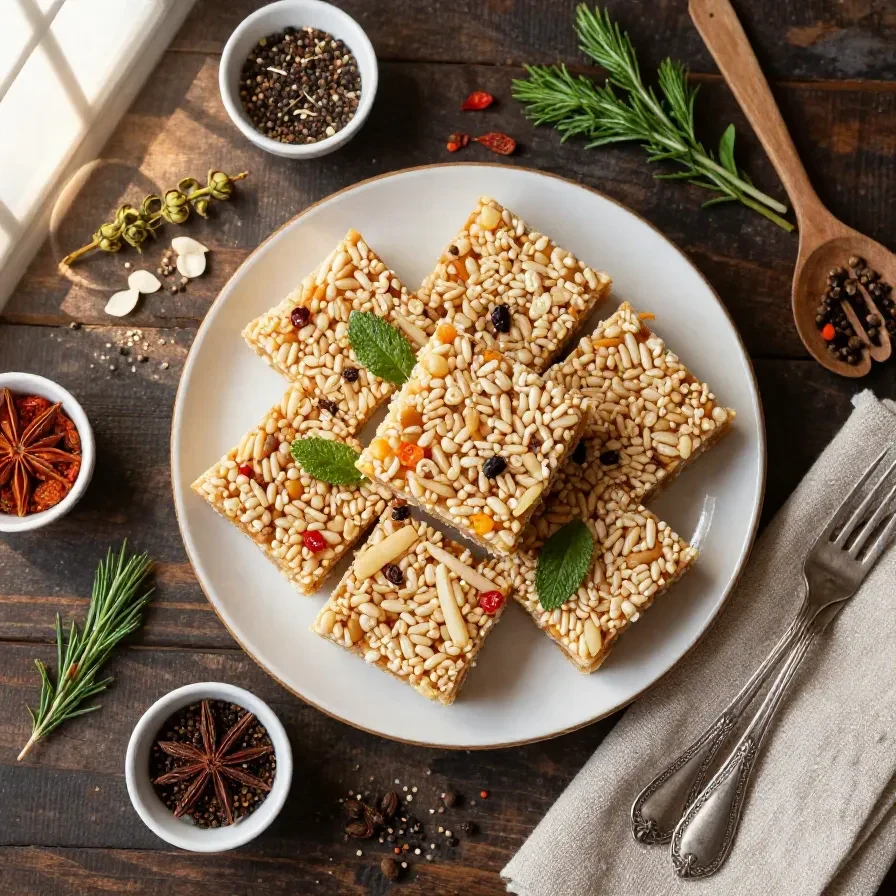
Frankenstein Rice Krispie Treats

Transform traditional Rice Krispie treats into Frankenstein faces with a little green food coloring and chocolate accents. They’re a fun and easy project for kids and adults alike. see the full recipe.

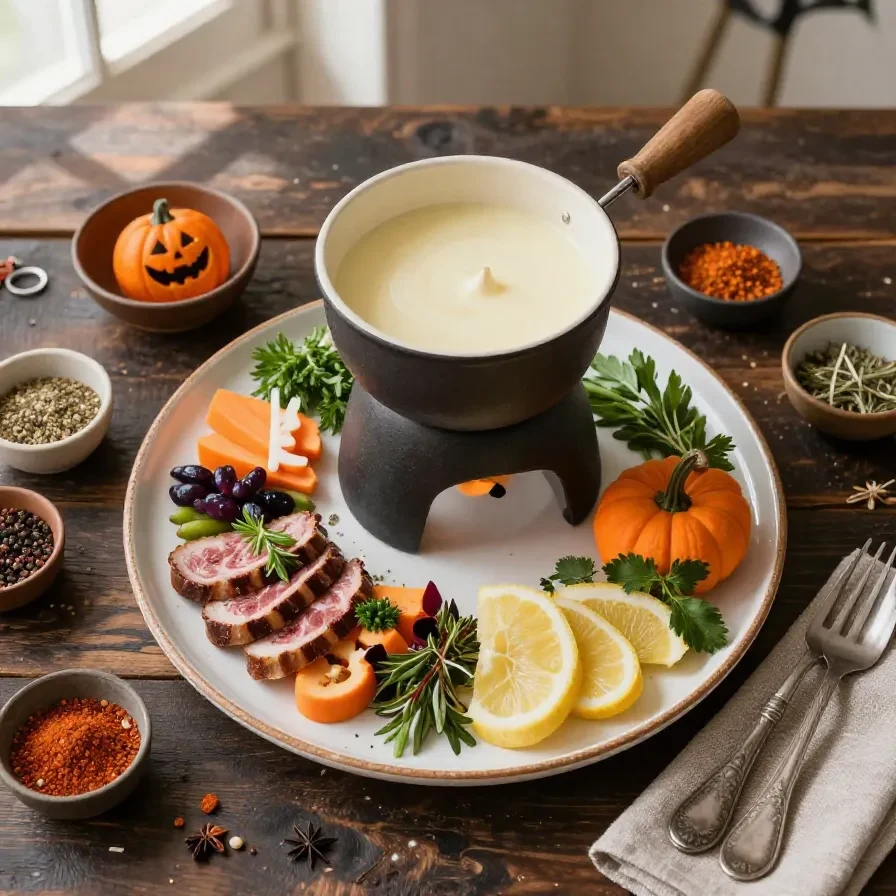
Halloween Cauldron Fondue Bar

Set up a bubbling cauldron of cheese or chocolate fondue alongside an array of dippable treats. This interactive snack is perfect for bringing a bit of theatrical flair to your Halloween night. read more.

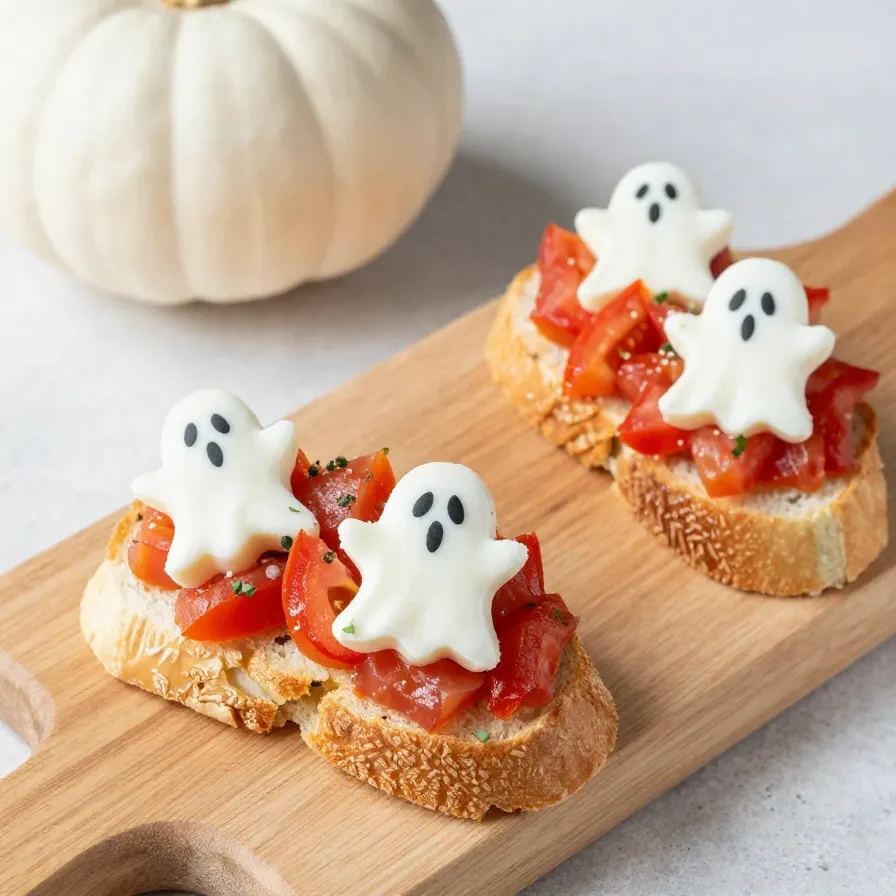
Boo-schetta Ghost Appetizers

Top toasted bread with ghost-shaped mozzarella for a spooky spin on classic bruschetta. These appetizers are both elegant and fun, making them perfect for any Halloween gathering. check the recipe.

Bloody Red Velvet Popcorn

This popcorn is coated in a red velvet candy mix for a bloody-good treat. It’s an unusual but delicious way to enjoy your favorite theater snack at home. view the recipe.

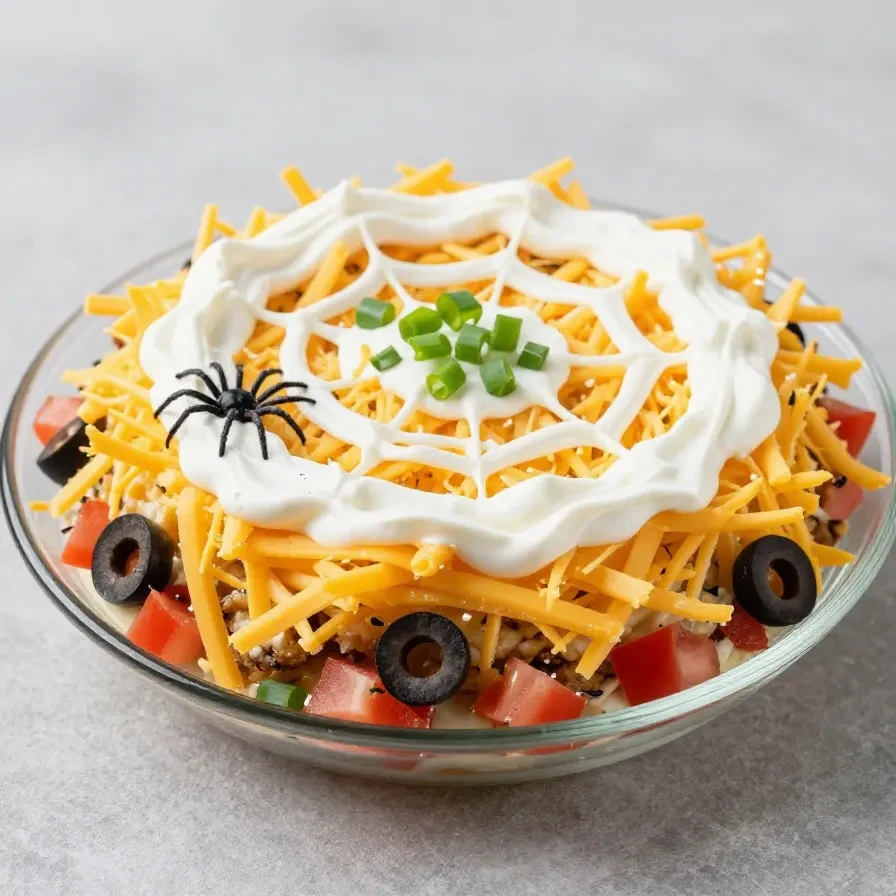
Spider Web Taco Dip

Layered taco dip gets a Halloween makeover with a sour cream spider web and olive spider toppings. It’s a savory centerpiece for any spooky gathering. get the recipe.

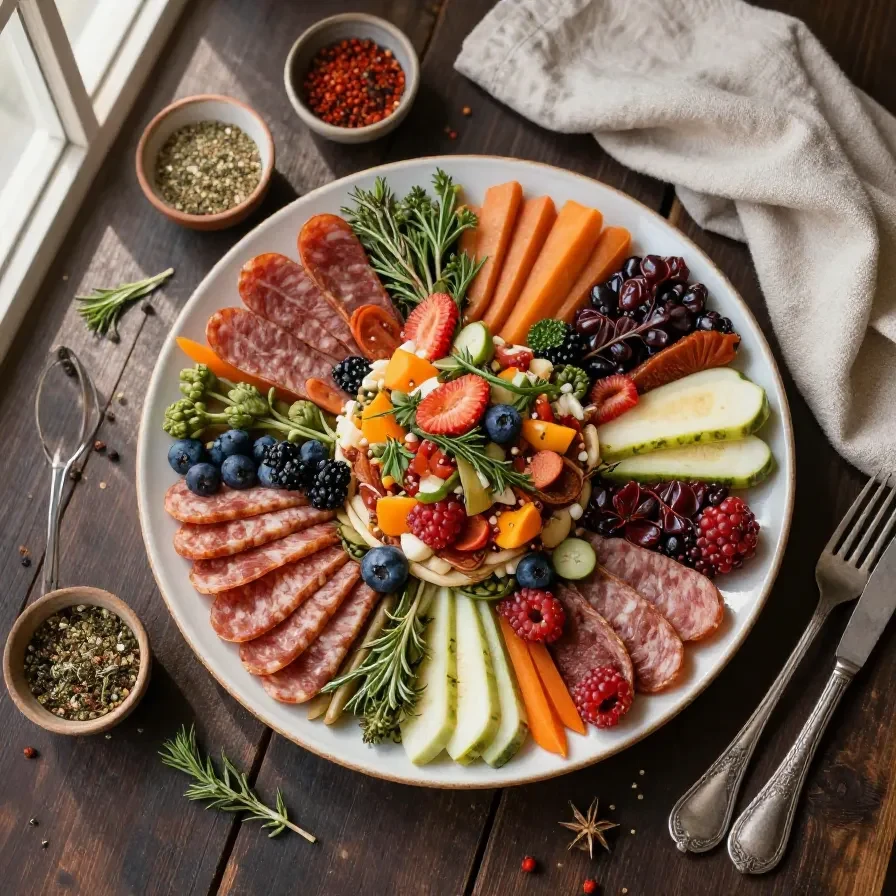
Hocus Pocus Charcuterie Board

Inspired by the beloved movie, this board combines an enchanting mix of meats, cheeses, and fruits. Arrange them with a touch of magic for a bewitching snack experience. see the full recipe.

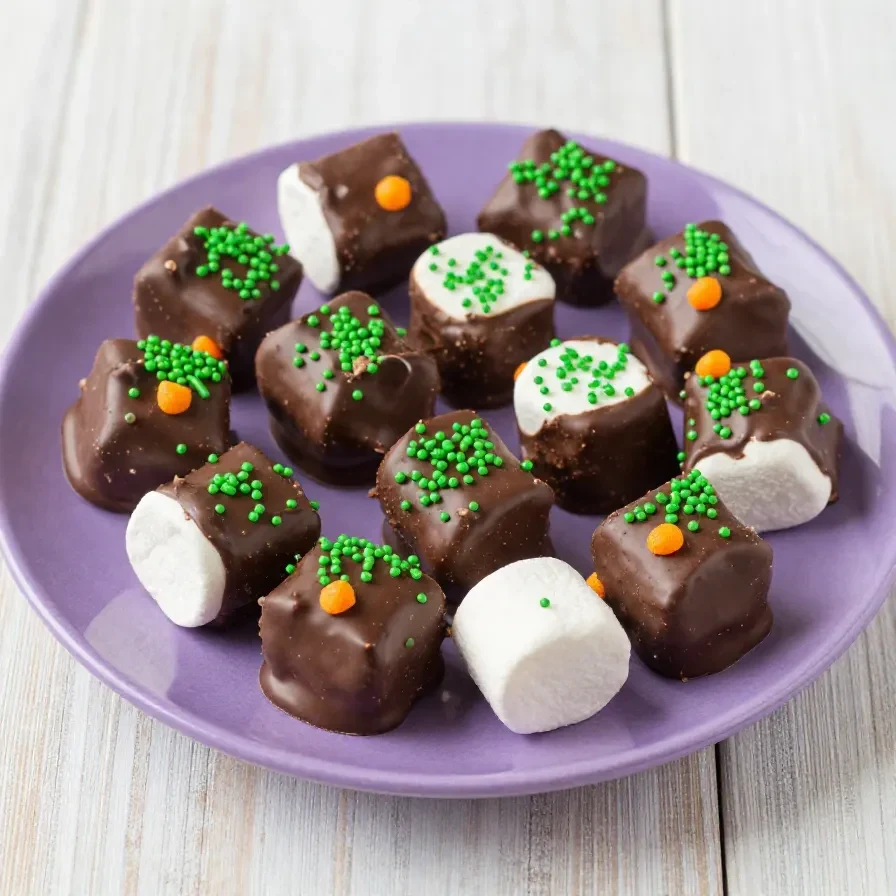
Halloween Dipped Marshmallows

Dip marshmallows in chocolate and decorate with spooky sprinkles for a simple yet festive treat. These are perfect for dunking in hot cocoa or munching on their own. read more.

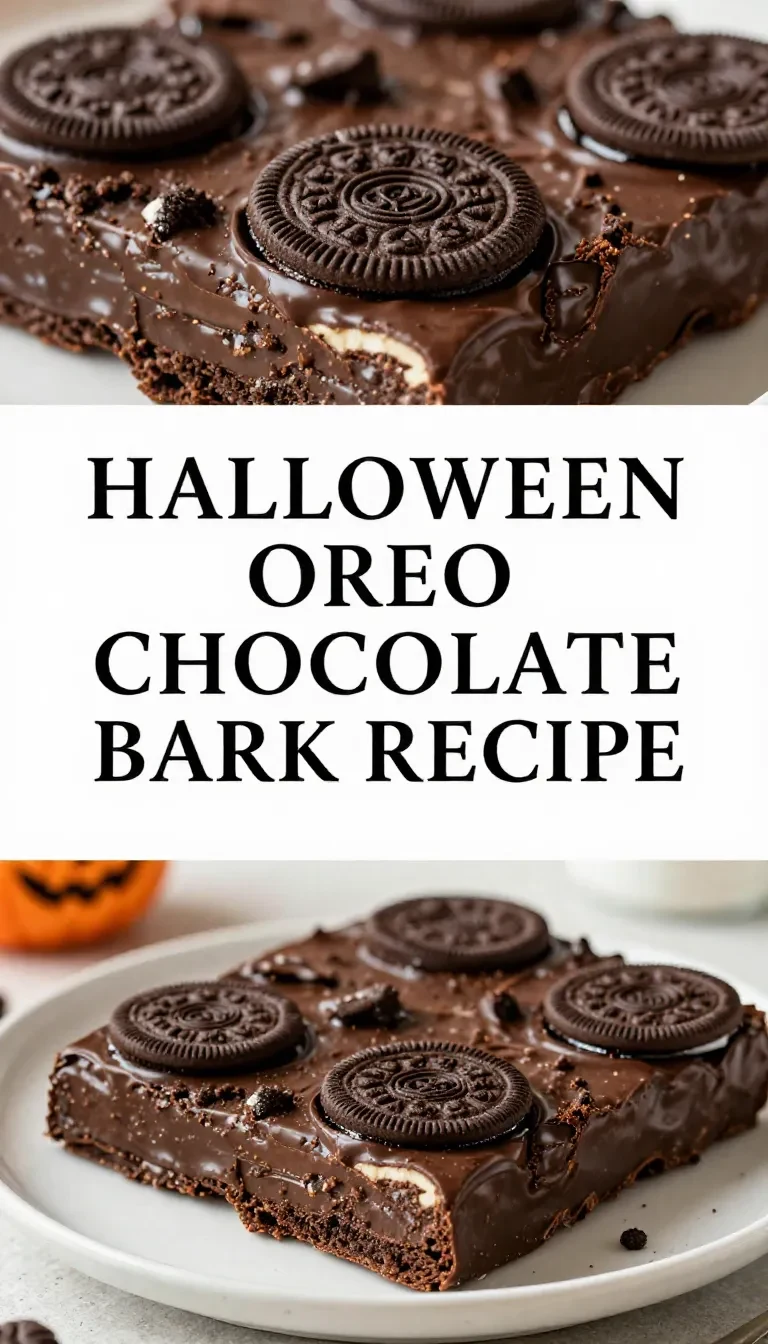
Spooky Halloween Oreo Bark

This bark combines crushed Oreos with a layer of dark chocolate and festive candies. It’s a quick treat that’s perfect for satisfying your Halloween sweet tooth. read more.

Nutter Butter Ghosts

Transform Nutter Butter cookies into ghostly figures with a dip in white chocolate and a few chocolate chip eyes. They’re a simple, no-bake treat that’s hauntingly delicious. view the recipe.

Marshmallow Rice Krispie Brains

Mold Rice Krispie treats into brain shapes and coat them with a red candy glaze for a creepy-crawly snack. It’s a gory but tasty treat that will delight your guests. get the recipe.

Halloween Snack Board for Kids

This kid-friendly snack board features an assortment of sweet and savory treats, all with a fun Halloween theme. It’s a great way to get little ones excited about trying new foods. read more.

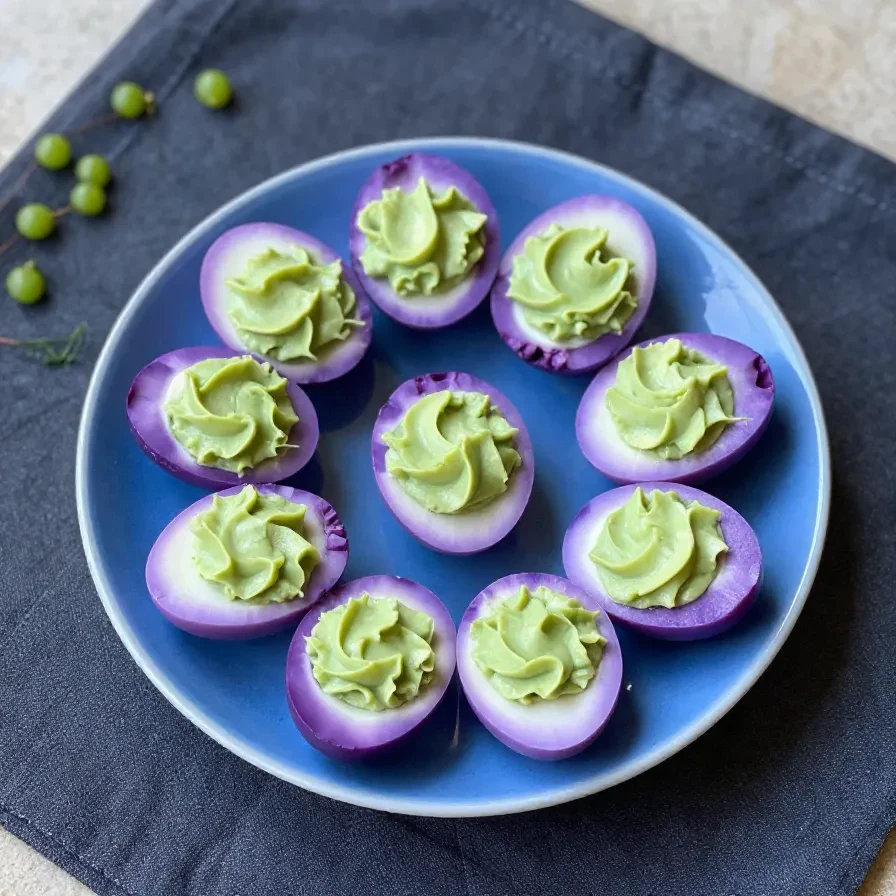
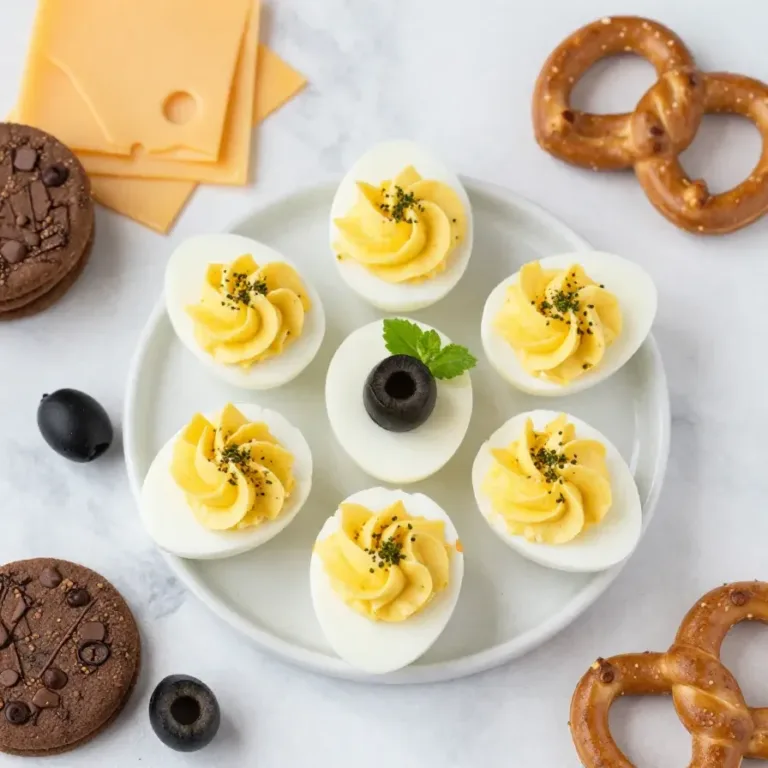
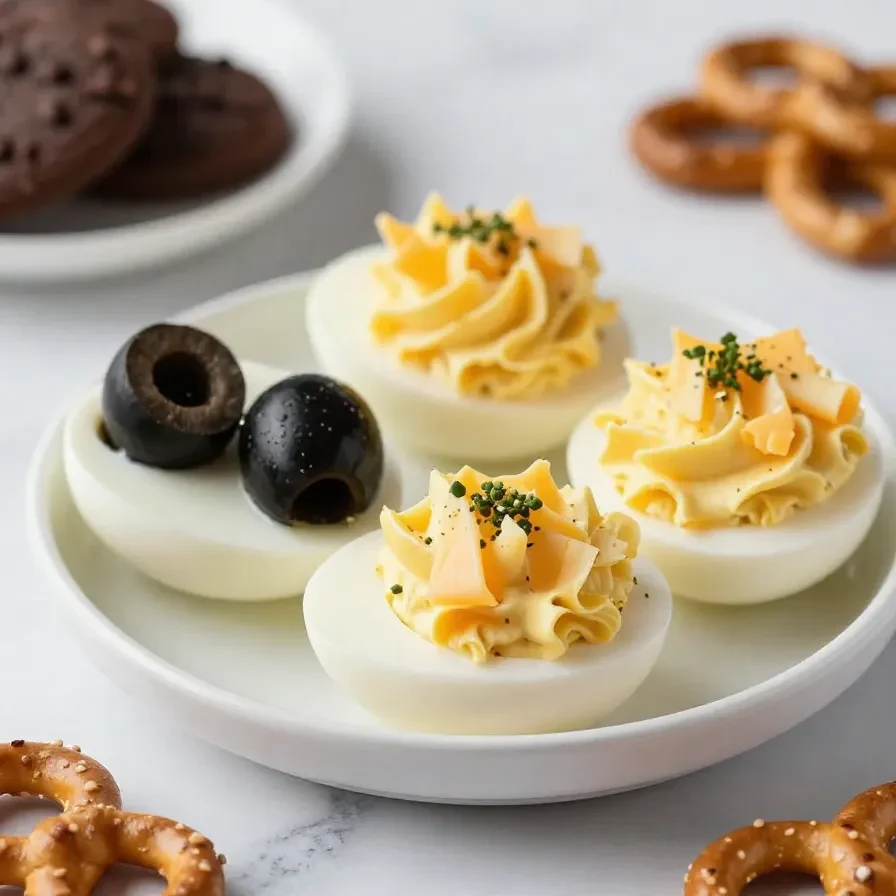
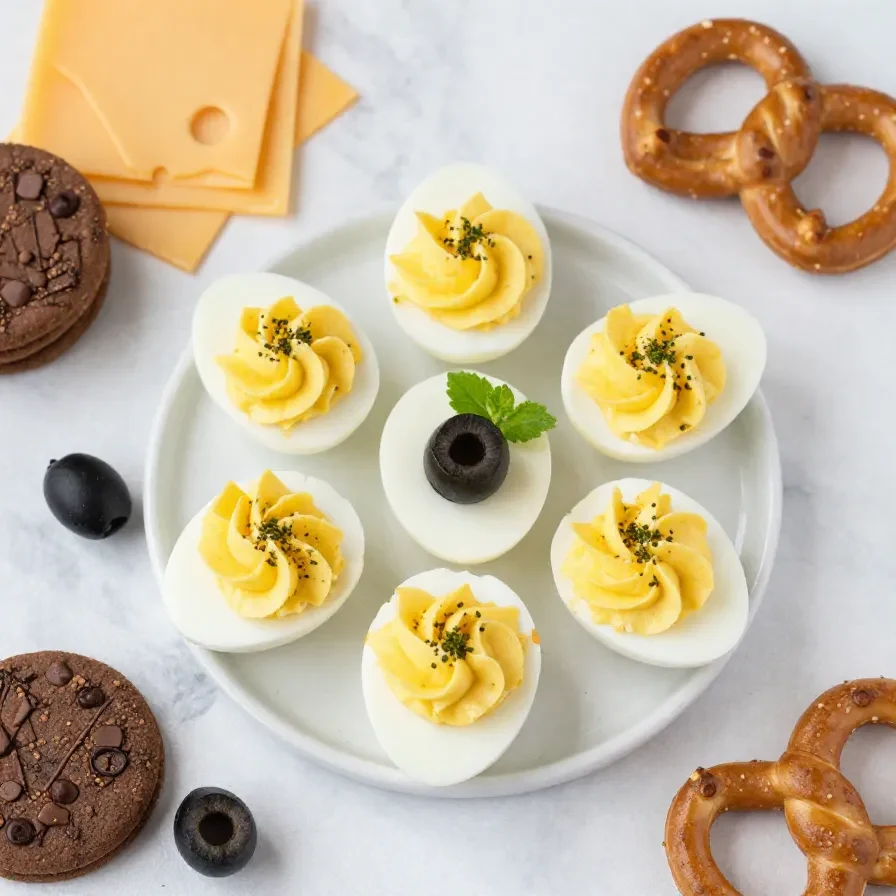
Spooky Halloween Deviled Eggs

These deviled eggs are given an eerie makeover with black olive spiders perched on top. They’re a protein-packed snack that’s as fun to make as it is to eat. view the recipe.

Which spooky treat will you try?

I hope these recipes inspire you to create a Halloween spread that’s both ghoulish and gourmet. Remember, the best treats are made with a dash of creativity and a whole lot of love.

A variety of spooky Halloween snacks arranged on a table, including ghost-shaped cookies and pumpkin dip.

Loved this recipe? Save it to your favorite Pinterest board so you can easily find it later! ✨

This post contains affiliate links. As an Amazon Associate, I earn from qualifying purchases. This comes at no extra cost to you.

Spooky halloween deviled eggs

Spooky Halloween Deviled Eggs is a tantalizing appetizer made with creamy yolks and a touch of Dijon mustard, decorated with eerie olive spiders. Ready in 27 minutes, this dish delivers 12 halves, perfect for adding a spooky twist to your party table. The creamy filling and ghoulish appearance make these eggs a delightful yet eerie treat.

I remember the first time I made these delights, my brother Sam was my eager helper, slicing olives with impressive precision to create the tiny spider decorations.

Table of Contents

Spooky Halloween Deviled Eggs captivate guests with their inventive decorations and delectable flavor. These eggs are easy to make, visually striking, and perfect for festive gatherings.

  • Visual Appeal: The olive spiders add a touch of creativity that transforms these appetizers into party-ready treats.
  • Simple Ingredients: Using staple pantry items makes these eggs accessible and easy for home cooks.
  • Quick Preparation: With only 27 minutes from start to finish, they’re ideal for last-minute preparations.
  • Flavorful Filling: The balance of mayonnaise and Dijon mustard creates a rich, tangy taste that delights the palate.

What ingredients do you need for Spooky Halloween Deviled Eggs?

The key ingredients for Spooky Halloween Deviled Eggs are six large eggs, mayonnaise, Dijon mustard, apple cider vinegar, and optional decorations for a spooky effect.

The mayonnaise provides creaminess while the Dijon mustard adds a tangy kick, crucial for the signature flavor of this dish.

How do you make Spooky Halloween Deviled Eggs step by step?

To make Spooky Halloween Deviled Eggs, boil eggs, prepare a creamy yolk mixture, and decorate with spooky spiders. This straightforward process ensures a fun and festive appetizer.

Step 1 — Boil the Eggs

Place the eggs in a pot and cover them with cold water. Bring to a boil over medium-high heat.

Step 2 — Rest

Once boiling, cover the pot, remove it from heat, and let it sit for 12 minutes.

You might also enjoy our halloween deviled eggs with olive spiders.

Step 3 — Cool

After 12 minutes, transfer the eggs to an ice bath to cool for about 5 minutes.

A platter of spooky Halloween deviled eggs decorated with olive spiders and red pepper fangs

Step 4 — Prepare Yolks

Peel the eggs and slice them in half lengthwise. Remove the yolks and place them in a bowl.

Cuisinart Food Processor

Kitchen ApplianceCuisinart Food Processor

Makes blending and mixing ingredients effortless for smooth fillings.

View on Amazon →

Pyrex Mixing Bowl Set

Essential CookwarePyrex Mixing Bowl Set

Essential for mixing and serving your deviled egg filling.

View on Amazon →

Step 5 — Mix Filling

Mash the yolks with mayonnaise, Dijon mustard, apple cider vinegar, salt, and pepper until smooth. If using, mix in a few drops of black food coloring for a spooky effect.

Step 6 — Fill the Eggs

Spoon or pipe the yolk mixture back into the egg whites.

Step 7 — Decorate

For decoration, slice olives to create spider shapes and place them on top of the deviled eggs. Sprinkle paprika and chives on top for garnish.

For more ideas, check out our 8 spooky potluck food ideas.

Step 8 — Serve

Serve immediately or refrigerate until ready to serve.

Frequently Asked Questions About Spooky Halloween Deviled Eggs

Can you make these deviled eggs in advance?

Yes, you can prepare them up to a day in advance. Store them in the fridge in an airtight container.

What can I use instead of black food coloring?

If you prefer not to use food coloring, omitting it will not affect the taste.

How do you ensure smooth yolk filling?

For a creamy texture, ensure the yolks are fully mashed and ingredients are mixed well.

Are there alternatives to olives for decoration?

You can use capers or small slices of bell pepper for a different look.

Looking for something similar? Try our 22 spooky & easy halloween.

What is the best way to peel hard-boiled eggs?

Use eggs that are a few days old and cool them in an ice bath for easy peeling.

Expert Tips and Shortcuts for Perfect Deviled Eggs

Use older eggs for easier peeling. They tend to peel more cleanly after being boiled. When mixing the yolk filling, use a fork or electric mixer to achieve the smoothest consistency. For a more dramatic effect, consider using green olives with pimentos for added color contrast. For a time-saving trick, boil the eggs the night before to make assembly faster on the day of your event.

How to Store and Reheat Spooky Halloween Deviled Eggs

Store these deviled eggs in an airtight container in the refrigerator. They can last up to two days when stored properly. To reheat, though not typical for deviled eggs, allow them to sit at room temperature for a few minutes before serving to take the chill off.

For freezing, it is not recommended as the mayonnaise in the filling can separate, affecting texture. Keep them chilled in the fridge and decorate them just before serving for the best results.

The History and Origin of Deviled Eggs

Deviled eggs have roots tracing back to ancient Rome, where boiled eggs were seasoned with spicy sauces and served as appetizers. This dish gained popularity in the United States in the 19th century, evolving into the classic party staple we know today. The term “deviled” originally referred to the addition of hot or spicy ingredients, aligning perfectly with the Halloween theme of our dish.

Common Mistakes to Avoid When Making Deviled Eggs

One common mistake is overcooking the eggs, which results in a green ring around the yolks. To avoid this, follow the specified boiling time carefully. Another pitfall is undermixing the filling, which can lead to a lumpy texture. Ensure all ingredients are thoroughly combined for a smooth filling. Finally, decorating too early can cause the olive spiders to slide off; decorate just before serving to maintain their ghoulish look.

Spooky Halloween Deviled Eggs

Prep Time 20 minutes
Cook Time 12 minutes
Total Time 32 minutes
Servings 6 servings
Calories 70
These spooky Halloween deviled eggs are a fun and festive treat perfect for any Halloween gathering. With a creamy filling and creative decorations, they are sure to impress!

Equipment

  • Pot
  • Mixing bowl
  • ice bath
  • spoon or piping bag
  • Knife

Ingredients

Instructions 

  • Place the eggs in a pot and cover them with cold water. Bring to a boil over medium-high heat.
  • Once boiling, cover the pot, remove it from heat, and let it sit for 12 minutes.
  • After 12 minutes, transfer the eggs to an ice bath to cool for about 5 minutes.
  • Peel the eggs and slice them in half lengthwise. Remove the yolks and place them in a bowl.
  • Mash the yolks with mayonnaise, Dijon mustard, apple cider vinegar, salt, and pepper until smooth. If using, mix in a few drops of black food coloring for a spooky effect.
  • Spoon or pipe the yolk mixture back into the egg whites.
  • For decoration, slice olives to create spider shapes and place them on top of the deviled eggs.
  • Sprinkle paprika and chives on top for garnish.
  • Serve immediately or refrigerate until ready to serve.

Notes

For a more intense spooky effect, add more black food coloring to the yolk mixture.
Calories: 70kcal
Cost: $8
Course: Appetizer
Cuisine: American
Keyword: Deviled Eggs, Halloween
A platter of spooky Halloween deviled eggs decorated with olive spiders and red pepper fangs

Loved this recipe? Save it to your favorite Pinterest board so you can easily find it later! ✨
This post contains affiliate links. As an Amazon Associate, I earn from qualifying purchases. This comes at no extra cost to you.

Nutter butter ghosts

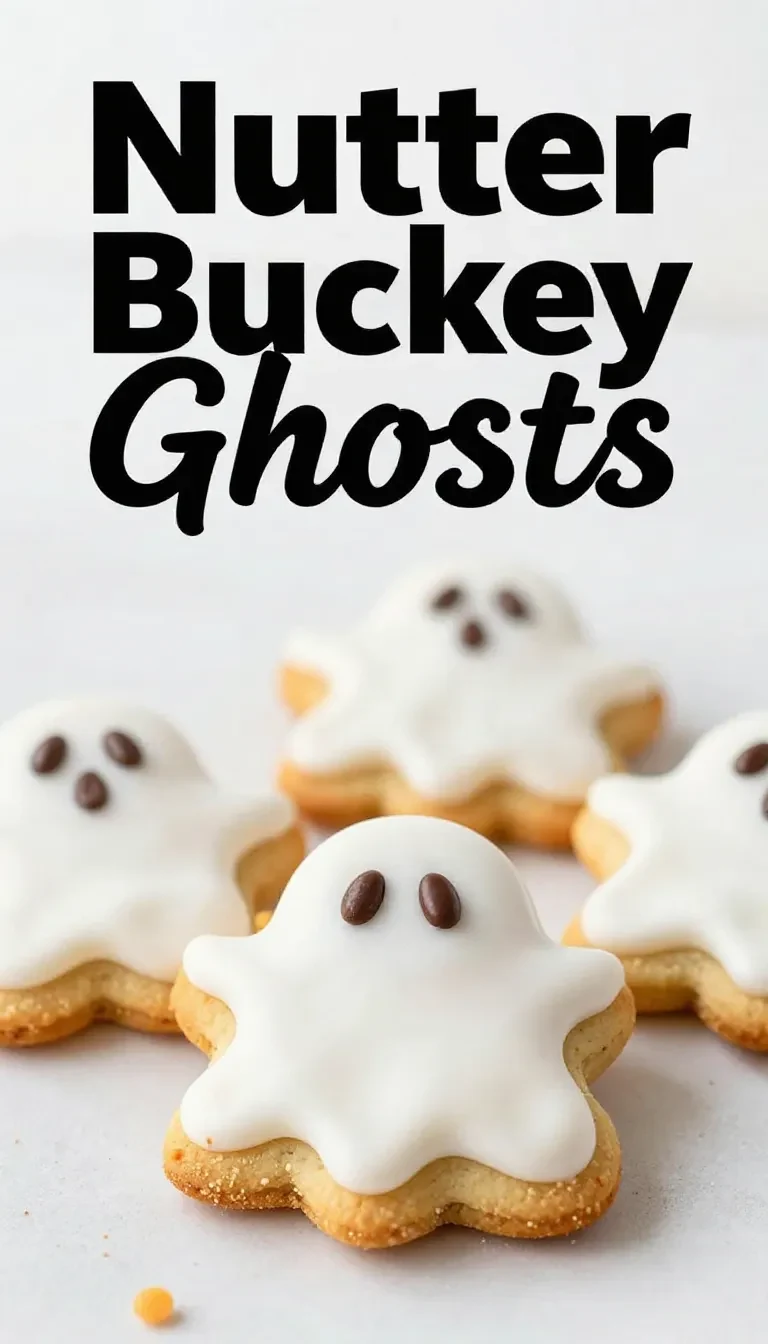
Nutter butter ghosts are a charming Halloween treat made with Nutter Butter cookies, white chocolate chips, and coconut oil, ready in about 40 minutes. This easy recipe yields 12 ghosts that are perfect for adding a spooky touch to your festivities. The smooth, creamy coating combined with mini chocolate chip eyes and a black icing mouth creates an adorable ghostly figure sure to delight both kids and adults.

When I first made these ghostly cookies, my niece Clara couldn’t stop giggling at how cute they were. Each ghost seemed to take on its own personality, making our Halloween party truly memorable.

Table of Contents

What makes Nutter Butter Ghosts special?

Nutter Butter Ghosts are popular because they are an easy and fun treat perfect for Halloween. The combination of creamy white chocolate and the crispness of the cookie makes each bite delightful.

  • Quick and Easy: With a prep time of just 10 minutes, assembling these treats is a breeze. Kids love helping with the decoration.
  • Cute and Customizable: Mini chocolate chips create eyes, and you can give each ghost its own spooky or silly expression with icing.
  • Perfect for Parties: These ghosts are always a hit at Halloween gatherings, adding festive flair with minimal effort.
  • Great for Gifting: Wrapped individually, they make delightful treats to gift to friends or neighbors during the Halloween season.

What ingredients do you need for Nutter Butter Ghosts?

To make Nutter Butter Ghosts, you need basic ingredients that come together for a spooky treat. Here’s what you’ll require:

The use of coconut oil helps smooth out the white chocolate, making it easier to coat the cookies evenly. This ensures a flawless ghostly appearance.

How do you make Nutter Butter Ghosts step by step?

Making Nutter Butter Ghosts involves a few simple steps to transform ordinary cookies into Halloween treats. Here’s how to do it:

Step 1 — Melt Chocolate

Melt the white chocolate chips and coconut oil together in a microwave-safe bowl in 30-second intervals, stirring between each interval until smooth.

Step 2 — Coat Cookies

Dip each Nutter Butter cookie into the melted chocolate, ensuring it is fully coated, then gently shake off any excess chocolate.

Step 3 — Arrange on Sheet

Place the coated cookies on a parchment-lined baking sheet.

A plate of Nutter Butter cookies shaped like ghosts, decorated with white chocolate and chocolate chip eyes.

Step 4 — Add Eyes

While the chocolate is still wet, place two mini chocolate chips on each cookie to create the eyes.

Nordic Ware Baking Sheet

Essential CookwareNordic Ware Baking Sheet

A sturdy baking sheet perfect for arranging your ghostly cookies.

View on Amazon →

Step 5 — Draw Mouths

Use black icing or an edible marker to draw a mouth on each ghost.

Step 6 — Set Chocolate

Allow the chocolate to set completely at room temperature or in the refrigerator for about 30 minutes.

Step 7 — Serve

Serve and enjoy your spooky Nutter Butter ghosts!

Frequently Asked Questions About Nutter Butter Ghosts

How long do these treats last?

Nutter Butter Ghosts can last up to one week when stored in an airtight container at room temperature.

Can you use different types of chocolate?

Yes, you can substitute white chocolate with milk or dark chocolate for a different flavor profile, but they won’t look as ghostly.

What’s the best way to store them?

Store them in a cool, dry place in an airtight container to keep them fresh and crisp.

Can kids help with this recipe?

Absolutely, kids can enjoy decorating the ghosts with eyes and mouths, making it a fun family activity.

What can you serve with Nutter Butter Ghosts?

Nutter Butter Ghosts pair well with hot chocolate or apple cider, which complement their sweetness with warmth. For a full Halloween spread, consider serving them alongside our spider cookie butter dip for extra fun.

What is the history or origin of Nutter Butter Ghosts?

Nutter Butter Ghosts have grown in popularity as a Halloween treat due to their easy preparation and charming appearance. The use of Nutter Butter cookies as a base provides a unique take on traditional dipped cookies.

Originating from the growing trend of themed treats, they reflect the creativity and playful spirit of Halloween, allowing for endless decorative possibilities.

How can you store and reheat Nutter Butter Ghosts?

To keep them fresh, store Nutter Butter Ghosts in an airtight container at room temperature. They can be refrigerated, but allow them to sit at room temperature for about 30 minutes before serving for the best texture.

Freezing is not recommended as it may alter the texture and appearance of the chocolate coating. These treats are best enjoyed fresh or within a week of preparation.

Nutter Butter Ghosts

Prep Time 15 minutes
Cook Time 5 minutes
Total Time 30 minutes
Servings 12 servings
Calories 150
These spooky Nutter Butter ghosts are a fun and easy treat perfect for Halloween. Coated in white chocolate and decorated with mini chocolate chips, they are sure to delight!

Equipment

  • Mixing bowl
  • Microwave
  • Baking Sheet
  • Parchment Paper
  • Spatula

Instructions 

  • Melt the white chocolate chips and coconut oil together in a microwave-safe bowl in 30-second intervals, stirring between each interval until smooth.
  • Dip each Nutter Butter cookie into the melted chocolate, ensuring it is fully coated, then gently shake off any excess chocolate.
  • Place the coated cookies on a parchment-lined baking sheet.
  • While the chocolate is still wet, place two mini chocolate chips on each cookie to create the eyes.
  • Use black icing or an edible marker to draw a mouth on each ghost.
  • Allow the chocolate to set completely at room temperature or in the refrigerator for about 30 minutes.
  • Serve and enjoy your spooky Nutter Butter ghosts!

Notes

For a fun variation, try using colored chocolate melts instead of white chocolate.
Calories: 150kcal
Cost: $10
Course: Dessert
Cuisine: American
Keyword: Halloween treats
A plate of Nutter Butter cookies shaped like ghosts, decorated with white chocolate and chocolate chip eyes.

Loved this recipe? Save it to your favorite Pinterest board so you can easily find it later! ✨
This post contains affiliate links. As an Amazon Associate, I earn from qualifying purchases. This comes at no extra cost to you.

Spooky Halloween Oreo Bark is a festive treat crafted from white and dark chocolate, crushed Oreos, candy corn, and sprinkles, ready in just 45 minutes. This easy recipe makes enough to serve 12, offering a delightful balance of creamy and crunchy textures perfect for sharing. With vibrant colors and familiar Halloween flavors, it’s an eye-catching addition to any spooky celebration.

The magic begins with the rich aroma of melted white chocolate, mingling perfectly with the scent of crushed Oreos. As a trained pastry chef, I find joy in the simplicity of this recipe, which transforms ordinary ingredients into something wonderfully festive. My husband, Mark, loves when I make this bark, as the crunch of Oreos paired with smooth chocolate is irresistible to both kids and adults alike.

Table of Contents

Spooky Halloween Oreo Bark delights with its ease of preparation and festive appearance, making it a popular choice for Halloween parties. Its vibrant colors and combination of textures offer an engaging sensory experience, while every bite is a sweet treat.

  • Ease and Speed: The recipe requires minimal prep time and uses simple microwave melting, making it accessible for all skill levels.
  • Visual Appeal: The bright candy corn and sprinkles capture the essence of Halloween, making it visually striking on any dessert table.
  • Flavor Harmony: The blend of smooth white chocolate and crunchy Oreos creates an irresistible combo that pairs well with the candy corn’s sweetness.
  • Perfect for Sharing: The bark can be easily broken into pieces, ideal for sharing or gifting to friends and family during the holiday season.

What ingredients do you need for Spooky Halloween Oreo Bark?

To make Spooky Halloween Oreo Bark, you’ll need a selection of ingredients that emphasize both flavor and texture. From chocolate chips to Halloween candies, each element contributes to the overall festive appearance.

The coconut oil is essential for ensuring the white chocolate melts smoothly, allowing for an even coating that binds all the tasty toppings together seamlessly.

How do you make Spooky Halloween Oreo Bark step by step?

Creating Spooky Halloween Oreo Bark involves simple steps that result in a spectacular treat. With the right preparation, you’ll have a delightful snack ready in no time.

Step 1 — Prepare the Baking Surface

Line a baking sheet with parchment paper to prevent sticking and make cleanup easier.

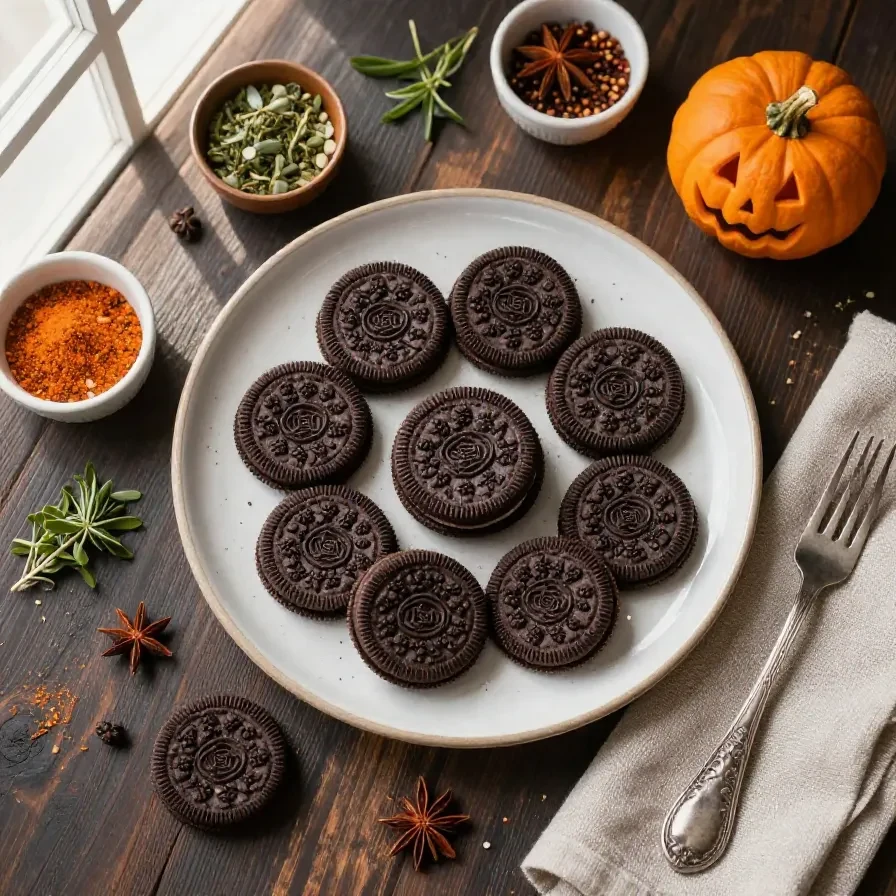
Step 2 — Crush the Oreos

Crush the Oreos into chunky pieces using a sealed bag and a rolling pin, then set aside for later.

Step 3 — Melt the White Chocolate

In a microwave-safe bowl, combine white chocolate chips and coconut oil. Heat in 30-second intervals, stirring each time, until melted and smooth.

A close-up of spooky Halloween Oreo bark with orange and black sprinkles on top

Step 4 — Spread the White Chocolate

Spread the melted white chocolate evenly onto the prepared baking sheet, creating an even base layer.

Nordic Ware Natural Aluminum Commercial Baker's Half Sheet

Essential CookwareNordic Ware Natural Aluminum Commercial Baker’s Half Sheet

Durable and versatile baking sheet perfect for making Oreo bark.

View on Amazon →

Step 5 — Add the Oreos

Sprinkle the crushed Oreos over the white chocolate layer, pressing lightly to ensure they adhere.

Step 6 — Melt the Dark Chocolate

In a separate microwave-safe bowl, melt the dark chocolate chips in the same manner as the white chocolate.

Step 7 — Drizzle and Decorate

Drizzle the melted dark chocolate over the Oreo layer in a zigzag pattern. Sprinkle candy corn and Halloween sprinkles on top for decoration.

Step 8 — Set the Bark

Refrigerate the bark for about 30 minutes or until fully set. Once firm, break the bark into pieces and serve.

Frequently Asked Questions About Spooky Halloween Oreo Bark

Can I use different chocolate for this recipe?

Yes, you can substitute white chocolate with milk or dark chocolate if preferred, but it may alter the visual effect and taste.

How should I store the Oreo bark?

Store in an airtight container at room temperature for up to one week or in the refrigerator for two weeks.

Can I make this recipe vegan?

Yes, use vegan chocolate and Oreo alternatives to make the bark vegan-friendly.

Is freezing the bark possible?

Yes, you can freeze the bark in a sealed container for up to three months. Thaw in the fridge before serving.

What can I do if my chocolate seizes?

If chocolate seizes, add a teaspoon of coconut oil to smooth it out and continue melting gently.

What are some creative serving ideas for this bark?

Pair this treat with other Halloween-themed snacks for a festive spread. Enjoy it alongside our 8 spooky potluck food ideas for a cohesive and spooky presentation. Pairing with hot cocoa is perfect for chilly Halloween nights, enhancing the chocolate notes in the bark. For a savory balance, serve it with light, salted popcorn.

What is the history or origin of Oreo bark?

Oreo bark is a modern confection that combines the iconic flavors of Oreos with chocolate, originating from the trend of dessert barks. This simple, versatile treat has gained popularity thanks to its customizable nature, adapting easily to various holidays and themes, like Halloween.

How do you store and reheat Spooky Halloween Oreo Bark?

To store, place the broken bark pieces in an airtight container. Keep them at room temperature for up to a week, or refrigerate for up to two weeks. For longer storage, freeze the bark, ensuring it’s well-sealed to prevent freezer burn. If chilled or frozen, allow pieces to come to room temperature before serving to restore their original texture.

Are there expert tips and shortcuts for making this bark?

To enhance texture, I recommend chilling the Oreos before crushing them, as cold cookies result in cleaner breaks. Using a high-quality chocolate prevents the risk of seizing and ensures a smooth, glossy finish. Melt chocolate in short bursts to maintain control over consistency.

Spooky Halloween Oreo Bark

Prep Time 15 minutes
Cook Time 5 minutes
Total Time 30 minutes
Servings 12 servings
Calories 200
This Spooky Halloween Oreo Bark is a fun and festive treat perfect for Halloween parties. It's easy to make and combines the delicious flavors of Oreos, white chocolate, and candy corn.

Equipment

  • Mixing bowl
  • Baking Sheet
  • Microwave
  • Parchment Paper
  • Spatula

Instructions 

  • Line a baking sheet with parchment paper.
  • Crush the Oreos into chunky pieces and set aside.
  • In a microwave-safe bowl, combine the white chocolate chips and coconut oil. Heat in the microwave in 30-second intervals, stirring between each, until melted and smooth.
  • Spread the melted white chocolate evenly onto the prepared baking sheet.
  • Sprinkle the crushed Oreos over the white chocolate layer, pressing lightly to ensure they stick.
  • In another microwave-safe bowl, melt the dark chocolate chips in the same way as the white chocolate.
  • Drizzle the melted dark chocolate over the Oreo layer in a zigzag pattern.
  • Sprinkle the candy corn and Halloween sprinkles over the top for decoration.
  • Refrigerate the bark for about 30 minutes or until fully set.
  • Once set, break the bark into pieces and serve.

Notes

You can customize the toppings with your favorite Halloween candies.
Calories: 200kcal
Cost: $10
Course: Dessert
Cuisine: American
Keyword: Halloween treats
A close-up of spooky Halloween Oreo bark with orange and black sprinkles on top

Loved this recipe? Save it to your favorite Pinterest board so you can easily find it later! ✨
Looking to add a dash of fright to your Halloween bash? This roundup of 19 spine-chilling finger foods will transform your party into a culinary house of horrors. Whether you’re hosting a ghoulish gathering or a night of trick-or-treating with the kids, these recipes will delight and spook in equal measure!

Table of Contents

Edible Witch Brooms with Cheese and Pretzels

Transform cheese sticks and pretzels into charming witch brooms that are both whimsical and delicious. Shredding the cheese for the broom bristles adds a delightful texture that pairs perfectly with the salty pretzel sticks. get the recipe.

A Classic Snack Gets a Creepy Halloween Twist

Give your classic snack mix a Halloween makeover with eerie seasonings like smoky paprika and black sesame seeds. This mix is perfect for munching on while watching your favorite spooky movies! see the full recipe.

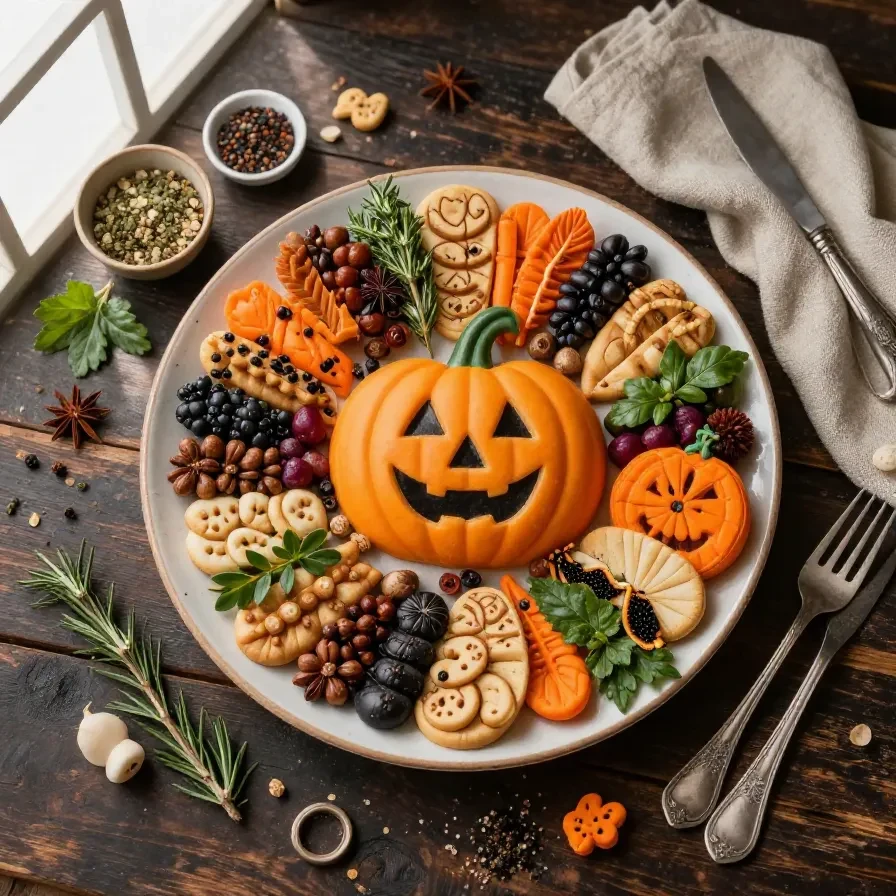
A spooky platter of Halloween-themed finger foods including severed finger hot dogs and creepy eyeball cupcakes.

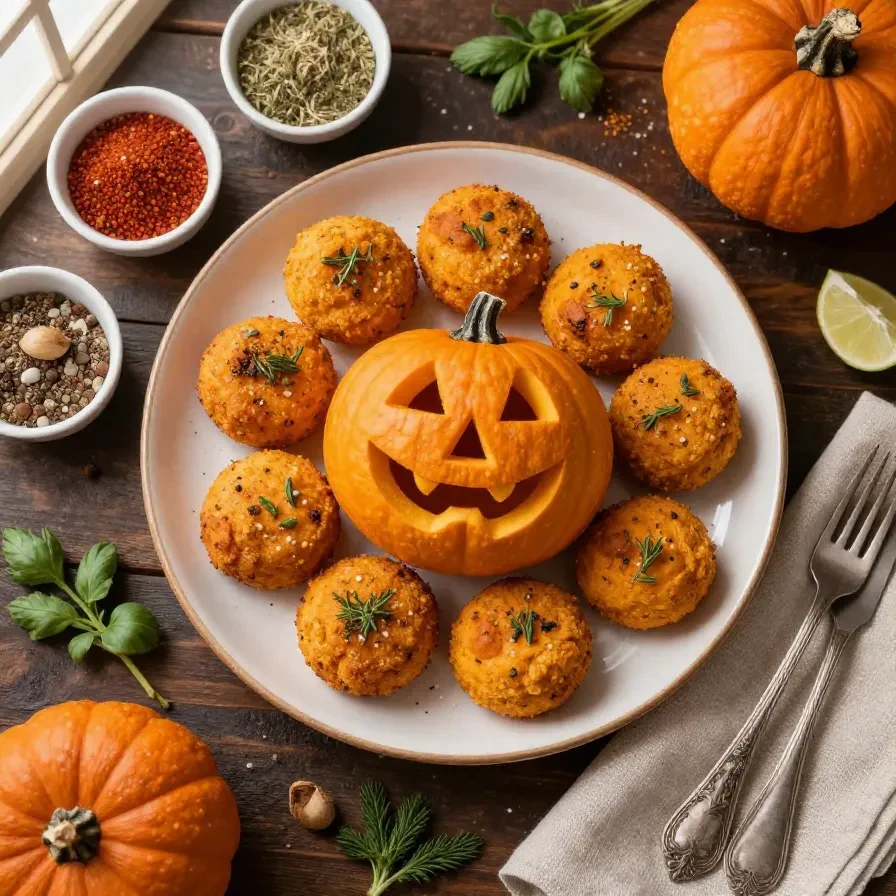
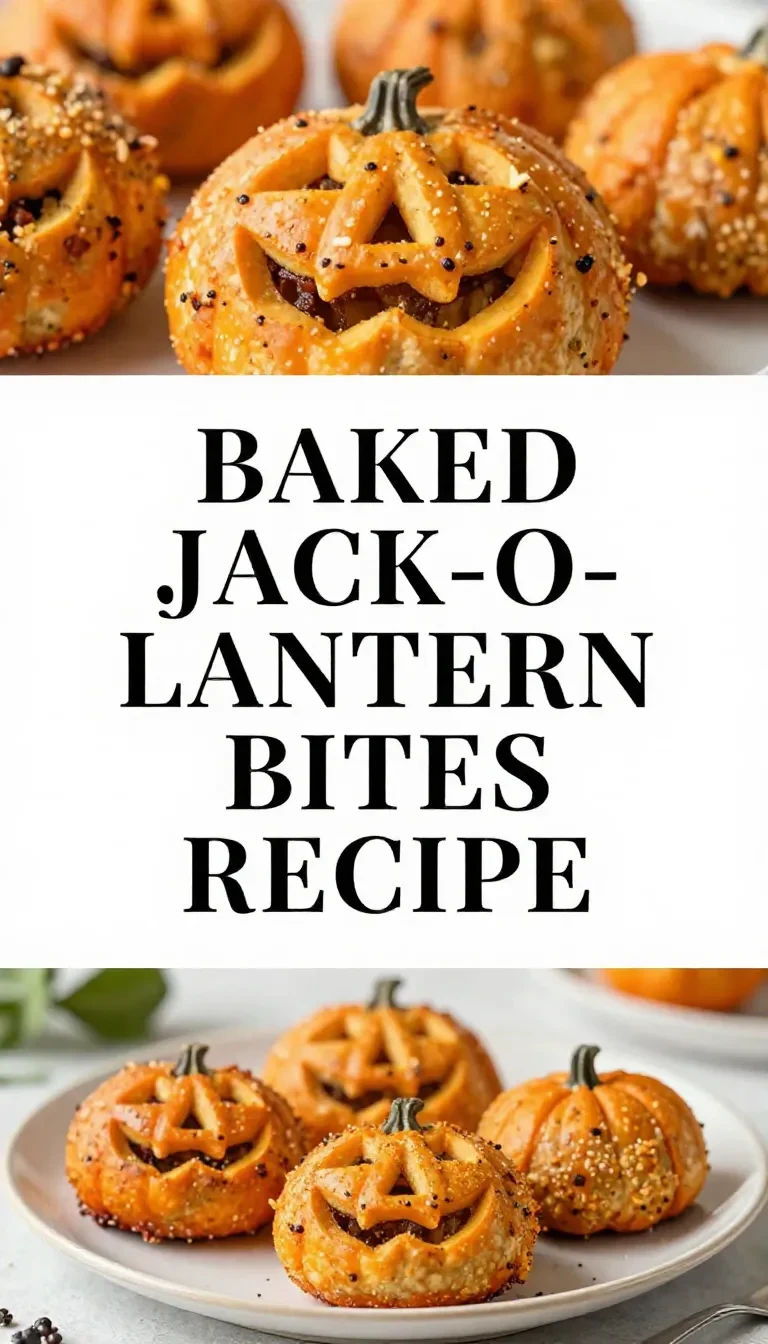
Baked Jack-O’-Lantern Bites Everyone Will Love

Carve adorable jack-o’-lantern faces into these cheesy pastry bites for a festive and delicious snack. The secret is in using sharp cheddar for a flavor that pops with every bite. see details.

Mini Tombstone Sandwich Bites (No Forks Needed)

Craft these mini tombstone sandwiches using rye bread and your favorite fillings for a ghoulishly delightful bite-sized treat. A quick swipe of cream cheese makes the perfect ‘glue’ for your sandwich layers. see the full recipe.

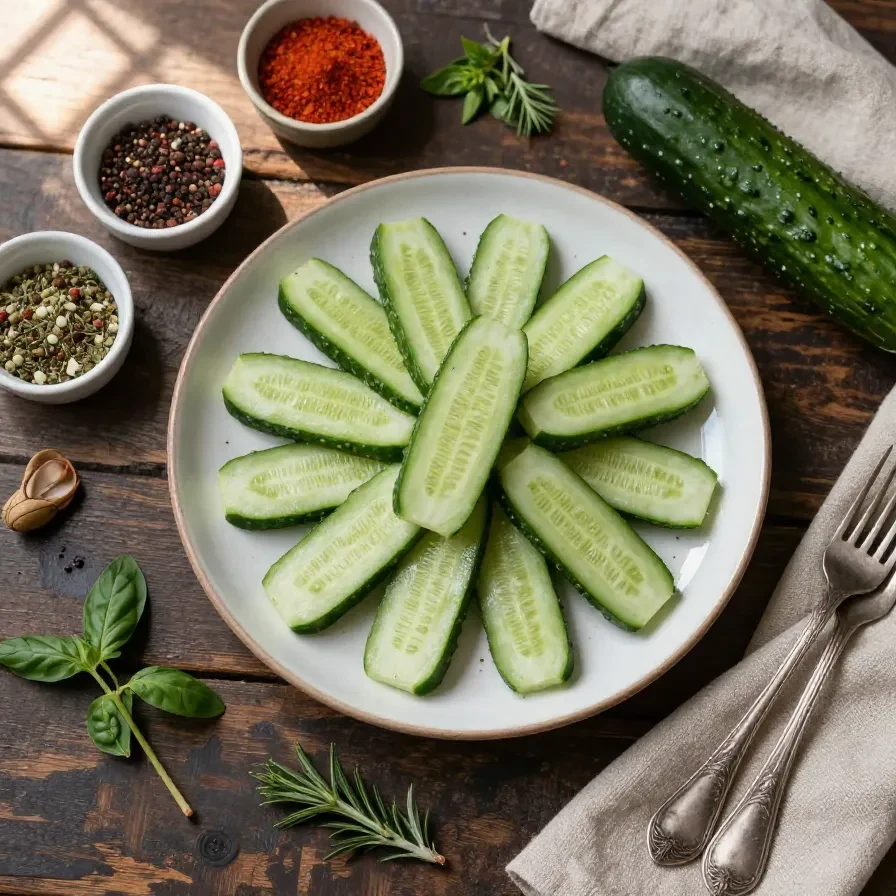
Cool and Creepy Cucumber Snacks

Slice cucumbers into creepy shapes and top them with cream cheese and olive ‘eyeballs’ for a refreshing and eerie snack. These bites are as easy to make as they are to enjoy! read more.

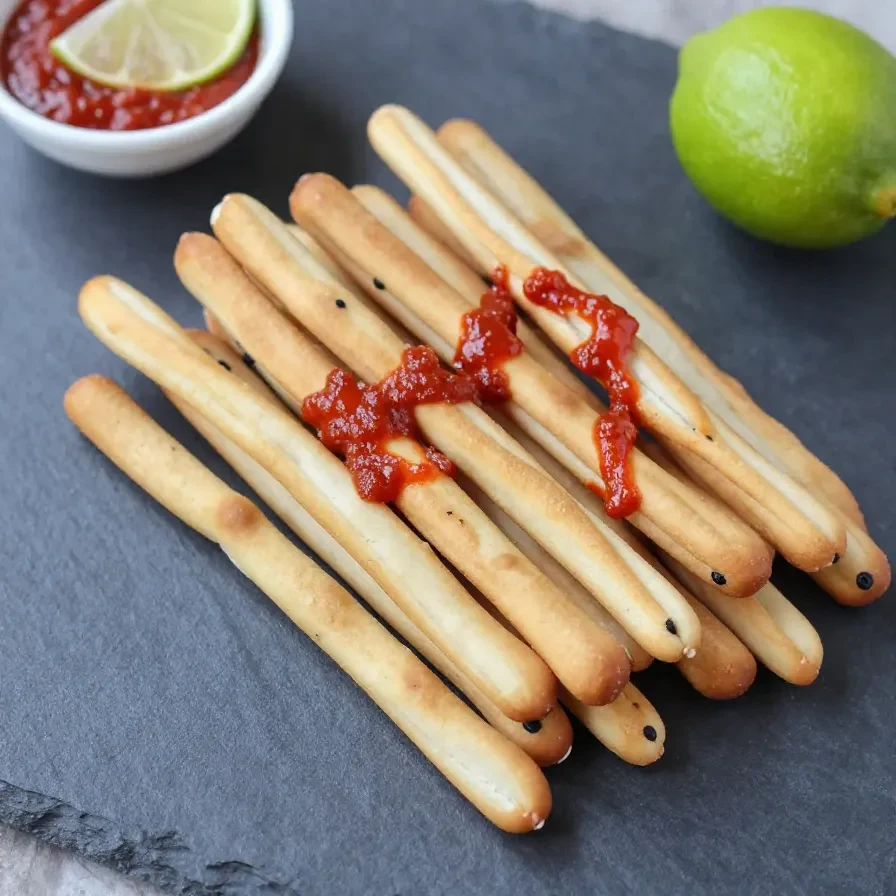
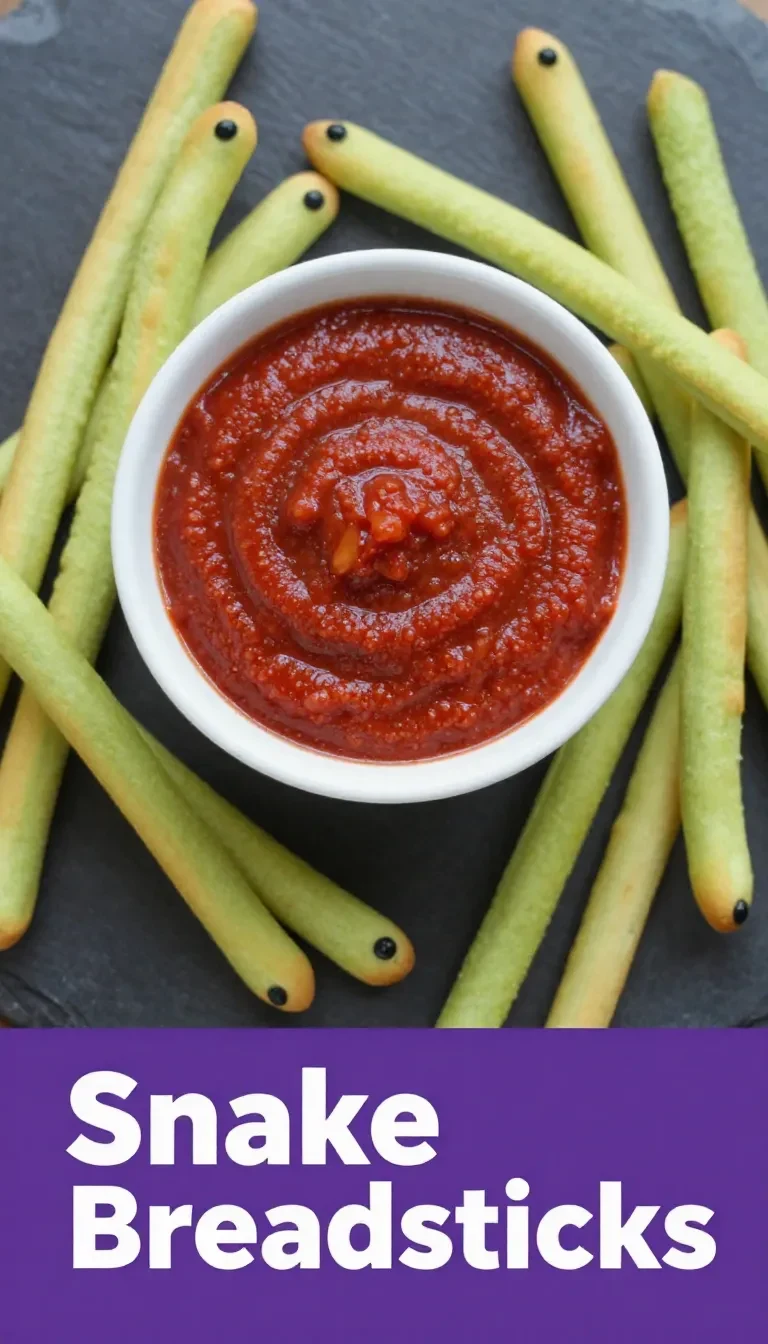
Slithery Snake Breadsticks That’ll Creep Out Your Guests

Shape breadstick dough into slithering snakes, complete with olive eyes for a realistically creepy touch. Baked to golden perfection, these breadsticks slither deliciously onto any plate. see details.

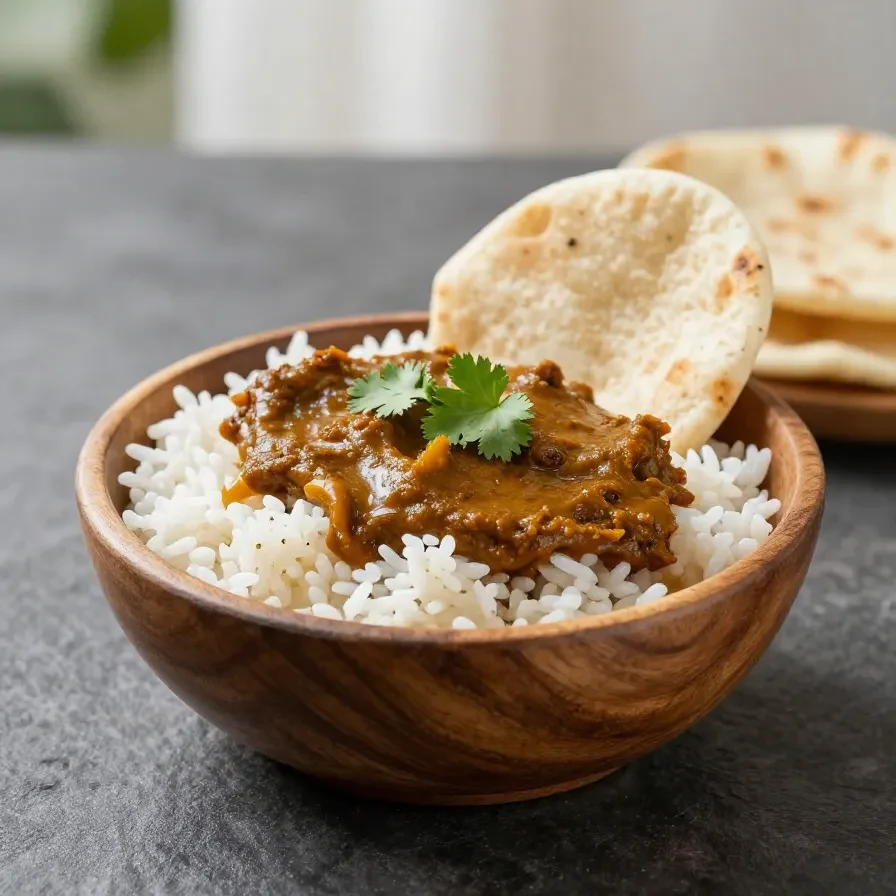
Hauntingly Good Naan Bites

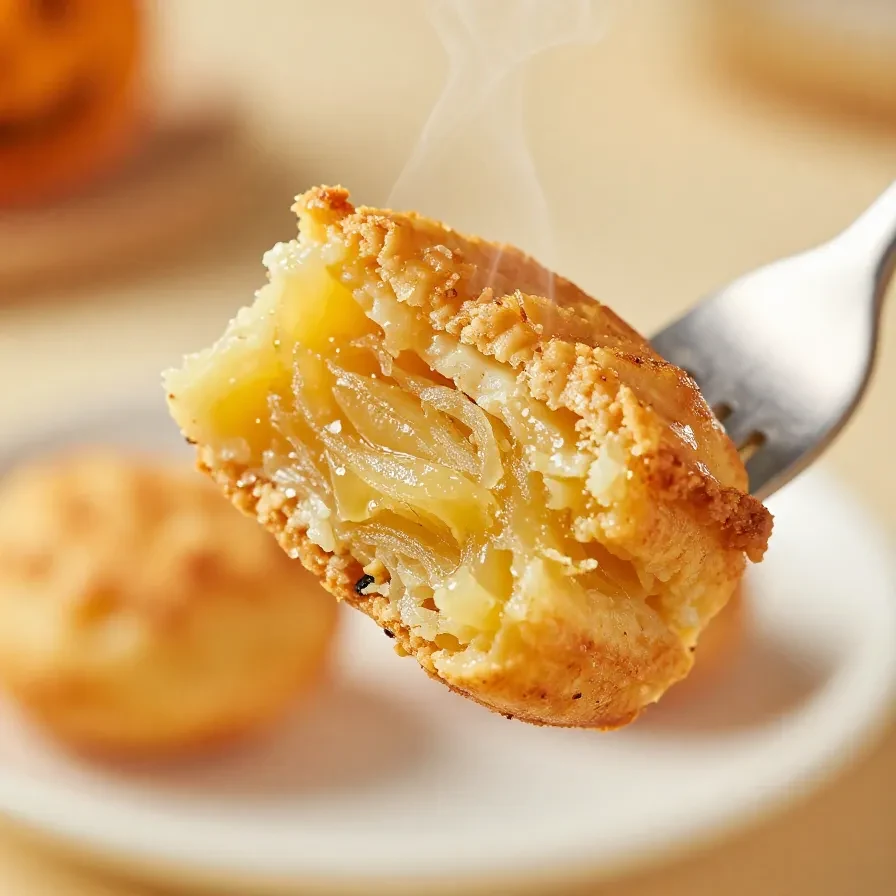
Topped with ghostly cutouts of cheese, these naan bites offer a hauntingly good blend of flavors. A quick broil melts the cheese just enough to add a spooky, melted effect. explore the recipe.

Which spooky treat will you try?

I hope these frighteningly fun recipes inspire you to add a little excitement to your Halloween festivities. Happy haunting and happy cooking!

A spooky platter of Halloween-themed finger foods including severed finger hot dogs and creepy eyeball cupcakes.

Loved this recipe? Save it to your favorite Pinterest board so you can easily find it later! ✨
This post contains affiliate links. As an Amazon Associate, I earn from qualifying purchases. This comes at no extra cost to you.

Slithery snake breadsticks that’ll creep out your guests is a fun and spooky appetizer made with all-purpose flour, yeast, and warm water, ready in about 40 minutes of cooking time. This easy recipe yields 12 eerie breadsticks, perfect for Halloween or themed parties. They’re shaped to resemble slithering snakes and seasoned with garlic and herbs, adding a savory touch to your gatherings. The first time I made these, my friend Lily screamed at how realistic they looked, making them an instant hit at our Halloween bash.

Table of Contents

Slithery snake breadsticks are popular due to their unique, spooky appearance combined with a delicious, savory flavor, making them a festive addition to any themed gathering.

  • The eerie snake shapes create a thrilling visual, perfect for Halloween parties. They captivate both kids and adults, adding a playful scare to the table.
  • The savory blend of garlic, oregano, and black pepper enhances the breadsticks, making each bite flavorful. These spices add depth to the otherwise simple dough.
  • They are fun and easy to make, allowing for creative customization. You can shape and decorate them to your liking, adding more to the thematic experience.
  • With just a few ingredients, they’re budget-friendly. This makes them accessible for anyone wanting to surprise their guests with a themed snack.

What ingredients do you need for Slithery Snake Breadsticks That’ll Creep Out Your Guests?

To make slithery snake breadsticks, you’ll need all-purpose flour, warm water, yeast, and basic seasonings like garlic powder and oregano. These ingredients create the perfect dough for shaping into snakes.

All-purpose flour provides the perfect consistency for these breadsticks, allowing them to be easily shaped and baked to a golden finish. Garlic powder adds a delicious aromatic flavor that complements the spooky design.

How do you make Slithery Snake Breadsticks That’ll Creep Out Your Guests step by step?

To make slithery snake breadsticks, start by making a dough, let it rise, shape into snakes, and bake until golden brown. Here is a detailed step-by-step guide:

Step 1 — Prepare Yeast Mixture

In a bowl, combine the warm water, active dry yeast, and sugar. Stir gently and let it sit for about 5-10 minutes until frothy.

Step 2 — Mix Dry Ingredients

In a large mixing bowl, whisk together the flour, salt, garlic powder, oregano, and black pepper.

Step 3 — Form Dough

Add the yeast mixture and olive oil to the dry ingredients. Mix until a dough forms.

Step 4 — Knead and Let Rise

Knead the dough on a floured surface for about 5-7 minutes until smooth and elastic. Place the dough in a greased bowl, cover it with a damp cloth, and let it rise in a warm place for about 1 hour or until doubled in size.

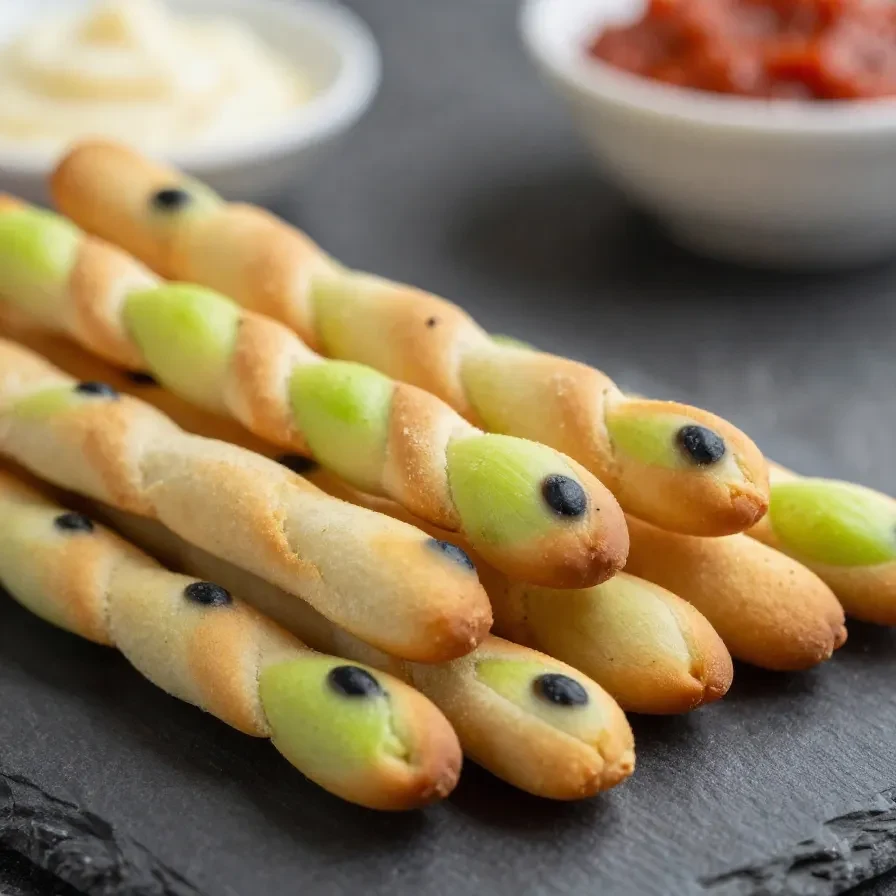
A plate of slithery snake-shaped breadsticks decorated with eyes and scales

Step 5 — Preheat and Prepare

Preheat your oven to 375°F (190°C). Line a baking sheet with parchment paper.

KitchenAid Artisan Stand Mixer

Kitchen ApplianceKitchenAid Artisan Stand Mixer

Makes mixing dough and batters effortless — a kitchen game-changer.

View on Amazon →

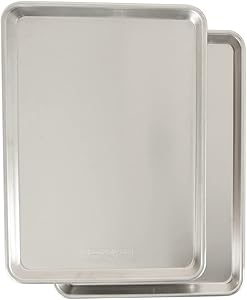
Nordic Ware Natural Aluminum Commercial Baker's Half Sheet

Essential CookwareNordic Ware Natural Aluminum Commercial Baker’s Half Sheet

Durable and perfect for baking breadsticks evenly, this half sheet is a kitchen essential.

View on Amazon →

Step 6 — Shape and Decorate

Once the dough has risen, punch it down and divide it into 12 equal pieces. Roll each piece into a long, thin snake shape, about 12 inches long. Twist and shape them to create a slithering effect.

Step 7 — Bake the Breadsticks

Place the snake-shaped breadsticks on the prepared baking sheet. Brush them with beaten egg and sprinkle with sesame seeds for added texture. Bake in the preheated oven for 15-20 minutes until golden brown.

Step 8 — Cool and Serve

Remove from the oven and let cool slightly before serving. Enjoy your creepy, slithery snake breadsticks!

Frequently Asked Questions About Slithery Snake Breadsticks That’ll Creep Out Your Guests

How long do slithery snake breadsticks last?

Slithery snake breadsticks can last up to 3 days when stored in an airtight container at room temperature.

Can I make the dough ahead of time?

Yes, you can make the dough a day in advance and store it in the refrigerator. Let it come to room temperature before shaping and baking.

What dipping sauces go well with slithery snake breadsticks?

These breadsticks pair well with marinara sauce, cheese dip, or even a spicy sriracha mayo for an extra kick.

Is it possible to add coloring to the dough?

Yes, you can divide the dough and add a few drops of food coloring to each portion for a more colorful effect.

Can I freeze the breadsticks after baking?

Yes, freeze the breadsticks in a single layer before transferring to a freezer bag. They stay fresh for up to a month.

How can you store and reheat Slithery Snake Breadsticks?

For optimal freshness, store slithery snake breadsticks in an airtight container at room temperature for up to 3 days. To freeze, place them in a single layer on a baking sheet before transferring to a freezer bag. They can last for up to a month in the freezer. When reheating, place them in a 350°F (175°C) preheated oven for about 5-7 minutes to regain their crispy texture.

What are some serving ideas for Slithery Snake Breadsticks?

Pair these breadsticks with a tangy marinara sauce to add a bright contrast to their savory flavor. Serve alongside a creamy cheese dip for added richness. For a spicier option, accompany with sriracha mayo, which complements the herbs and spices beautifully. These breadsticks also go well with our homemade cheesy breadsticks for an indulgent spread of tasty snacks.

Slithery Snake Breadsticks That’ll Creep Out Your Guests

Prep Time 1 hour
Cook Time 20 minutes
Total Time 1 hour 20 minutes
Servings 12 servings
Calories 150
These creepy snake-shaped breadsticks are perfect for Halloween or any fun gathering. They are easy to make and sure to impress your guests!

Equipment

  • Mixing bowl
  • Whisk
  • Baking Sheet
  • Oven
  • Parchment Paper

Ingredients

Instructions 

  • In a bowl, combine the warm water, active dry yeast, and sugar. Stir gently and let it sit for about 5-10 minutes until frothy.
  • In a large mixing bowl, whisk together the flour, salt, garlic powder, oregano, and black pepper.
  • Add the yeast mixture and olive oil to the dry ingredients. Mix until a dough forms.
  • Knead the dough on a floured surface for about 5-7 minutes until smooth and elastic.
  • Place the dough in a greased bowl, cover it with a damp cloth, and let it rise in a warm place for about 1 hour or until doubled in size.
  • Preheat your oven to 375°F (190°C). Line a baking sheet with parchment paper.
  • Once the dough has risen, punch it down and divide it into 12 equal pieces.
  • Roll each piece into a long, thin snake shape, about 12 inches long. Twist and shape them to create a slithering effect.
  • Place the snake-shaped breadsticks on the prepared baking sheet. Brush them with beaten egg and sprinkle with sesame seeds for added texture.
  • Bake in the preheated oven for 15-20 minutes until golden brown.
  • Remove from the oven and let cool slightly before serving. Enjoy your creepy, slithery snake breadsticks!

Notes

For extra flavor, you can add cheese or herbs to the dough.
Calories: 150kcal
Cost: $10
Course: Snack
Cuisine: American
Keyword: breadsticks, Halloween
A plate of slithery snake-shaped breadsticks decorated with eyes and scales

Loved this recipe? Save it to your favorite Pinterest board so you can easily find it later! ✨

This post contains affiliate links. As an Amazon Associate, I earn from qualifying purchases. This comes at no extra cost to you.

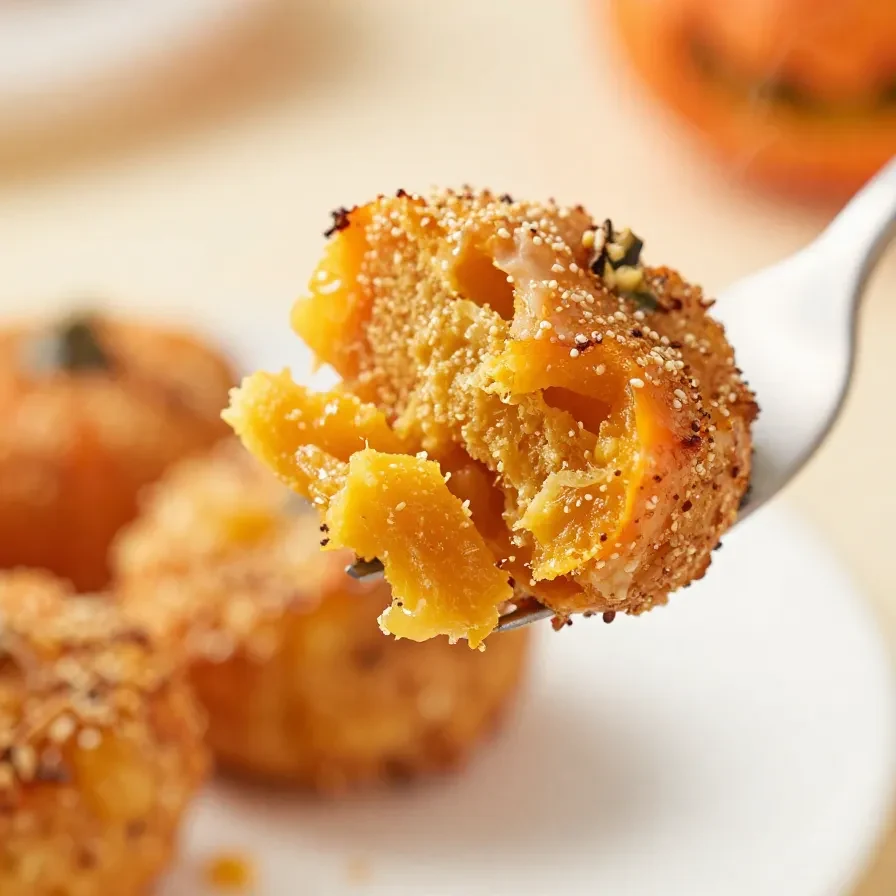
Baked jack-o’-lantern bites everyone will love is a whimsical Halloween treat made with crescent roll dough filled with a savory mix of halal chicken, mozzarella cheese, and pumpkin puree, baked until golden. This easy recipe is ready in just 35 minutes and yields 12 delightful bites that are perfect for festive gatherings. The aroma of Italian seasoning melds beautifully with the pumpkin, creating a warm, savory sensation that fills your kitchen. During a recent Halloween party, my friend Sarah couldn’t stop raving about how these bites brought a touch of creative fun to the table.

Table of Contents

Baked Jack-O’-Lantern Bites Everyone Will Love are an exciting and whimsical addition to any Halloween gathering, offering a unique blend of flavors and festive charm.

  • Fun and Festive: These bites are shaped into jack-o’-lanterns, making them visually appealing and fun for kids and adults alike.
  • Flavorful Filling: The combination of chicken, mozzarella, and pumpkin provides a complex flavor profile that’s savory with a hint of sweetness.
  • Quick and Easy: Utilizing crescent roll dough ensures that this treat can be prepared in under 35 minutes, making it ideal for last-minute party prep.
  • Versatile Appetizer: This dish pairs well with various dips or alongside other festive snacks, enhancing any Halloween-themed menu.

What ingredients do you need for Baked Jack-O’-Lantern Bites Everyone Will Love?

The key ingredients for Baked Jack-O’-Lantern Bites include refrigerated crescent roll dough, shredded mozzarella, halal chicken, and pumpkin puree, creating a deliciously savory filling.

The use of pumpkin puree adds an unexpected twist to the bites, lending moisture and subtle sweetness that balances the savory elements perfectly.

How do you make Baked Jack-O’-Lantern Bites Everyone Will Love step by step?

To make these bites, you fill crescent roll dough with a chicken and pumpkin mixture, then bake until golden perfection, creating a festive and flavorful treat.

Step 1 — Preheat the Oven

Preheat your oven to 375°F (190°C) to ensure consistent baking temperature.

Step 2 — Prepare the Filling

In a mixing bowl, blend the shredded chicken, mozzarella cheese, pumpkin puree, garlic powder, Italian seasoning, salt, and pepper until evenly combined.

Step 3 — Assemble the Crescents

Unroll the crescent roll dough and separate it into triangles. Place a spoonful of the filling at the wide end of each triangle.

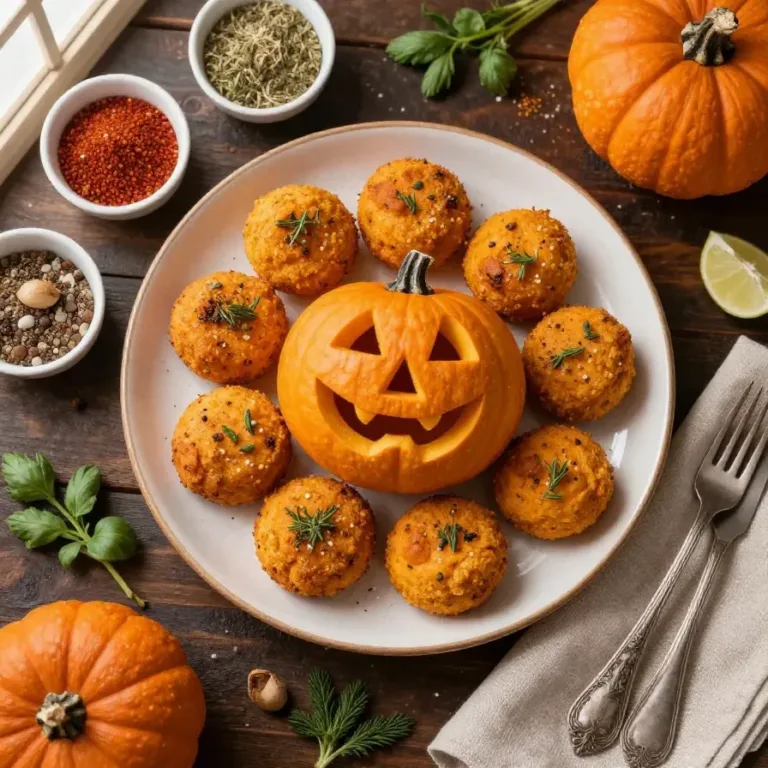
A platter of baked Jack-O’-Lantern bites shaped like mini pumpkins, garnished with herbs.

Step 4 — Shape the Bites

Roll each triangle around the filling, starting at the wide end, and pinch the ends to seal, forming a tight pocket.

KitchenAid Artisan Stand Mixer

Kitchen ApplianceKitchenAid Artisan Stand Mixer

Makes mixing dough and batters effortless — a kitchen game-changer.

View on Amazon →

Nordic Ware Natural Aluminum Commercial Baker's Half Sheet

Essential CookwareNordic Ware Natural Aluminum Commercial Baker’s Half Sheet

Durable and versatile baking sheet perfect for even baking of your jack-o’-lantern bites.

View on Amazon →

Step 5 — Create Jack-O’-Lantern Faces

Using a sharp knife, carefully carve jack-o’-lantern faces on the top of each pocket.

Step 6 — Egg Wash and Decorate

Place the bites on a baking sheet lined with parchment paper. Brush each with beaten egg and olive oil, then add slices of black olive for eyes and mouths.

Step 7 — Bake

Bake in the preheated oven for 15-20 minutes, or until golden brown. Let cool slightly before serving.

Frequently Asked Questions About Baked Jack-O’-Lantern Bites Everyone Will Love

Can I make these bites ahead of time?

Yes, you can prepare them ahead of time and bake them just before serving for freshness and warmth.

Are there vegetarian options for this recipe?

Substitute the chicken with sautéed mushrooms or a meatless protein alternative for a vegetarian version.

How do you store leftovers?

Store leftovers in an airtight container in the refrigerator for up to 3 days.

Can I freeze these bites?

Yes, freeze unbaked bites on a tray and transfer them to a bag once solid. Bake directly from frozen with a few extra minutes.

What dip complements these bites?

These bites pair well with a tangy marinara sauce or a spicy sriracha mayo dip for added flavor.

Expert Tips and Pro Shortcuts

  • Seal Properly: Pinch the dough securely around the filling to prevent leaks during baking.
  • Customize Faces: Use different expressions for each jack-o’-lantern to add a personal touch to your presentation.
  • Even Layer: Roll the dough evenly for uniform baking and to ensure the filling stays inside.
  • Quick Shredding: Use a mixer to shred the chicken quickly and save time in preparation.

Serving Ideas and What to Pair with Baked Jack-O’-Lantern Bites Everyone Will Love

These bites shine as a standalone appetizer or can be part of a larger spread. Pair them with a zesty salad or a hearty soup for a satisfying meal. Consider serving alongside our easy baked pumpkin fritter bites recipe for a cohesive autumn theme. A crisp apple cider would complement the savory-sweet flavors beautifully.

Baked Jack-O’-Lantern Bites Everyone Will Love

Prep Time 20 minutes
Cook Time 20 minutes
Total Time 40 minutes
Servings 12 servings
Calories 150
These delightful baked bites are perfect for Halloween gatherings, combining savory chicken and cheese with a fun jack-o’-lantern design.

Equipment

  • Mixing bowl
  • Baking Sheet
  • Oven
  • Sharp Knife
  • Parchment Paper

Ingredients

Instructions 

  • Preheat the oven to 375°F (190°C).
  • In a mixing bowl, combine the cooked shredded chicken, mozzarella cheese, pumpkin puree, garlic powder, Italian seasoning, salt, and pepper. Mix well until all ingredients are combined.
  • Unroll the crescent roll dough and separate it into triangles.
  • Place a spoonful of the chicken and pumpkin mixture at the wide end of each triangle.
  • Roll the dough around the filling, starting from the wide end and pinching the ends to seal, forming small pockets.
  • Use a sharp knife to cut out jack-o’-lantern faces on the top of each pocket, being careful not to cut all the way through.
  • Place the bites on a baking sheet lined with parchment paper.
  • Brush the tops with the beaten egg and a little olive oil.
  • Place a small slice of black olive for each jack-o’-lantern's eye and mouth.
  • Bake in the preheated oven for 15-20 minutes, or until golden brown.
  • Remove from the oven and let cool slightly before serving.

Notes

Feel free to customize the filling with your favorite ingredients.
Calories: 150kcal
Cost: $15
Course: Appetizer
Cuisine: American
Keyword: Halloween Snacks
A platter of baked Jack-O’-Lantern bites shaped like mini pumpkins, garnished with herbs.

Loved this recipe? Save it to your favorite Pinterest board so you can easily find it later! ✨
This post contains affiliate links. As an Amazon Associate, I earn from qualifying purchases. This comes at no extra cost to you.

Creepy Halloween Cheese and Olive Eyeballs is an easy-to-make, spooky snack made with cream cheese and olives, ready in just 15 minutes. This recipe yields 12 servings and provides a fun, eerie touch to any festive gathering. The combination of creamy, seasoned cheese with briny olives creates an intriguing taste and texture that’s sure to impress your guests. I remember the first time I made them, Lily, my niece, couldn’t stop talking about how cool they looked on the Halloween buffet table!

Table of Contents

What Makes Creepy Halloween Cheese and Olive Eyeballs Special?

Creepy Halloween Cheese and Olive Eyeballs captivate with their spooky yet delightful appearance and savory flavor profile. They stand out at Halloween parties by adding an eerie, yet delicious twist to traditional appetizers. The combination of creamy cheese and olives creates a balanced flavor that’s both bold and satisfying.

  • Unique Appearance: These eyeballs are sure to be a conversation starter at any party, blending creativity with culinary fun.
  • Quick Preparation: Ready in just 15 minutes, they’re an excellent last-minute addition to your Halloween spread.
  • Vegetarian-Friendly: Perfect for a variety of dietary preferences, ensuring all guests can enjoy them.
  • Versatile Garnishing: Fresh parsley or spinach leaves add a vibrant contrast, enhancing the overall presentation and taste.

What Ingredients Do You Need for Creepy Halloween Cheese and Olive Eyeballs?

The key ingredients for Creepy Halloween Cheese and Olive Eyeballs include cream cheese, olives, and seasoning. These ingredients come together to create a flavorful and spooky appetizer perfect for your Halloween festivities.

The cream cheese offers a smooth base that’s easily melded with spices, creating a savory canvas for the olives.

How Do You Make Creepy Halloween Cheese and Olive Eyeballs Step by Step?

Making Creepy Halloween Cheese and Olive Eyeballs involves shaping cheese balls, adding olives for the eye effect, and using almonds and food coloring for added eeriness.

Step 1 — Mix Ingredients

In a mixing bowl, combine the softened cream cheese, garlic powder, onion powder, salt, and black pepper. Mix until smooth and well blended.

Step 2 — Shape Cheese Balls

Using your hands, shape the cream cheese mixture into small balls, about the size of a marble.

Step 3 — Create the Eyeball

Take a pitted green olive and press it into the center of each cream cheese ball to create the ‘eyeball’ effect.

A spooky rendition of a classic snack with Halloween-themed decorations

Step 4 — Add the Pupil

Place a pitted black olive inside the green olive to mimic the pupil of the eye.

KitchenAid Artisan Stand Mixer

Kitchen ApplianceKitchenAid Artisan Stand Mixer

Makes mixing dough and batters effortless — a kitchen game-changer

View on Amazon →

Pyrex Mixing Bowl Set

Essential CookwarePyrex Mixing Bowl Set

Essential for mixing ingredients smoothly and efficiently.

View on Amazon →

Step 5 — Add ‘Veins’

Attach a sliced almond to the top of each ‘eyeball’ to resemble a ‘vein.’

Step 6 — Final Touches

For an eerie effect, lightly brush or dip the ‘eyeballs’ in red food coloring to create a bloody look.

Step 7 — Serve

Arrange the completed eyeballs on a platter, garnished with fresh parsley or spinach leaves to resemble a creepy garden. Serve immediately or refrigerate until ready to serve.

Frequently Asked Questions About Creepy Halloween Cheese and Olive Eyeballs

Can I make Creepy Halloween Cheese and Olive Eyeballs ahead of time?

Yes, you can prepare them a day in advance and refrigerate until serving time.

What can I use instead of cream cheese?

Neufchâtel cheese is a good substitute for cream cheese, offering a similar texture with slightly less fat.

How do I store leftovers?

Store leftovers in an airtight container in the refrigerator for up to 2 days.

Is there a way to make it spicier?

Add a pinch of cayenne pepper to the cream cheese mixture for a subtle kick.

Serving Ideas for Your Creepy Halloween Eyeballs

Enhance your Halloween spread by pairing these eyeballs with:

Easy Ingredient Swaps for Creepy Halloween Eyeballs

Try these swaps to adjust flavors:

  • Swap green olives with pimento-stuffed olives for a pop of color.
  • Use roasted red peppers instead of red food coloring for a natural tint.

Expert Tips for Making Creepy Halloween Cheese and Olive Eyeballs

Ensure perfect execution with these tips:

  • Chill the cream cheese mixture slightly before rolling to make handling easier.
  • Brush the almonds with a bit of oil to prevent them from drying out.

Creepy Halloween Cheese and Olive Eyeballs

Prep Time 20 minutes
Total Time 20 minutes
Servings 12 servings
Calories 150
These spooky cheese and olive eyeballs are a fun and creepy appetizer perfect for Halloween parties.

Equipment

  • Mixing bowl
  • Spoon
  • platter
  • Knife
  • Measuring Spoons

Instructions 

  • In a mixing bowl, combine the softened cream cheese, garlic powder, onion powder, salt, and black pepper. Mix until smooth and well blended.
  • Using your hands, shape the cream cheese mixture into small balls, about the size of a marble.
  • Take a pitted green olive and press it into the center of each cream cheese ball to create the 'eyeball' effect.
  • Place a pitted black olive inside the green olive to mimic the pupil of the eye.
  • Attach a sliced almond to the top of each 'eyeball' to resemble a 'vein.'
  • For an eerie effect, lightly brush or dip the 'eyeballs' in red food coloring to create a bloody look.
  • Arrange the completed eyeballs on a platter, garnished with fresh parsley or spinach leaves to resemble a creepy garden.
  • Serve immediately or refrigerate until ready to serve.

Notes

These can be made ahead of time and stored in the refrigerator until serving.
Calories: 150kcal
Cost: $10
Course: Appetizer
Cuisine: American
Keyword: Halloween
A spooky rendition of a classic snack with Halloween-themed decorations

Loved this recipe? Save it to your favorite Pinterest board so you can easily find it later! ✨
Looking to add a touch of spooky sweetness to your Halloween without turning on the oven? These 40 no-bake Halloween desserts are perfect for busy moms, like me, juggling kids and costumes. Whether you’re hosting a party or just want a festive treat, these recipes are sure to delight every ghoul and goblin at your table.

Table of Contents

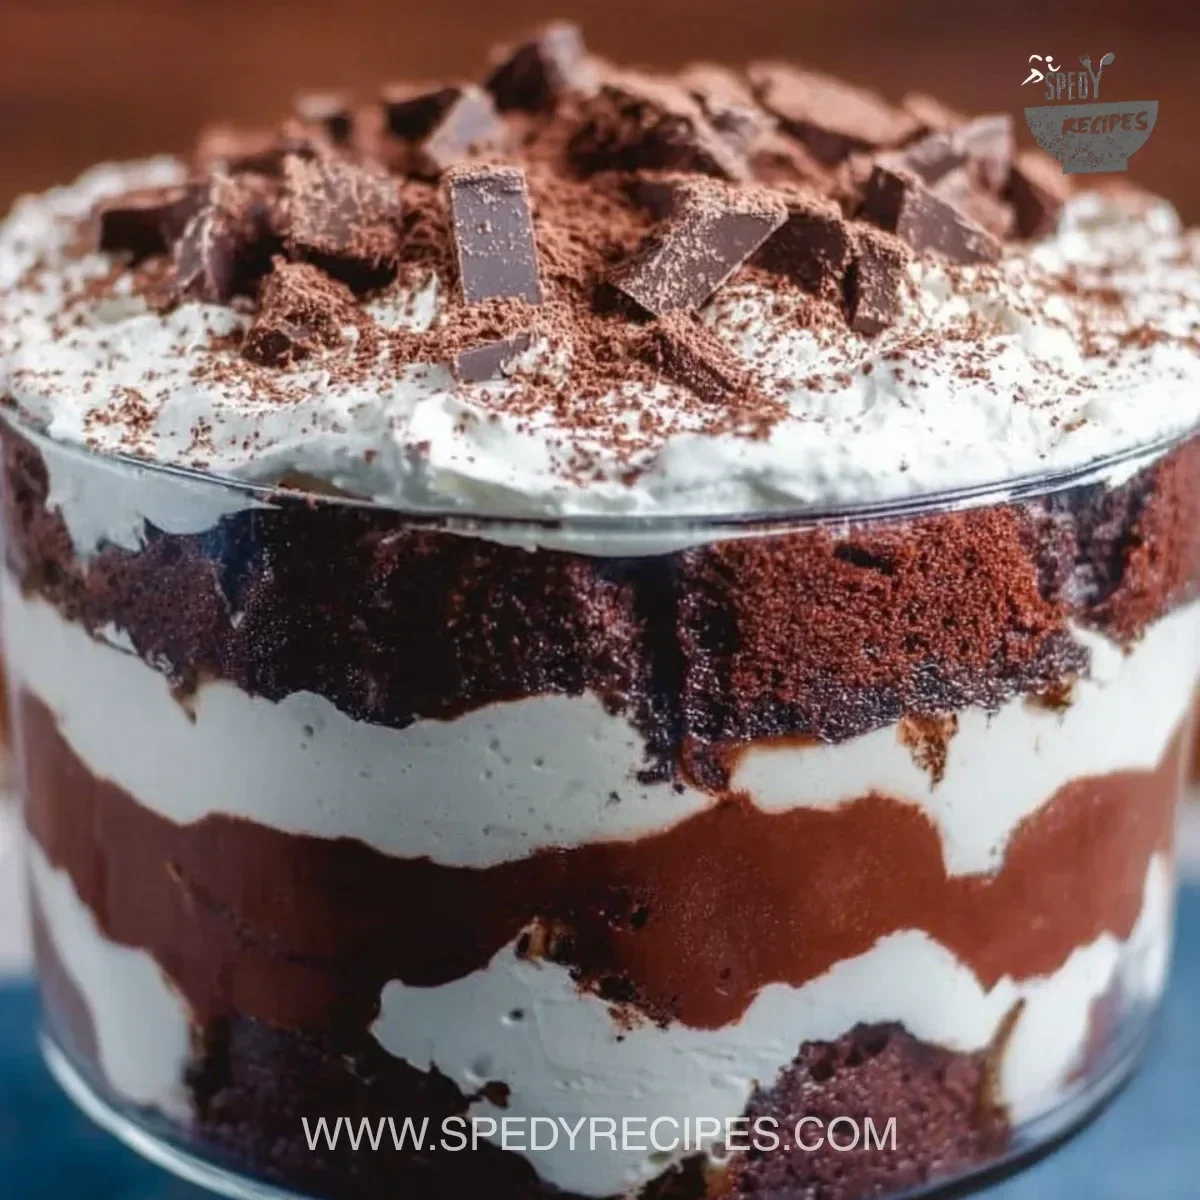
Spiderweb Brownie Trifle Cups

Layer fluffy brownie chunks and creamy whipped topping for this eerie dessert. Top with a chocolate spiderweb for a chillingly delightful presentation. get the recipe.

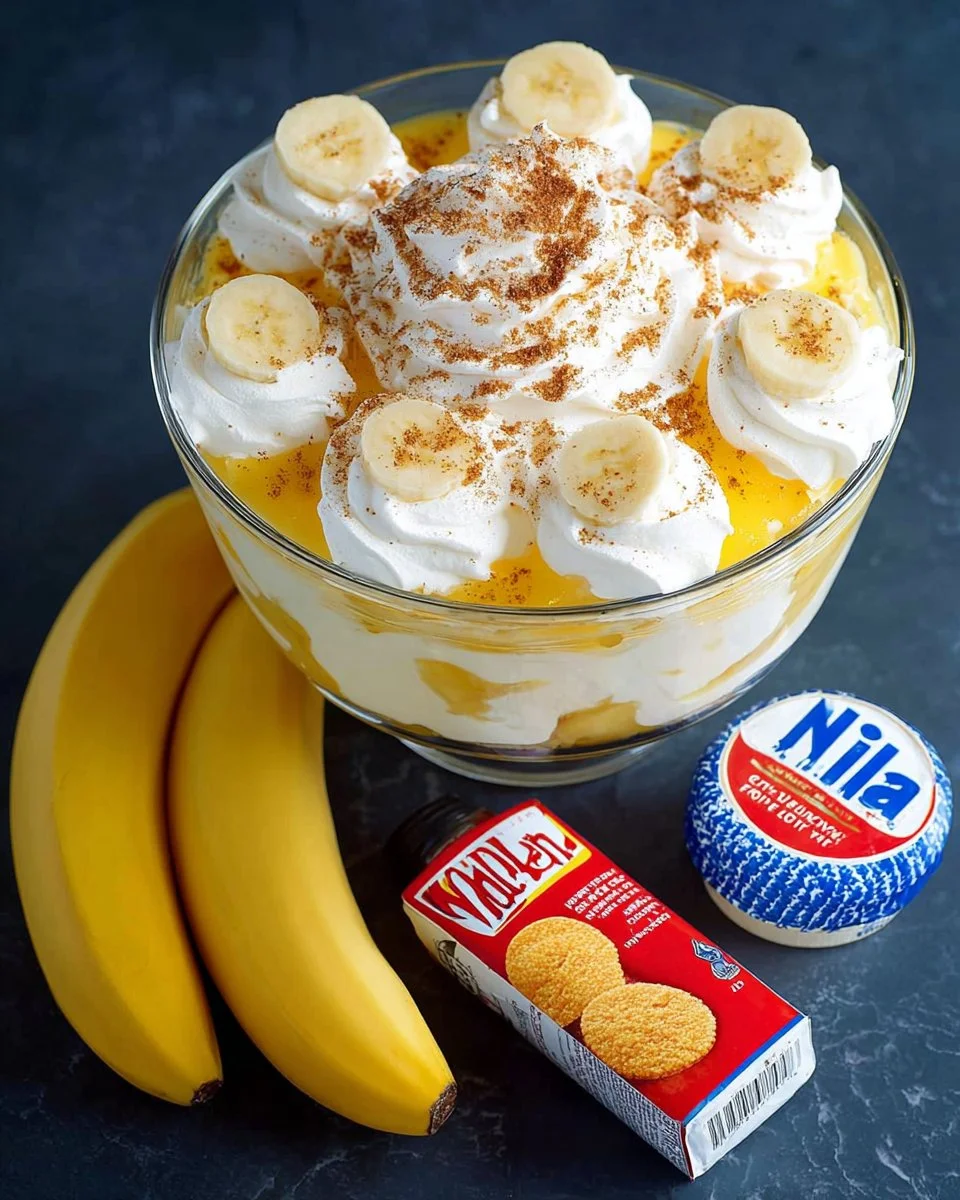
Ghost Banana Pudding Jars

These cute jars combine creamy banana pudding with ghostly marshmallow figures. Perfect for a quick, fun treat that kids can help assemble. see the full recipe.

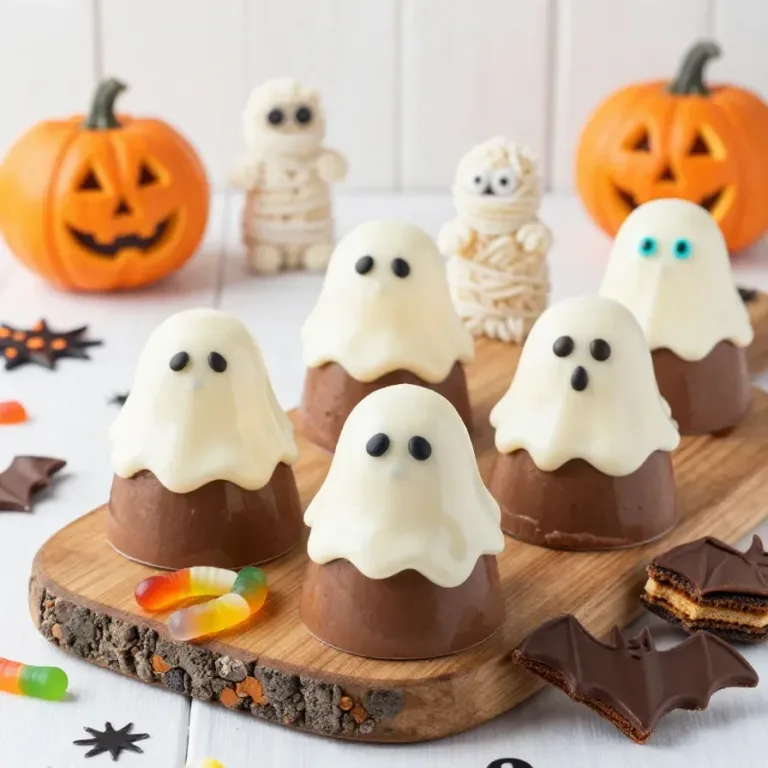
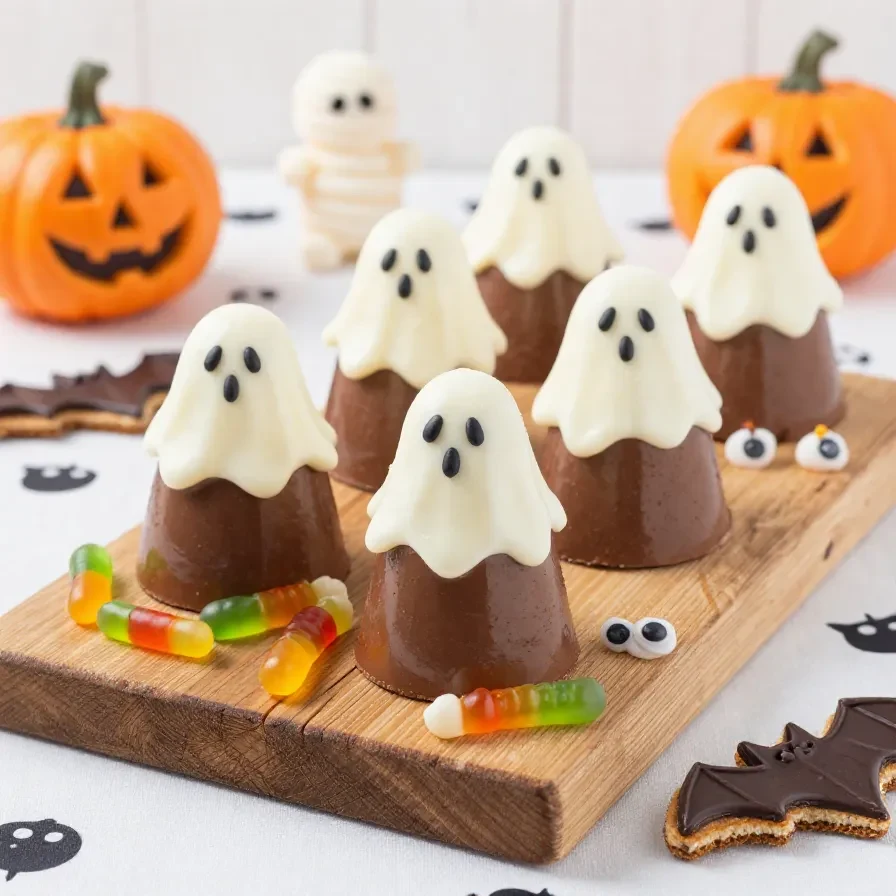
A variety of colorful no-bake Halloween desserts arranged on a table, including ghost-shaped cookies and pumpkin mousse cups.

These no-bake bites are packed with colorful candy eyes and chocolate chips. They’re a hit at any Halloween gathering with their safe-to-eat raw dough! read more.

These no-bake bites combine pumpkin spice with cookie crumbs and cream cheese. Roll them in sugar for a sweet finish. try this recipe.

Witch Hat Brownie Cones

Crispy cones filled with gooey brownies and topped with chocolate hats. A spellbinding treat that’s as fun to make as it is to eat. see the full recipe.

Mini cheesecakes topped with cookie tombstones create an edible graveyard. A spook-tacular addition to any Halloween table. make it now.

Pumpkin Oreo Truffles

These truffles blend pumpkin flavor with crushed Oreos for a sweet bite. Roll in candy coating for an extra festive touch. try this recipe.

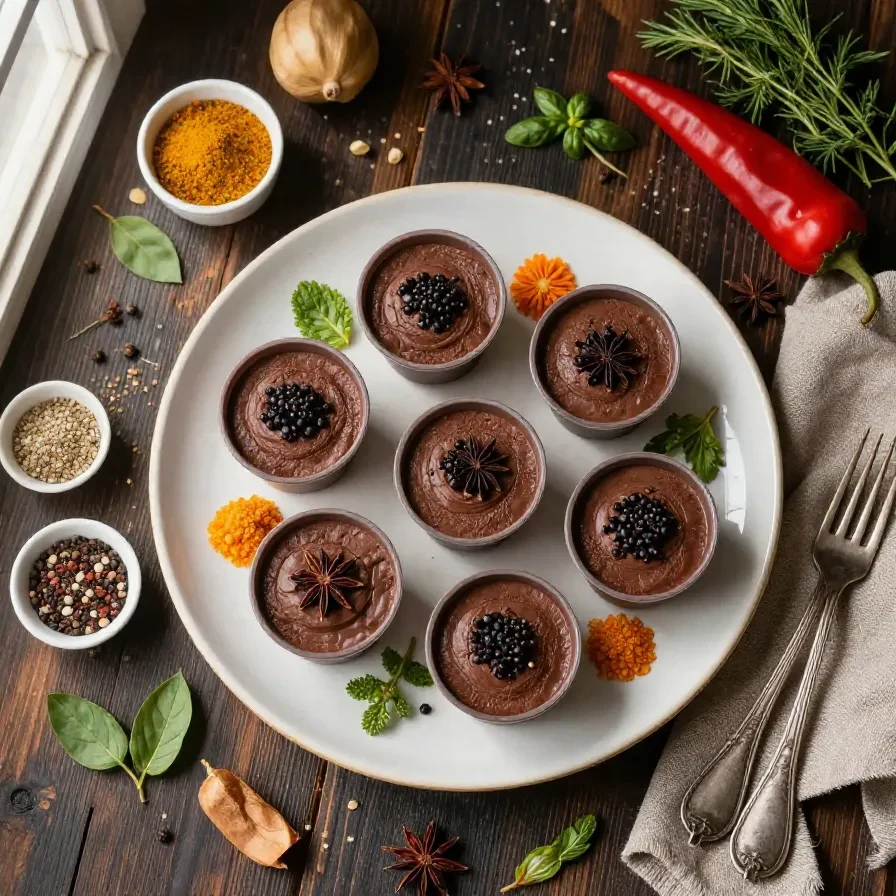
Witch’s Brew Chocolate Mousse Cups

Rich chocolate mousse cups topped with bubbling candy for a witchy look. A decadent treat that’s sure to enchant your guests. see the full recipe.

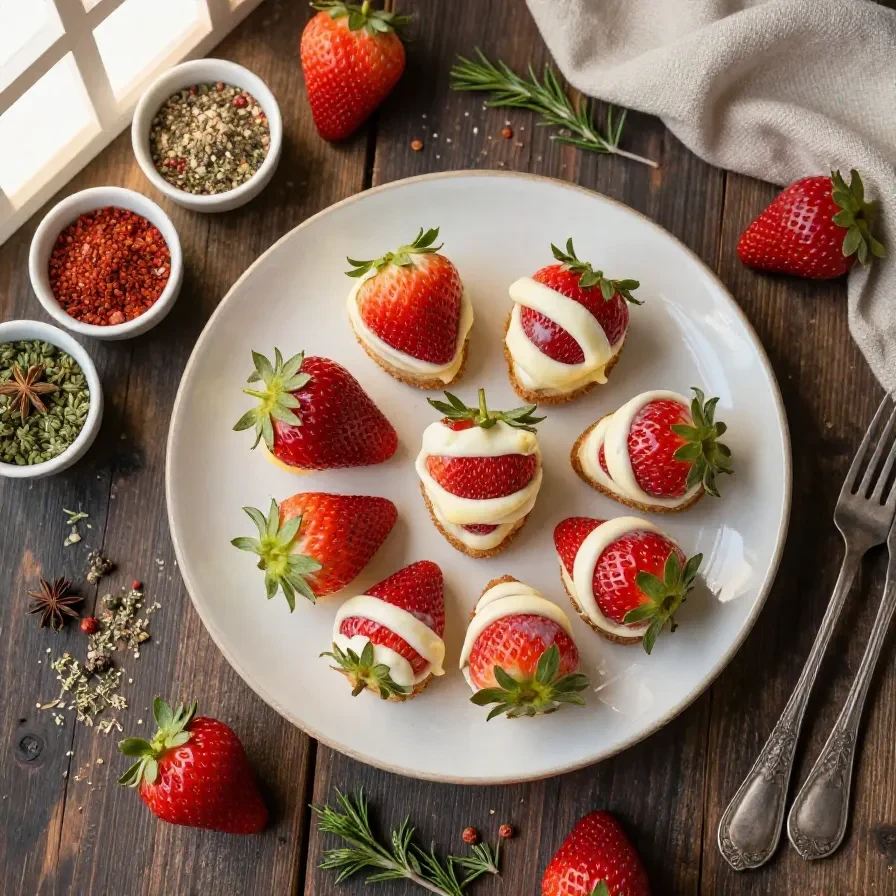
Mummy Cheesecake Stuffed Strawberries

Fresh strawberries filled with creamy cheesecake and wrapped in white chocolate. A quick and easy mummy-themed treat. make it now.

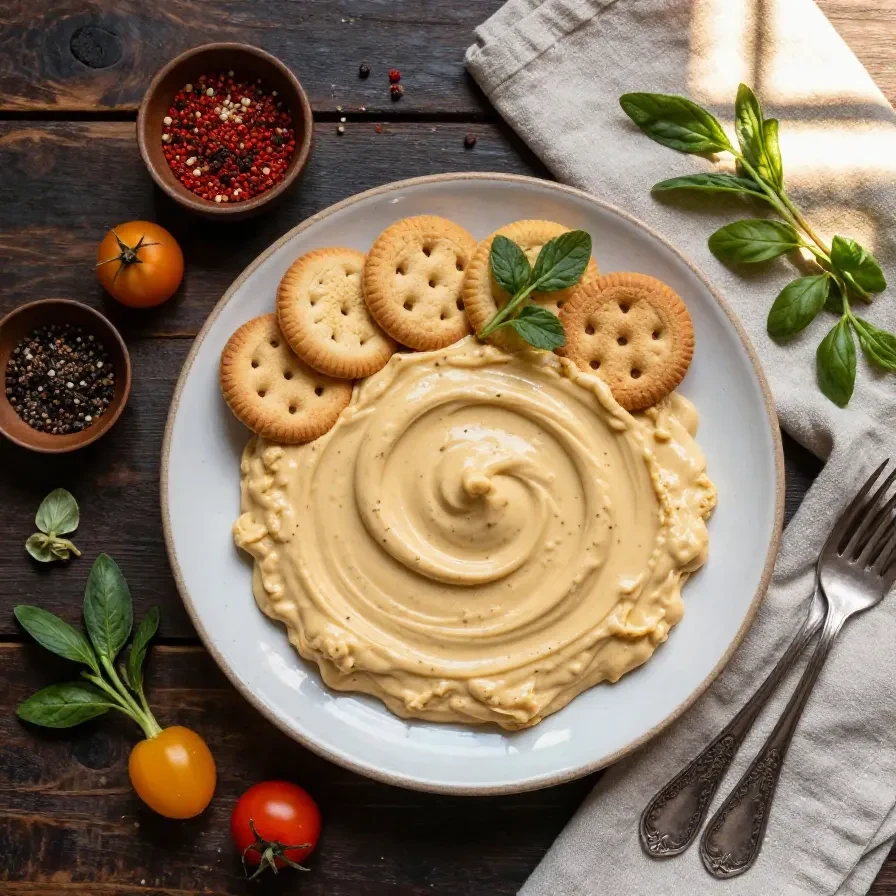
Creamy cookie butter dip with chocolate spider decorations. Serve with cookies or fruit for a crowd-pleasing appetizer. read more.

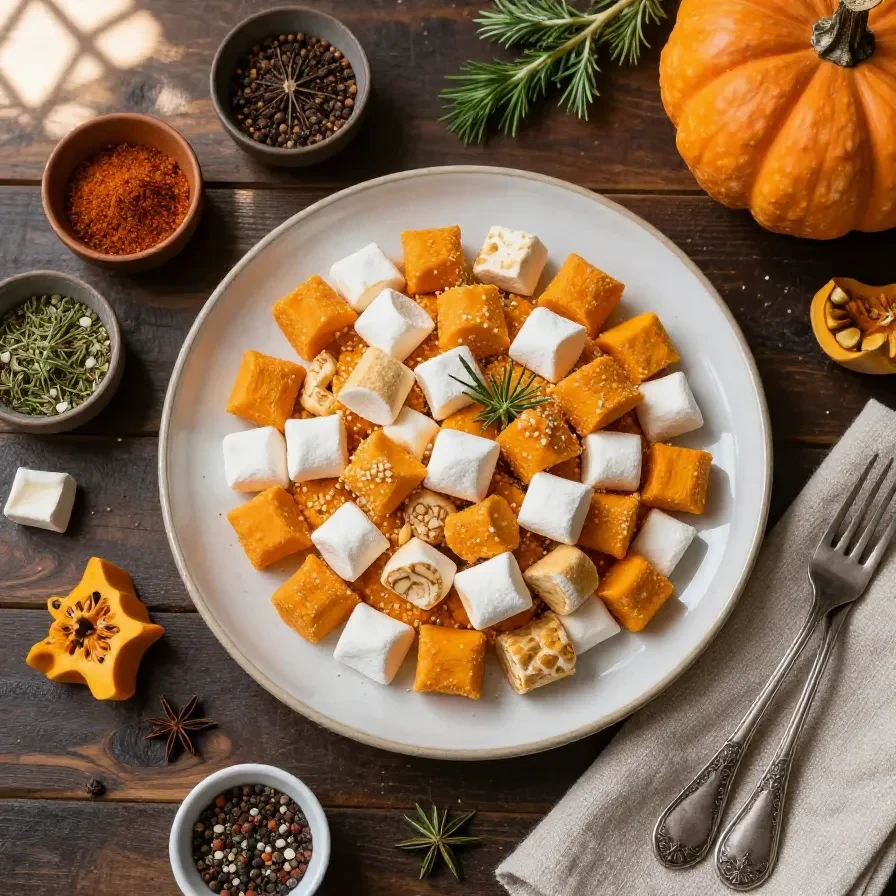
Pumpkin Marshmallow Pop Clusters

Clusters of marshmallows and pumpkin spice cereal for a chewy, seasonal snack. Perfect for a quick and festive Halloween treat. read more.

Which one will you make?

I hope these no-bake Halloween treats inspire you to get creative in the kitchen. Enjoy your spooky celebrations with these easy recipes!

A variety of colorful no-bake Halloween desserts arranged on a table, including ghost-shaped cookies and pumpkin mousse cups.

Loved this recipe? Save it to your favorite Pinterest board so you can easily find it later! ✨