This post contains affiliate links. As an Amazon Associate, I earn from qualifying purchases. This comes at no extra cost to you.
Marshmallow Rice Krispie Brains
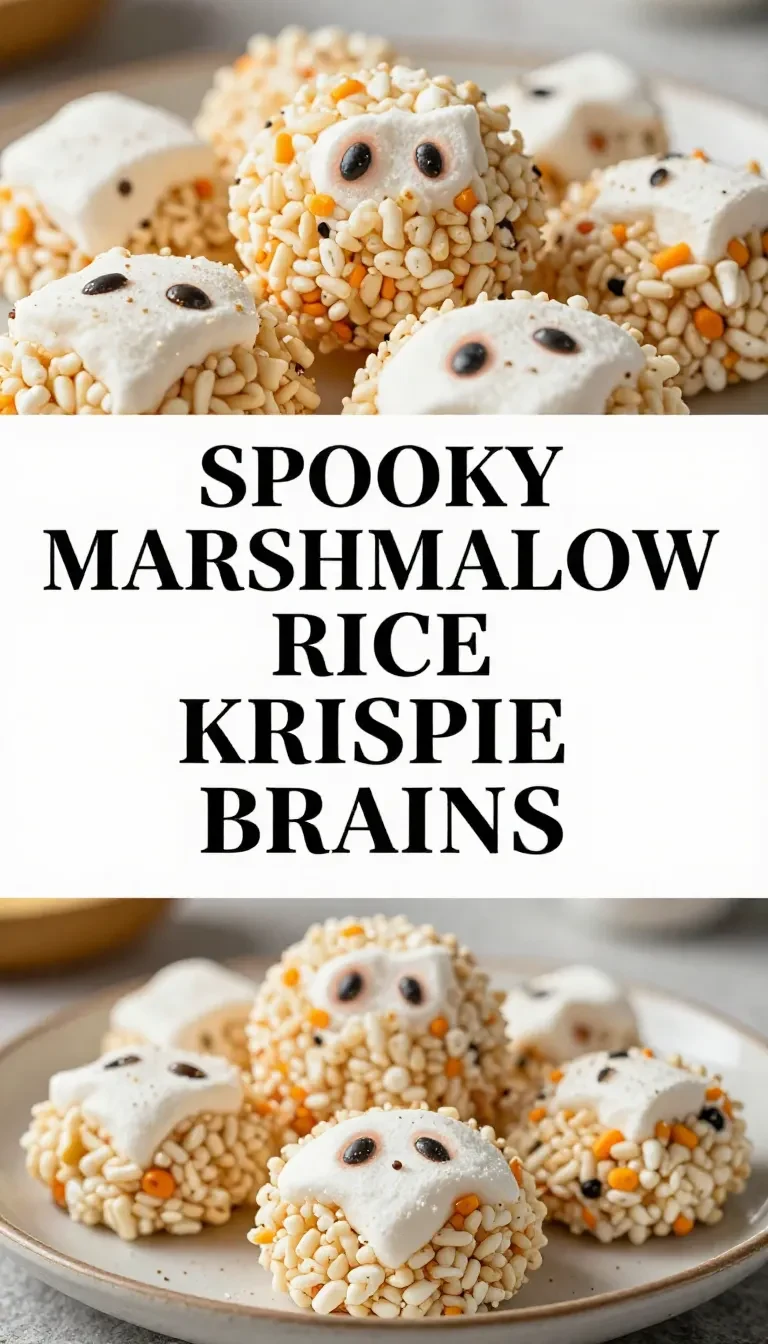
Marshmallow rice krispie brains is a spooky treat made with gooey mini marshmallows, crunchy Rice Krispies cereal, and chocolate veins, ready in 20 minutes. This easy recipe yields 12 servings and is perfect for Halloween fun. With optional edible eyes, it’s sure to be a showstopper at any themed party.
As the marshmallows melt into a smooth flow, the sweet aroma mingles with the light crunch of Rice Krispies. Creating these eerie yet delightful brain shapes takes me back to last Halloween when Mia and I giggled through the process, turning our kitchen into a playful laboratory.
Table of Contents
- Why is Marshmallow Rice Krispie Brains special?
- What ingredients do you need for Marshmallow Rice Krispie Brains?
- How do you make Marshmallow Rice Krispie Brains step by step?
- Frequently Asked Questions About Marshmallow Rice Krispie Brains
- Fun serving ideas for your spooky treats
- How to store and preserve your snacks
- What can you substitute in this recipe?
Why is Marshmallow Rice Krispie Brains special?
Marshmallow Rice Krispie Brains bring playful creativity to your table with minimal effort. Their unique shape and vibrant appearance make them stand out at gatherings.
- Easy to Create: With just a few simple steps, you can craft these quirky brains in under 20 minutes.
- Perfect Party Treat: Their spooky design is ideal for Halloween or themed parties, sparking conversation and delight.
- Flavorful Experience: The combination of marshmallow sweetness with a hint of chocolate offers a delightful taste and texture contrast.
- Kid-Friendly Fun: Letting kids help mold these brains into shapes adds an interactive, entertaining touch to your cooking experience.
What ingredients do you need for Marshmallow Rice Krispie Brains?
This fun treat requires a handful of ingredients, most of which you might already have in your pantry.
- 3 tablespoons unsalted butter
- 1 package (10 oz) mini marshmallows
- 6 cups Rice Krispies cereal
- 1/2 teaspoon vanilla extract
- 2-3 drops green food coloring
- 1-2 drops red food coloring
- 1 cup white chocolate chips
- 1/4 cup cocoa powder
- Edible eyes (optional)
The mini marshmallows provide the gooey base that binds everything together, while the food coloring allows you to unleash your creativity with spooky hues.
How do you make Marshmallow Rice Krispie Brains step by step?
Creating Marshmallow Rice Krispie Brains is a straightforward process that combines melting, mixing, molding, and adding finishing touches.
Step 1 — Melt the Butter
In a large saucepan, melt the butter over low heat until fully liquefied.
Step 2 — Melt the Marshmallows
Add the mini marshmallows to the pan and stir until they are completely melted and smooth.
Step 3 — Add Vanilla and Colors
Remove the pan from heat and stir in the vanilla extract along with the green and red food coloring until well combined.


Step 4 — Mix in Rice Krispies
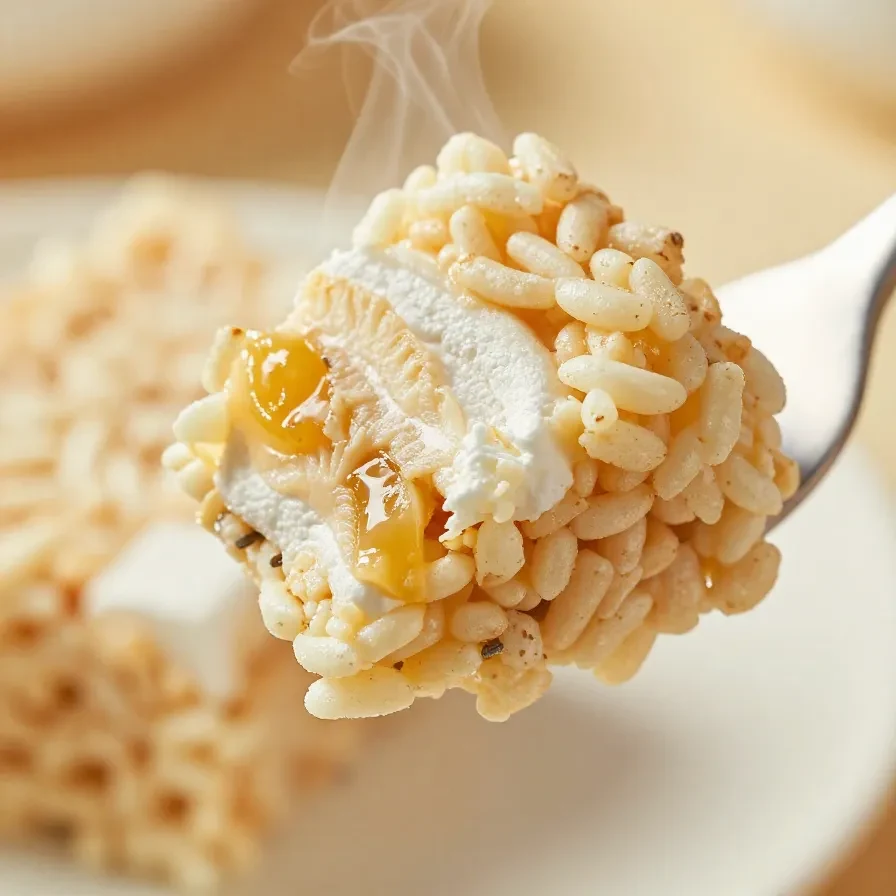
Gradually add the Rice Krispies cereal to the melted mixture, stirring until evenly coated.
Step 5 — Mold the Brains
Allow the mixture to cool slightly. Grease your hands with butter and mold the mixture into brain shapes on a parchment-lined baking sheet.
Step 6 — Prepare and Drizzle Chocolate
In a microwave-safe bowl, melt the white chocolate chips in 30-second intervals, stirring until smooth, then mix with cocoa powder until combined. Drizzle over the brains for the vein effect.
Step 7 — Add Edible Eyes and Cool
If desired, place edible eyes on the brains. Let the treats cool completely before serving.
Frequently Asked Questions About Marshmallow Rice Krispie Brains
How can I store Marshmallow Rice Krispie Brains?
Store them in an airtight container at room temperature for up to a week, keeping them fresh and chewy.
Can I use large marshmallows instead of mini ones?
Yes, but they may take longer to melt evenly. Cutting them into smaller pieces can speed up the process.
Is it necessary to use unsalted butter?
Using unsalted butter helps control the saltiness. If you prefer salted butter, adjust the added salt accordingly.
Can I make these treats ahead of time?
Yes, they’re perfect for making a day or two in advance and storing until ready to serve.
What if I don’t have green food coloring?
You can omit it or use another color for a different spooky effect, like blue or purple.
Fun serving ideas for your spooky treats
Serve these treats on a platter with dry ice mist for a dramatic effect. Alternatively, pair them with our 15-minute, no-bake, one-bowl rice krispie treats for a treat spread.
Adding a side of fresh fruit can balance the sweetness and provide a refreshing contrast.
How to store and preserve your snacks
To maintain freshness, store your treats in a sealed container at room temperature, keeping them chewy for up to 7 days. For longer storage, freeze the brains individually wrapped for up to a month.
When ready to enjoy, allow them to thaw at room temperature for optimal texture. Avoid refrigerating as it can make them too hard and chewy.
What can you substitute in this recipe?
If you’re out of Rice Krispies cereal, any puffed rice cereal can work without drastically changing the texture. For a dairy-free option, swap out the butter for a vegan alternative.
Alternatively, if you want a different flavor, try using chocolate-flavored cereal, which can add a richer, sweeter undertone to your creation.
Marshmallow Rice Krispie Brains
Equipment
- Mixing bowl
- Saucepan
- Spatula
- Parchment Paper
- Microwave-safe bowl
- Baking Sheet
Ingredients
- 3 tablespoon unsalted butter
- 1 package mini marshmallows ((10 oz))
- 6 cup Rice Krispies cereal
- 1/2 teaspoon vanilla extract
- 2-3 drops green food coloring
- 1-2 drops red food coloring
- 1 cup white chocolate chips
- 1/4 cup cocoa powder
- edible eyes ((optional))
Instructions
- In a large saucepan, melt the butter over low heat.
- Add the mini marshmallows and stir until completely melted and smooth.
- Remove from heat and stir in the vanilla extract and food coloring until well combined.
- Gradually add the Rice Krispies cereal to the melted marshmallow mixture, stirring until fully coated.
- Allow the mixture to cool slightly, then use your hands (lightly greased with butter) to mold the mixture into brain shapes on a parchment-lined baking sheet.
- In a microwave-safe bowl, melt the white chocolate chips in 30-second intervals, stirring until smooth.
- Once melted, add the cocoa powder to the white chocolate and mix until well combined.
- Drizzle the chocolate mixture over the molded Rice Krispie brains to create the look of veins.
- If desired, add edible eyes to the brains for a fun touch.
- Let the brains cool completely before serving.
Notes
Loved this recipe? Save it to your favorite Pinterest board so you can easily find it later! ✨
