This post contains affiliate links. As an Amazon Associate, I earn from qualifying purchases. This comes at no extra cost to you.
Skull snack board is a vibrant, no-cook platter composed of a variety of colorful snacks including hummus, tzatziki sauce, and an assortment of fresh vegetables, cheese, and meats. Ready in just 20 minutes, it serves 8-10 people and adds a playful touch to gatherings. This combination of textures and flavors makes it a perfect centerpiece for any festive occasion.
The first time I made a Skull Snack Board, my kids, Sam and Lily, couldn’t stop giggling at the edible skull face decorations. It was a hit at our Halloween party, bringing both delight and deliciousness to the table.
Table of Contents
- Why is Skull Snack Board so popular?
- What ingredients do you need for Skull Snack Board?
- How do you make Skull Snack Board step by step?
- Frequently Asked Questions About Skull Snack Board
- How do you store and reheat Skull Snack Board?
- What are some expert tips for making Skull Snack Board?
- What are easy ingredient swaps for Skull Snack Board?
Why is Skull Snack Board so popular?
Skull Snack Board is popular due to its eye-catching presentation and versatility in flavors and textures, appealing to all ages.
- Visual Appeal: The board’s vibrant colors and creative decorations attract immediate attention and conversation.
- Culinary Variety: With dips, fresh vegetables, meats, and nuts, it offers a diverse range of flavors for different palates.
- Easy Assembly: No cooking required, making it simple and quick to prepare in about 20 minutes.
- Festive Fun: Edible markers allow for fun, thematic decorations, perfect for holiday gatherings like Halloween.
What ingredients do you need for Skull Snack Board?
Key ingredients for Skull Snack Board include 1 cup each of hummus, tzatziki sauce, olives, vegetables, and various snacks, making it a vibrant mix of tastes and textures.
- 1 large round platter or board
- 1 cup hummus
- 1 cup tzatziki sauce
- 1 cup olives (mixed varieties)
- 1 cup cherry tomatoes, halved
- 1 cup cucumber slices
- 1 cup carrot sticks
- 1 cup bell pepper strips (various colors)
- 1 cup roasted chickpeas
- 1 cup cheese cubes (cheddar or gouda)
- 1 cup turkey pepperoni slices
- 1 cup pita chips
- 1 cup assorted nuts (almonds, cashews, walnuts)
- Fresh basil leaves for garnish
- Edible markers for decoration (optional)
The fresh basil leaves add a pop of color and subtle aroma that enhances the overall appeal and taste of the board.
How do you make Skull Snack Board step by step?
To make a Skull Snack Board, arrange a variety of vegetables, meats, and dips on a large round platter, garnishing creatively for a festive touch.
Step 1 — Prepare the Base
Start by preparing your large round platter or board as the base for the snack arrangement.
Step 2 — Add Dips
In the center of the board, place a bowl of hummus and a bowl of tzatziki sauce for dipping.
You might also enjoy our hocus pocus charcuterie board.
Step 3 — Arrange Olives
Arrange the olives around the bowls in a circular pattern.
Step 4 — Add Vegetables
Next, add the halved cherry tomatoes, cucumber slices, and carrot sticks in sections around the board.
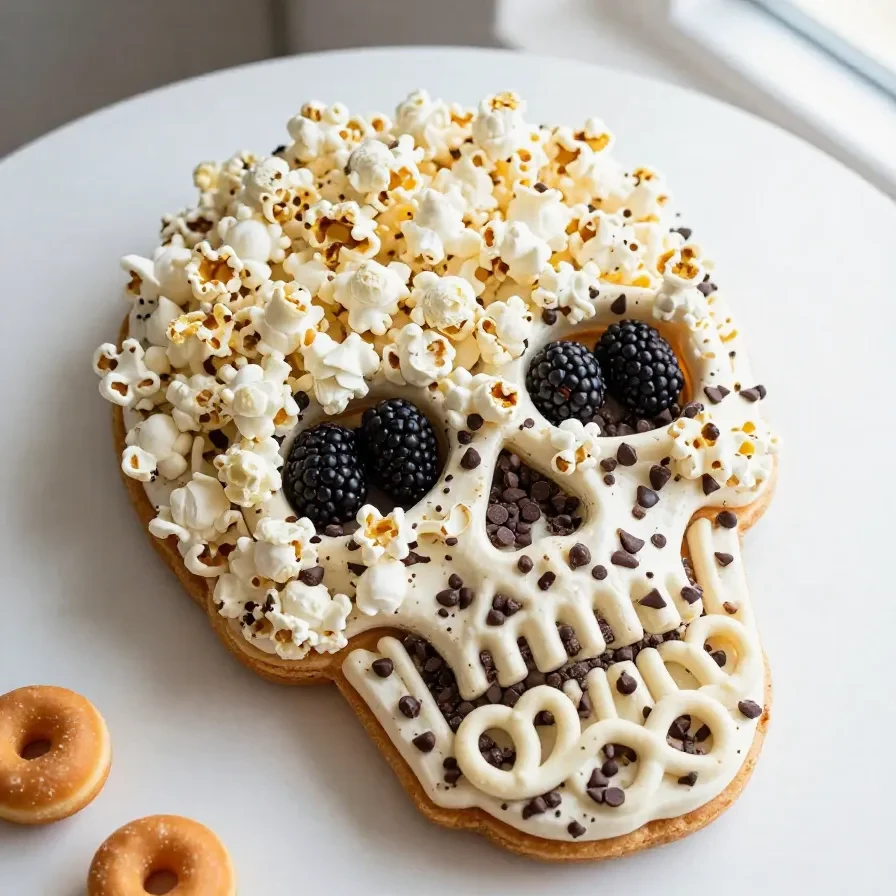
Step 5 — Fill with Colors and Crunch
Fill in the spaces with bell pepper strips and roasted chickpeas for added color and crunch.
Step 6 — Scatter Cheese and Meats
Scatter the cheese cubes and turkey pepperoni slices across the board, ensuring a good mix of flavors.
Step 7 — Finish with Nuts and Garnish
Finish by sprinkling assorted nuts throughout the board for a delightful texture contrast. Garnish with fresh basil leaves for a pop of color and flavor.
For more ideas, check out our 5-minute halloween snack mix.
If desired, use edible markers to draw skull faces on the cheese cubes or decorative elements on the board for a festive touch.
Frequently Asked Questions About Skull Snack Board
Can I make this board ahead of time?
Yes, you can prepare the Skull Snack Board a few hours in advance; just cover and refrigerate it to keep the ingredients fresh.
What is the best way to display the board?
Use a large, round platter for an organized presentation, ensuring that dips and snacks are evenly spread out.
Are there vegetarian options for the meat?
Yes, you can substitute turkey pepperoni with plant-based slices or extra cheese cubes for a vegetarian option.
Do I need edible markers?
No, edible markers are optional but add a fun decorative element for themes like Halloween.
Looking for something similar? Try our pretzel ‘cigarettes’ snack plate.
How do you store and reheat Skull Snack Board?
To store any leftovers, cover the Skull Snack Board with plastic wrap or transfer it to an airtight container, keeping it in the fridge for up to 2 days. Since it’s a cold platter, there’s no reheating required; just serve it directly from the fridge for snacks or gatherings.
For any elements that become soggy, like pita chips, consider saving them separately in a resealable bag to maintain crispness.
What are some expert tips for making Skull Snack Board?
To ensure a balanced flavor profile, use a mix of mild and sharp cheeses, combining both cheddar and gouda cubes. This variety helps to satisfy different taste preferences and complements the other ingredients.
When arranging the board, start with larger items like bowls and clusters of vegetables and gradually fill the smaller spaces with nuts and smaller snacks. This method provides a well-organized and visually appealing presentation.
What are easy ingredient swaps for Skull Snack Board?
If you’re out of cherry tomatoes, grape tomatoes are a suitable alternative, offering a similar juicy sweetness and color. Additionally, swap bell pepper strips with radishes for an extra crunch and spicy kick. Though both substitutions maintain the board’s fresh appeal, each brings a unique flavor shift.
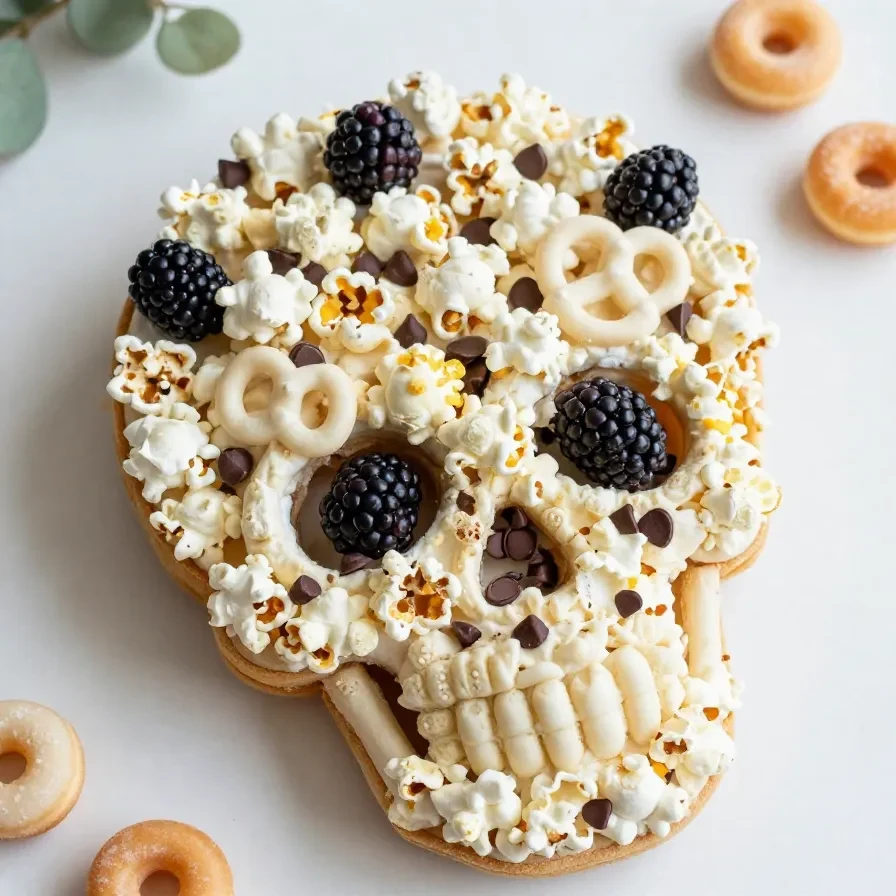
Skull Snack Board
Ingredients
- 1 large round platter or board
- 1 cup hummus
- 1 cup tzatziki sauce
- 1 cup olives (mixed varieties)
- 1 cup cherry tomatoes, halved
- 1 cup cucumber slices
- 1 cup carrot sticks
- 1 cup bell pepper strips (various colors)
- 1 cup roasted chickpeas
- 1 cup cheese cubes (cheddar or gouda)
- 1 cup turkey pepperoni slices
- 1 cup pita chips
- 1 cup assorted nuts (almonds, cashews, walnuts)
- Fresh basil leaves for garnish
- Edible markers for decoration (optional)
Instructions
- Start by preparing your large round platter or board as the base for the snack arrangement.
- In the center of the board, place a bowl of hummus and a bowl of tzatziki sauce for dipping.
- Arrange the olives around the bowls in a circular pattern.
- Next, add the halved cherry tomatoes, cucumber slices, and carrot sticks in sections around the board.
- Fill in the spaces with bell pepper strips and roasted chickpeas for added color and crunch.
- Scatter the cheese cubes and turkey pepperoni slices across the board, ensuring a good mix of flavors.
- Add pita chips around the edge for easy snacking, filling in any gaps on the board.
- Finish by sprinkling assorted nuts throughout the board for a delightful texture contrast.
- Garnish with fresh basil leaves for a pop of color and flavor.
- If desired, use edible markers to draw skull faces on the cheese cubes or decorative elements on the board for a festive touch.
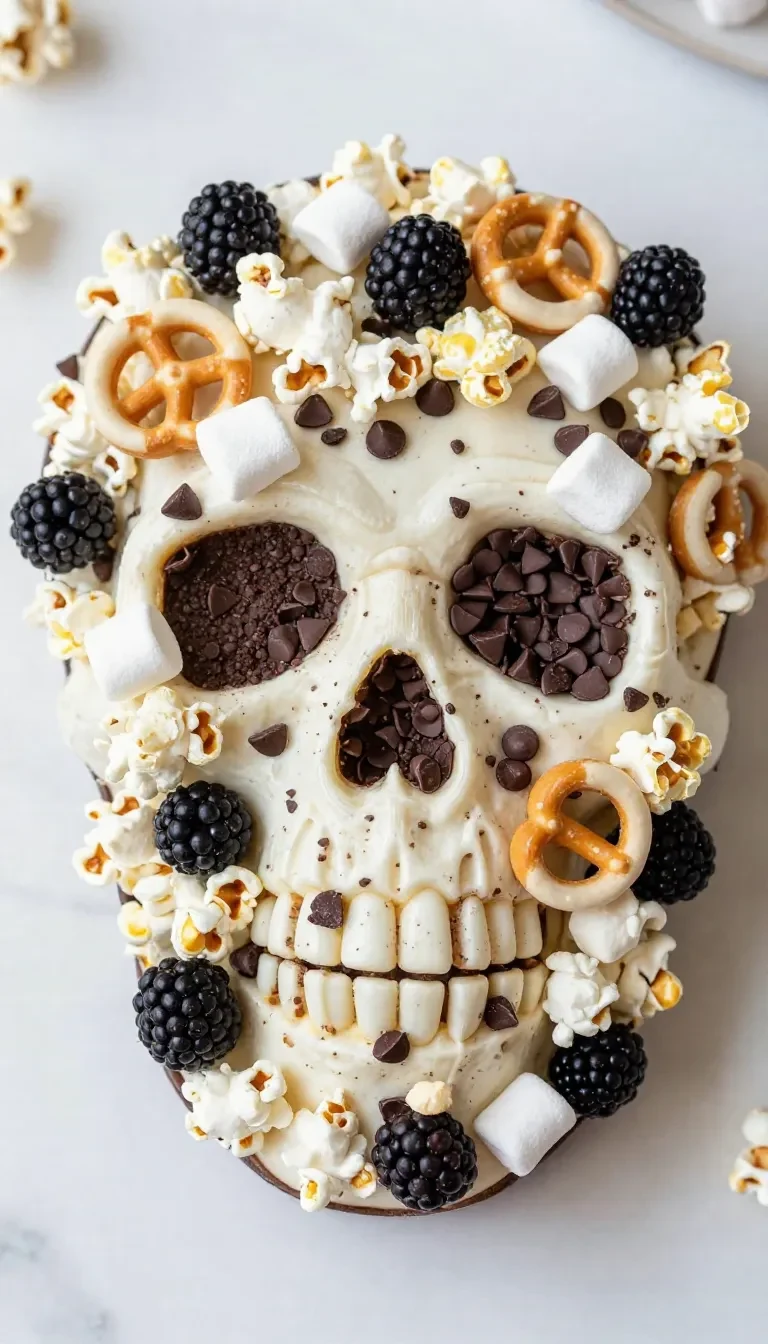
Loved this recipe? Save it to your favorite Pinterest board so you can easily find it later! ✨
