This post contains affiliate links. As an Amazon Associate, I earn from qualifying purchases. This comes at no extra cost to you.
Witch hat brownie cones is a festive treat made with brownie mix, sugar cones, and topped with green whipped cream, ready in about 40 minutes. This easy recipe yields 12 servings and is perfect for Halloween parties. When I first made these for a neighborhood Halloween party, the kids were ecstatic, and even my friend Laura couldn’t resist snapping a few photos before they disappeared!
Table of Contents
- Why are Witch Hat Brownie Cones so popular?
- What ingredients do you need for Witch Hat Brownie Cones?
- How do you make Witch Hat Brownie Cones step by step?
- Frequently Asked Questions About Witch Hat Brownie Cones
- Serving Ideas and Pairings
- How to store and reheat Witch Hat Brownie Cones
- Common Mistakes to Avoid
Why are Witch Hat Brownie Cones so popular?
Witch Hat Brownie Cones are popular because they combine fun, flavor, and festive aesthetics into one treat. Their whimsical design makes them a standout at parties.
- Whimsical Design: The cones look like little witch hats, adding a magical touch to Halloween spreads.
- Easy to Make: With a box of brownie mix and a few extra ingredients, these treats come together quickly.
- Kid-Friendly: Both making and eating these cones are activities that kids thoroughly enjoy.
- Flavorful: The combination of chocolate brownie and sweet whipped cream offers a delicious contrast.
What ingredients do you need for Witch Hat Brownie Cones?
The key ingredients for Witch Hat Brownie Cones include brownie mix, sugar cones, and green whipped cream. These ingredients ensure the treat is both tasty and visually striking.
- 1 box of brownie mix (plus ingredients required on the box, usually eggs, oil, and water)
- 12 sugar cones
- 1 cup of chocolate chips
- 1 cup of whipped cream
- Green food coloring
- Edible glitter or sprinkles (optional)
- Candy corn or other Halloween-themed candies for decoration
The sugar cones form the base of our witch hat, providing structure and a delightful crunch.
How do you make Witch Hat Brownie Cones step by step?
Making Witch Hat Brownie Cones involves preparing brownie batter, baking it in cones, and decorating them to look like witch hats.
Step 1 — Preheat the Oven
Preheat your oven according to the brownie mix package instructions.
Step 2 — Prepare the Batter
Prepare the brownie batter by following the instructions on the box.
You might also enjoy our spooky witch hat rolls.
Step 3 — Fill the Cones
Fill each sugar cone with brownie batter until about three-quarters full. Place the cones upright in a muffin tin to keep them stable while baking.
Step 4 — Bake
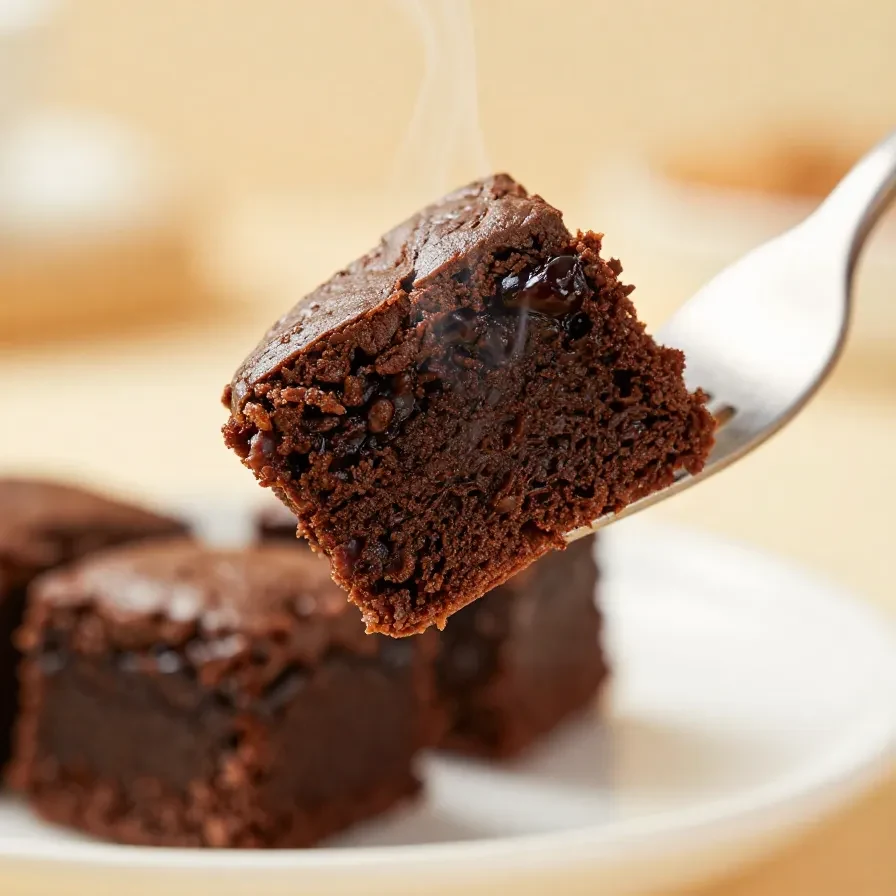
Bake the cones in the preheated oven for the time specified on the brownie mix box, usually around 20-25 minutes, or until a toothpick inserted into the brownie comes out clean.
Step 5 — Cool and Decorate
Allow the brownie cones to cool completely before removing them from the muffin tin. In a separate bowl, mix the whipped cream with a few drops of green food coloring until you reach your desired shade of green. Once cooled, pipe or spoon the green whipped cream on top to resemble the witch hat.

Step 6 — Add Final Touches
For added decoration, sprinkle edible glitter or sprinkles over the whipped cream and top with candy corn or other Halloween-themed candies.
For more ideas, check out our witch brooms.
Frequently Asked Questions About Witch Hat Brownie Cones
Can I prepare Witch Hat Brownie Cones in advance?
Yes, you can prepare them a day in advance and store them in an airtight container at room temperature.
How do I keep the cones from getting soggy?
Ensure the brownie cones are completely cooled before adding whipped cream, which reduces moisture accumulation.
What can I use as an alternative topping?
For an alternative, use orange-flavored frosting instead of green whipped cream for a different color theme.
Are there any dietary considerations?
Use gluten-free brownie mix if dietary restrictions require it, ensuring all other ingredients are also suitable.
Looking for something similar? Try our halloween witch finger breadsticks recipe.
Can I use homemade brownie batter?
Yes, homemade batter works well, just ensure the consistency allows for even filling and baking in the cones.
Serving Ideas and Pairings
Pair Witch Hat Brownie Cones with our spooky witch hat rolls for a complete Halloween theme. Also, add our witch brooms as a savory side to balance the sweetness.
How to store and reheat Witch Hat Brownie Cones
Store Witch Hat Brownie Cones in an airtight container at room temperature for up to two days. To keep them longer, refrigerate up to five days but allow reaching room temperature before serving for best texture. Avoid freezing to maintain the cones’ structure.
Common Mistakes to Avoid
Avoid overfilling the cones with batter, as this can lead to overflow and uneven baking. Ensure the cones stand upright in the muffin tin to prevent them from tipping over while baking. Make sure the cones are completely cool before adding whipped cream to avoid melting.
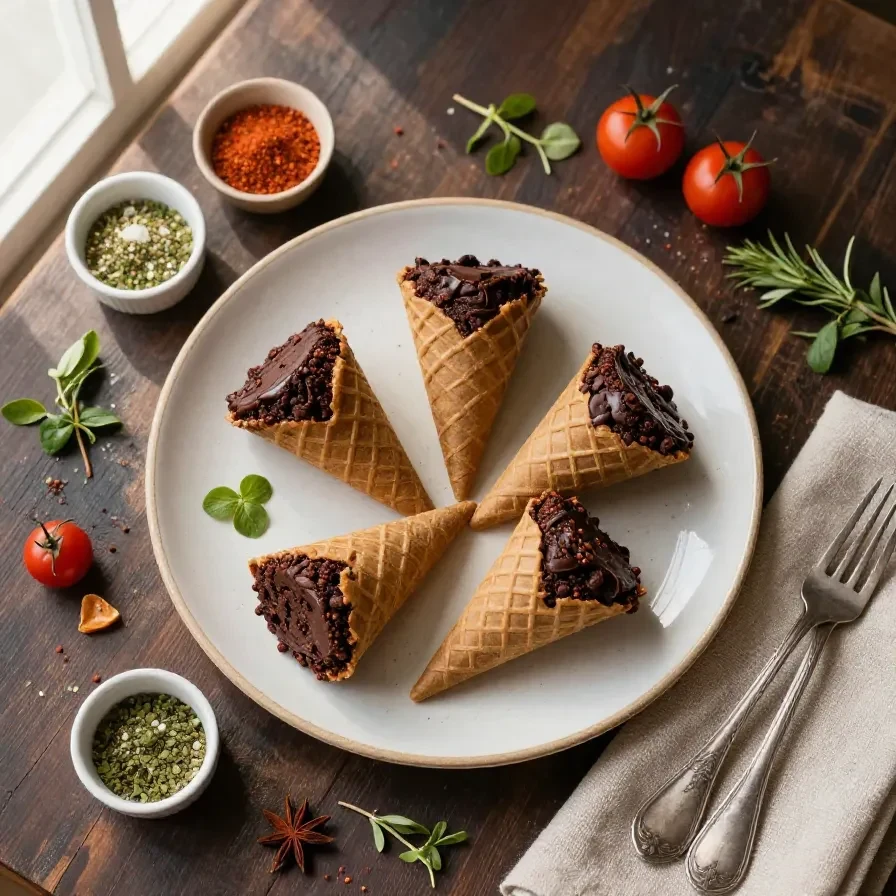
Witch Hat Brownie Cones
Instructions
- Preheat your oven according to the brownie mix package instructions.
- Prepare the brownie batter by following the instructions on the box.
- Fill each sugar cone with brownie batter until about three-quarters full. Place the cones upright in a muffin tin to keep them stable while baking.
- Bake the cones in the preheated oven for the time specified on the brownie mix box, usually around 20-25 minutes, or until a toothpick inserted into the brownie comes out clean.
- Allow the brownie cones to cool completely before removing them from the muffin tin.
- In a separate bowl, mix the whipped cream with a few drops of green food coloring until you reach your desired shade of green.
- Once the brownie cones have cooled, pipe or spoon the green whipped cream on top to resemble the witch hat.
- For added decoration, sprinkle edible glitter or sprinkles over the whipped cream and top with candy corn or other Halloween-themed candies.
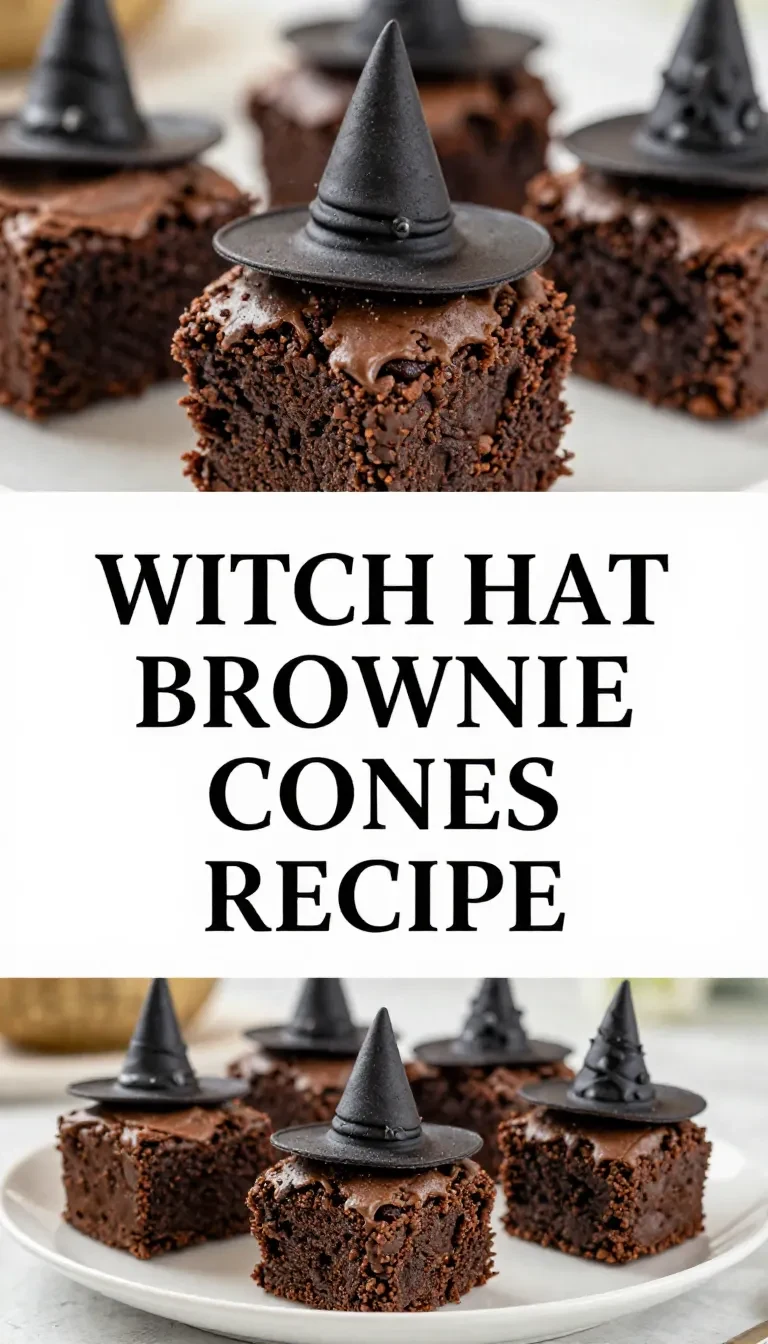
Loved this recipe? Save it to your favorite Pinterest board so you can easily find it later! ✨
