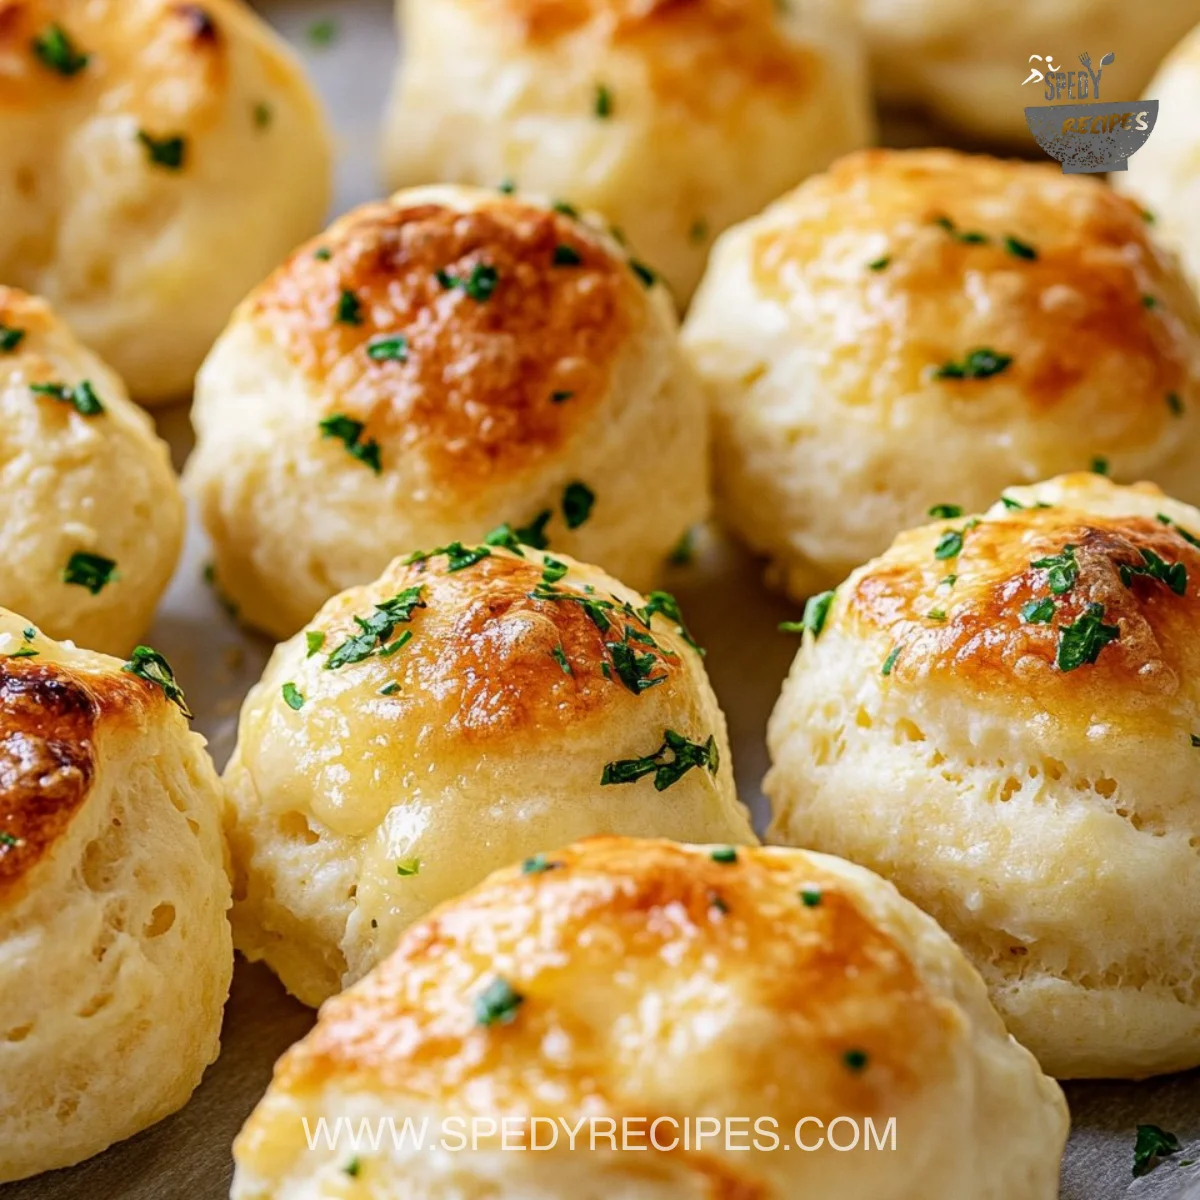
The kitchen smells like warm butter and garlic. I hear the soft pop as the oven door closes and the house settles into that cozy cooking hum. If you make these buttery garlic cheese bombs, your family will come running.
These little balls of dough and cheese bake up golden and puffed. The first bite gives you a crunchy outside and oozing cheese inside. They are fast, comforting, and perfect for busy weeknights or weekend snack times.
If you love simple, shareable bites after a busy day, this recipe will become a favorite. You can pair them with salads, soups, or even sweet treats from your pantry like my guide to decadent cookie recipes for an easy dessert plan.
Why this works

These cheese bombs win because they use ready-made dough and a few fresh ingredients. That saves time without losing flavor. Families can mix, seal, and bake in under 20 minutes.
They are forgiving. Kids can help roll the dough or drop in the cheese cubes. That makes them a great choice for family nights and quick gatherings.
Serve them with dips or a simple salad to stretch a small batch into a real meal. For more crowd-pleasing bites that are easy to toss together, check out other party appetizer ideas that are kid-friendly and low stress.
Process Overview
“This is where the magic happens—when the aroma fills the kitchen.”
Start with good butter and fresh garlic when you can. The melted butter soaks the dough and creates that irresistible golden color.
Seal the dough tightly so the cheese stays inside while baking. A smooth ball gives the nicest, even browning.
These are quick to assemble and even quicker to disappear. Pairing them with a salad or soup makes a full meal without extra fuss. If you like easy weeknight cooks, these fit right in with other simple weeknight comfort recipes you can rotate through.
Ingredients
-
1 can (8-count refrigerated biscuit dough
- Lily’s tip: Use the biscuits labeled "buttermilk" for better flavor. Let the can warm slightly on the counter for 5 minutes so the dough is easier to work with.
-
8 small cubes of mozzarella or cheddar cheese
- Lily’s tip: Cut cheese into small, even cubes so each bomb melts the same. Mozzarella gives stretch; cheddar gives sharper flavor.
-
4 tablespoons unsalted butter (melted)
- Lily’s tip: Use unsalted so you control salt levels. If using salted butter, reduce any added salt in dips or salads.
-
2 cloves garlic (minced (or 1/2 teaspoon garlic powder))
- Lily’s tip: Fresh minced garlic gives the best aroma. If you need a milder garlic hint, use garlic powder.
-
1 tablespoon fresh parsley (finely chopped (optional))
- Lily’s tip: Parsley brightens the buttery flavor and adds a fresh look. Omit it if your kids prefer plain cheese.
If you want to experiment, check my notes on making fillings and textures in this short guide to cream cheese filling tips. It helps if you decide to add cream cheese to the center for extra richness.
Directions
-
Preheat the Oven, Preheat the oven to 375°F (190°C) and line a baking sheet with parchment paper for easy cleanup.
- Encouraging note: This is a quick step and sets the pace. While it preheats, you can gather your ingredients to keep things moving.
-
Prepare the Biscuits, Open the can of biscuit dough and separate the biscuits. Flatten each one slightly with your fingers to create a small disc.
- Encouraging note: Flatten gently so the dough stays thin enough to wrap. Take your time here; this is part of the fun.
-
Add the Cheese, Place one cube of cheese in the center of each biscuit. Fold the dough over the cheese and pinch the edges to seal it completely. Roll each filled biscuit into a smooth ball.
- Encouraging note: Press the edges well. A good seal keeps the gooey cheese inside and prevents leaks. If a seam pops, just press it closed again.
-
Arrange on the Baking Sheet, Place the sealed cheese bombs seam-side down on the prepared baking sheet, leaving space between them for expansion while baking.
- Encouraging note: Give them breathing room. They puff up as they bake and you want even browning.
-
Make the Garlic Butter, In a small bowl, mix the melted butter with minced garlic and parsley (if using).
- Encouraging note: Taste a tiny bit of the butter (careful, it’s hot) to check garlic strength. Adjust parsley to your family’s preference.
-
Brush with Garlic Butter, Using a pastry brush, generously brush the garlic butter mixture over each cheese bomb. Reserve a little butter to brush on after baking for an extra burst of flavor.
- Encouraging note: Be generous. The butter creates color and flavor. If you have a picky eater, brush only half before baking and add more afterward to control garlic flavor.
-
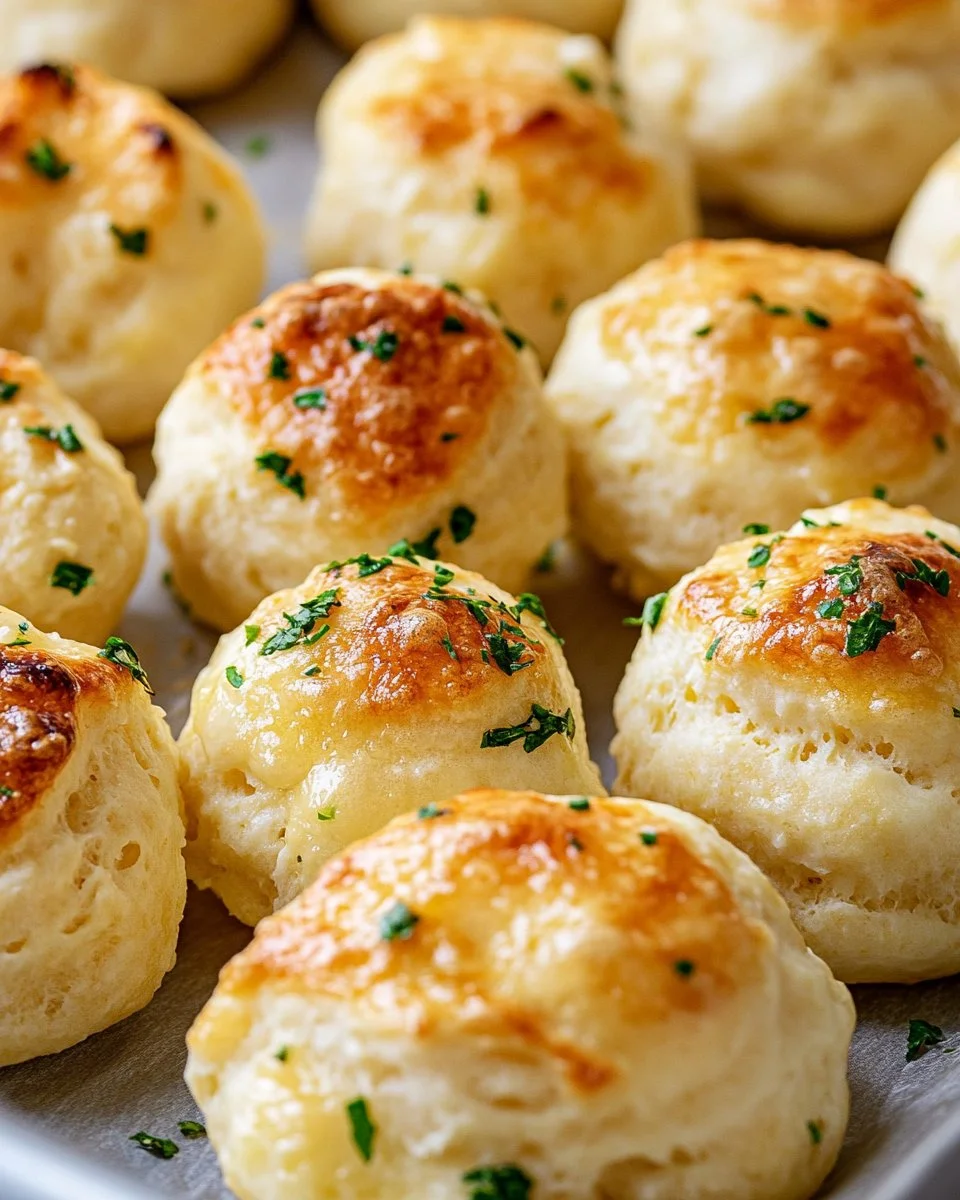
Bake, Bake for 10–12 minutes or until the cheese bombs are golden brown and puffed up. You want them to be crispy on the outside and gooey inside.
- Encouraging note: Check at 10 minutes. Ovens vary. Pull them out when tops are deeply golden, not dark brown.
-
Finish and Serve, Remove the cheese bombs from the oven and brush them with the remaining garlic butter. Serve warm, and enjoy the cheesy, buttery goodness.
- Encouraging note: Serve immediately for the best gooey pull. They are perfect with marinara, ranch, or a simple salad. For a full meal plan, consider pairing with some sweet treats and dessert crowd-pleasers for a special finish.
Serving
Serve these family-style on a big platter. Pile them in the center and let everyone grab with fingers or small tongs.
Offer a small bowl of warm marinara and another of ranch. Add a simple green salad and some raw veggies for balance. For a kid-friendly table, include a mild cheddar and a mozzarella option so everyone finds a favorite.
They make a great snack plate for movie night or a quick appetizer for company. Kids will love the cheesy center and adults will appreciate the buttery garlic topping.
Storage
Refrigerator
- Cool leftover cheese bombs to room temperature, then place them in an airtight container.
- Store up to 3 days. The texture softens but reheats well.
Reheating
- Oven or toaster oven at 350°F for 6 to 8 minutes restores some crispness and heats the center.
- Microwave for 20 to 30 seconds if you need speed. Finish in the oven for 1 to 2 minutes to bring back crispiness.
Freezing
- Freeze unbaked sealed bombs on a tray until solid, then transfer to a freezer-safe bag.
- Bake from frozen at 375°F for 14 to 18 minutes, brushing with garlic butter midway if possible.
Kitchen Notes
- Use parchment paper. It keeps the pan clean and makes flipping or moving easier.
- Work with slightly warmed dough. Cold dough tears more easily.
- Seal seams with a little water on your finger if edges won’t stick.
- Use a silicone brush for an even garlic butter coating.
- If baking for a crowd, double the recipe and use two pans to avoid crowding.
Variations
- Vegetarian swap: Use a bit of cream cheese and herbs in the center instead of cubes for a milder filling.
- Spicy twist: Add a tiny slice of pepperoni or a sprinkle of red pepper flakes inside with the cheese for spice lovers.
- Gluten-free: Use a store-bought gluten-free biscuit dough or make a quick gluten-free dough and shape the same way.
- Dairy-free: Use a dairy-free cheese cube and a vegan buttery spread for the garlic butter.
- Herb and cheese blend: Mix shredded cheddar with a pinch of dried basil or Italian seasoning for a flavor boost.
FAQ
Q: Can I use frozen biscuit dough instead of refrigerated?
A: Most recipes use refrigerated biscuit dough. If you have frozen ready-to-bake biscuits, thaw them according to package directions first so you can shape them.
Q: What cheeses work best?
A: Mozzarella melts beautifully for pull. Cheddar adds a sharper flavor. You can mix both for balance.
Q: How do I prevent cheese from leaking while baking?
A: Seal the dough edges firmly and roll into a smooth ball. A small dab of water on the dough edge helps create a stronger seal.
Q: Can I make these ahead of time?
A: Yes. Assemble and keep unbaked bombs in the fridge for up to 24 hours, or freeze unbaked on a tray and then store in a bag for longer.
Q: Are these safe for kids?
A: Yes. They are a kid-friendly finger food. Serve them warm with a napkin nearby. For little kids, cut them into halves or quarters so the cheese cools faster.
Conclusion
I hope these buttery garlic cheese bombs bring a warm, easy joy to your table. They are a simple way to turn a few pantry items into a family favorite.
For more inspiration and a slightly different take on cheesy garlic rolls, I also like the twist in The Chunky Chef’s buttery garlic cheese bombs. And if you want another tested version with helpful tips, take a look at Garlic Cheese Bombs Recipe – Home Cooking Adventure.
Happy baking from my kitchen to yours.

Buttery Garlic Cheese Bombs
Ingredients
Dough and Filling
- 1 can refrigerated biscuit dough (8-count) Use 'buttermilk' biscuits for better flavor.
- 8 cubes mozzarella or cheddar cheese Cut into small, even cubes.
Garlic Butter
- 4 tablespoons unsalted butter (melted) Use unsalted butter for better control of salt levels.
- 2 cloves garlic (minced) Fresh garlic gives the best aroma.
- 1 tablespoon fresh parsley (finely chopped) Optional; adds brightness to the flavor.
Instructions
Preparation
- Preheat the oven to 375°F (190°C) and line a baking sheet with parchment paper.
- Open the can of biscuit dough and separate the biscuits. Flatten each one slightly to create a small disc.
- Place one cube of cheese in the center of each biscuit. Fold the dough over the cheese and pinch the edges to seal it completely. Roll each filled biscuit into a smooth ball.
- Place the sealed cheese bombs seam-side down on the prepared baking sheet, leaving space between them.
Making Garlic Butter
- In a small bowl, mix the melted butter with minced garlic and parsley (if using).
Baking
- Using a pastry brush, generously brush the garlic butter mixture over each cheese bomb. Reserve a little butter to brush on after baking.
- Bake for 10–12 minutes or until golden brown and puffed. Check at 10 minutes, remove once tops are deeply golden.
- Remove from oven and brush with remaining garlic butter. Serve warm.