Category

20 No-Bake 4Th Of

Category

This post contains affiliate links. As an Amazon Associate, I earn from qualifying purchases. This comes at no extra cost to you.

How to make oreo balls

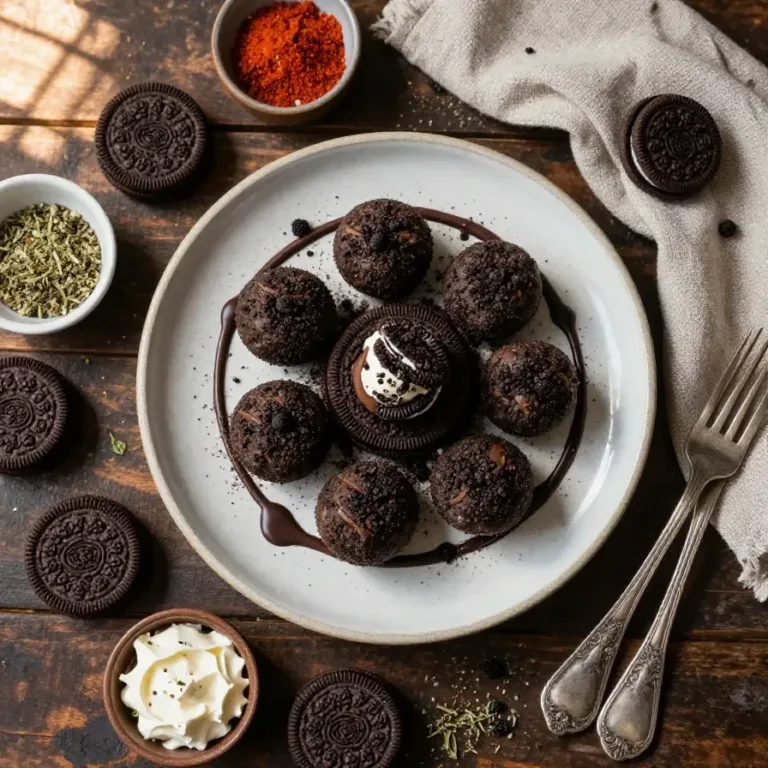
How to make oreo balls is a no-bake dessert made from crushed Oreo cookies, cream cheese, and melted chocolate. This simple recipe is ready in just 30 minutes and creates about two dozen bite-sized treats. Perfect for parties or as a quick indulgent snack, Oreo Balls offer a rich chocolate flavor paired with a smooth, creamy texture.

After testing this recipe several times for my blog, I fell in love with how quick it is to prepare, making it a go-to for stress-free dessert nights.

Table of Contents

Why is Oreo Balls so popular?

Oreo Balls are so popular because they’re incredibly easy to make and require only three main ingredients. Their versatility and rich flavor make them a favorite for gatherings, weddings, or quick homemade desserts.

  • They are no-bake, saving time and effort in the kitchen.
  • The creamy, chocolatey texture is universally loved.
  • Perfect for customizing with decorations, drizzles, or sprinkles.
  • A cost-effective dessert for events like weddings; they’re cheap but festive.

What ingredients do you need for Oreo Balls?

The key ingredients for Oreo Balls are simple yet create a standout dessert. You’ll need Oreos, cream cheese, and chocolate for dipping. Here’s the full list:

The cream cheese is essential for binding the crushed Oreos into a smooth truffle-like consistency. Quality melting chocolate ensures a glossy, professional-looking finish.

How do you make Oreo Balls step by step?

Making Oreo Balls involves crushing, mixing, rolling, and coating them in chocolate. Follow these easy steps for perfect results.

Step 1 — Crush the Oreos

Place the Oreo cookies into a food processor and pulse until finely crushed. Alternatively, put them in a resealable bag and crush with a rolling pin.

Step 2 — Mix with Cream Cheese

Transfer the crushed Oreos into a bowl and combine with softened cream cheese. Mix thoroughly until a dough-like consistency forms.

Step 3 — Roll into Balls

Use a tablespoon to scoop portions of the mixture. Roll each portion into a smooth ball and place them on a lined baking sheet.
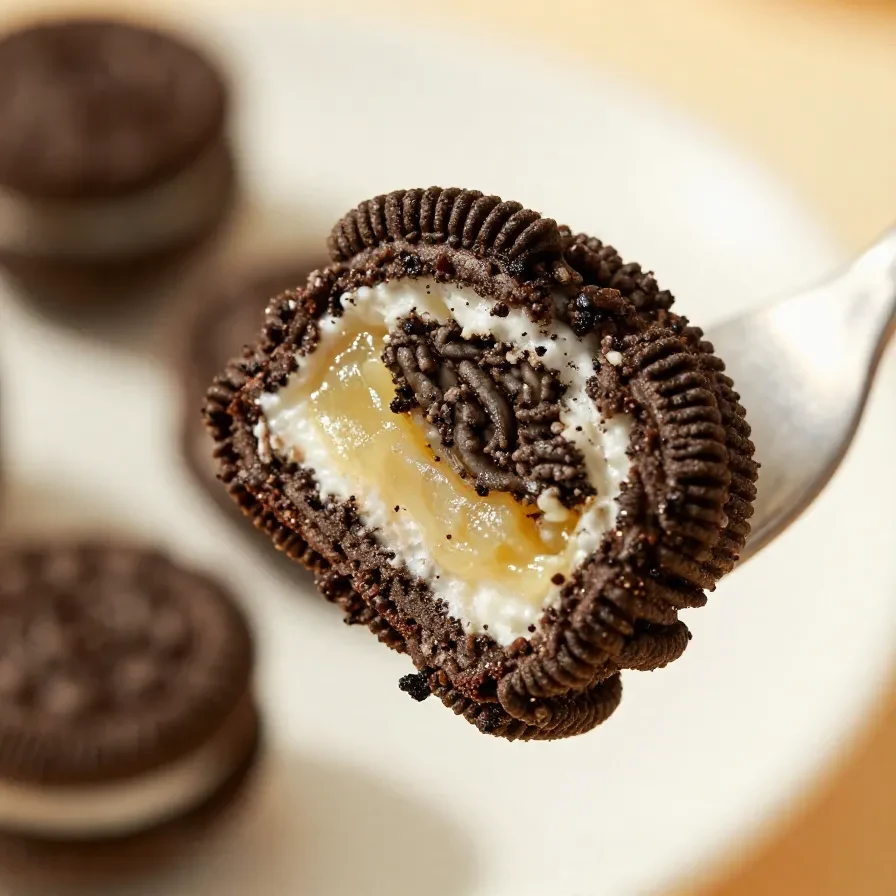
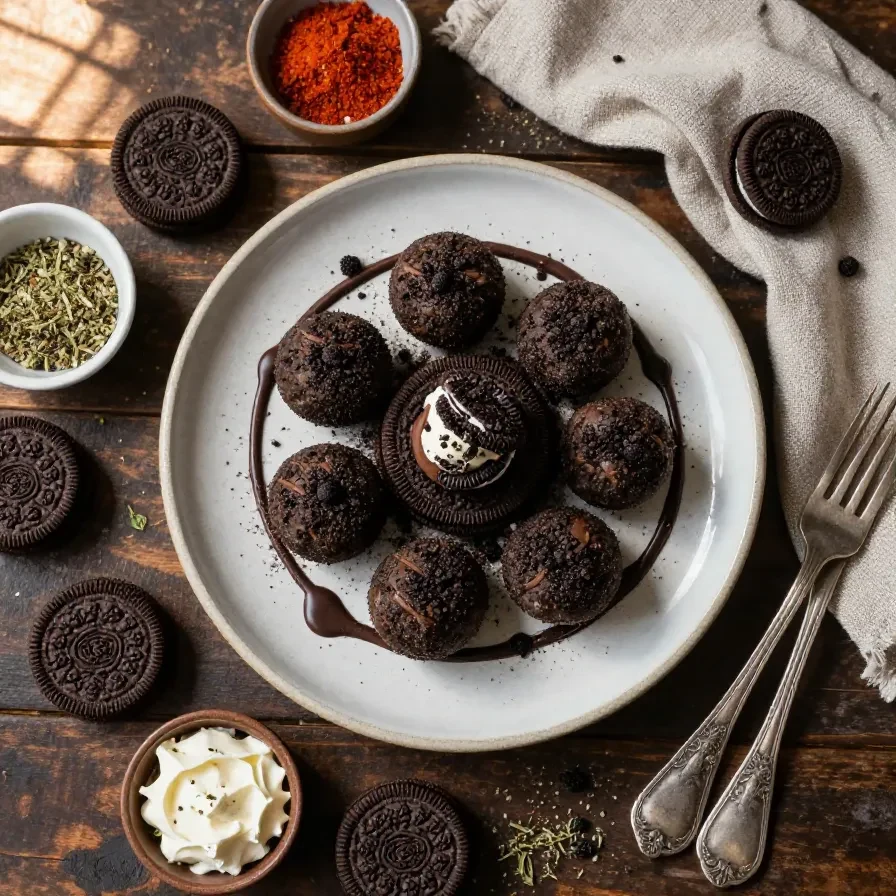
Close-up of Oreo balls coated in white chocolate on a plate.

Step 4 — Chill the Balls

Refrigerate the Oreo balls for about 15-20 minutes. This makes them firmer and easier to coat in chocolate.
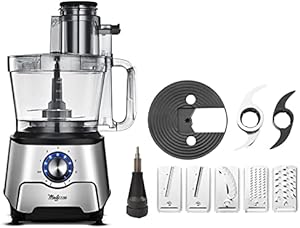
Cuisinart 8-Cup Food Processor

Kitchen ApplianceCuisinart 8-Cup Food Processor

Ideal for crushing cookies and preparing dough-like mixtures effortlessly.

View on Amazon →

Silicone Baking Mat Set

Essential CookwareSilicone Baking Mat Set

Reusable non-stick mats perfect for lining baking sheets and easy cleanup.

View on Amazon →

Step 5 — Melt the Chocolate

In a microwave or double boiler, melt the semisweet chocolate until smooth. Stir frequently to prevent burning.

Step 6 — Dip the Balls

Using a fork or dipping tool, coat each ball in melted chocolate. Let the excess drip off before placing them back on the baking sheet.

Step 7 — Let Them Set

Cool in the refrigerator for another 10-15 minutes until the chocolate hardens. Optionally, decorate with sprinkles or drizzles.

Frequently Asked Questions About Oreo Balls

Can Oreo Balls be made without a food processor?

Yes, you can crush the Oreos manually using a resealable bag and rolling pin. Ensure they’re finely crushed for a smooth texture.

Do Oreo Balls need to be refrigerated?

Yes, refrigerating them helps the chocolate set and keeps the cream cheese fresh. Store them in the fridge until ready to serve.

Can I use white chocolate instead of semisweet chocolate?

Absolutely! White chocolate works well for a sweeter, slightly different flavor profile. Add food coloring for festive themes if desired.

How long do Oreo Balls last?

Oreo Balls can last up to one week when stored in an airtight container in the refrigerator.

What’s the best way to decorate Oreo Balls?

Drizzle with contrasting chocolate, sprinkle crushed Oreos on top, or use festive sprinkles for special occasions.

What to serve with Oreo Balls?

Oreo Balls pair beautifully with other desserts and beverages. Here are a few ideas:

  • Our no-bake Oreo cheesecakes add a creamy complement.
  • Pair them with hot coffee or espresso for a balanced flavor profile.
  • Serve alongside fruit platters to contrast their richness.
  • Add them to dessert buffets at events for variety and visual appeal.

Where did Oreo Balls come from?

Oreo Balls became popular in the 2000s as a creative no-bake treat leveraging the beloved Oreo cookie. Their simplicity and adaptability made them a hit for parties and holiday gatherings.

The recipe likely evolved from traditional truffle-making techniques, combining cookie crumbs with binding agents like cream cheese for easy assembly.

Expert tips for perfect Oreo Balls

Here are some tips to ensure your Oreo Balls turn out perfect every time:

  • Use room-temperature cream cheese for easy mixing and smooth texture.
  • Chill the balls before coating to prevent crumbling in the melted chocolate.
  • Add a touch of vegetable oil to the chocolate for a shinier finish.
  • Work in batches if you’re making a large quantity to keep the chocolate at optimal melting consistency.

Common mistakes to avoid

Avoid these pitfalls for hassle-free Oreo Balls:

  • Skipping refrigeration: This can lead to messy dipping and uneven chocolate coverage.
  • Overheating chocolate: Melt chocolate gently to avoid clumping or burning.
  • Using reduced-fat cream cheese: It doesn’t bind as well, which can affect the texture.
Oreo Balls

Prep Time 20 minutes
Total Time 20 minutes
Servings 12 servings
Calories 150
Delicious no-bake Oreo balls made with crushed Oreos and cream cheese, coated in chocolate.

Equipment

  • Food processor
  • Mixing bowl
  • Baking Sheet
  • Parchment Paper
  • Microwave

Ingredients

Instructions 

  • Crush the Oreo cookies into fine crumbs using a food processor or by placing them in a zip-top bag and crushing with a rolling pin.
  • Mix the crushed Oreos with softened cream cheese until well combined.
  • Roll the mixture into small balls and place them on a baking sheet lined with parchment paper.
  • Chill the Oreo balls in the refrigerator for 30 minutes.
  • Dip the chilled Oreo balls into melted chocolate, ensuring they are fully coated.
  • Place the coated Oreo balls back on the parchment paper and let the chocolate set before serving.

Notes

You can use white chocolate or dark chocolate for coating. Add sprinkles or crushed Oreos on top for decoration.
Calories: 150kcal
Cost: $8
Course: Dessert
Cuisine: American
Keyword: No-Bake Dessert, Oreo balls
Close-up of Oreo balls coated in white chocolate on a plate.

Loved this recipe? Save it to your favorite Pinterest board so you can easily find it later! ✨
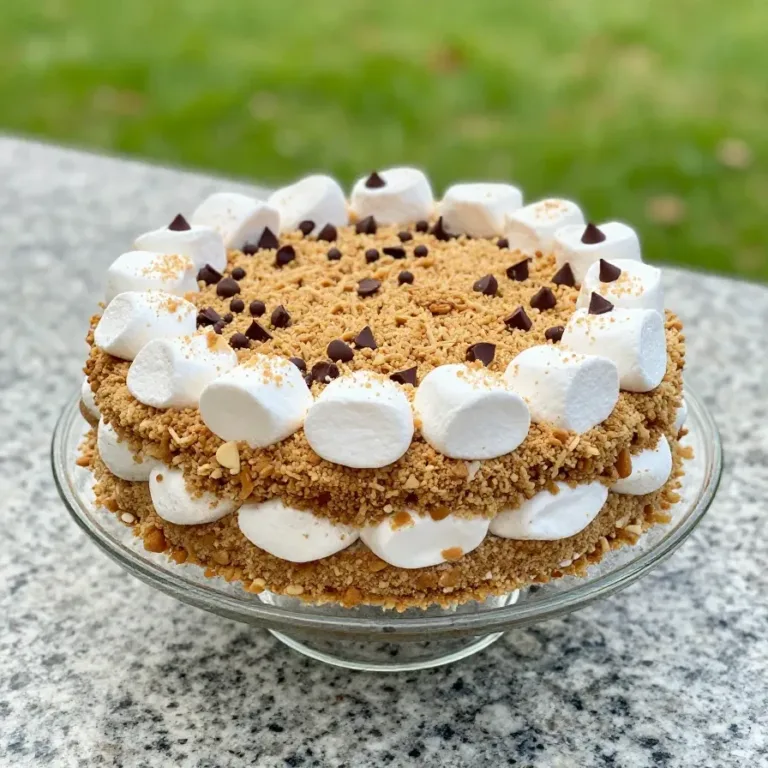
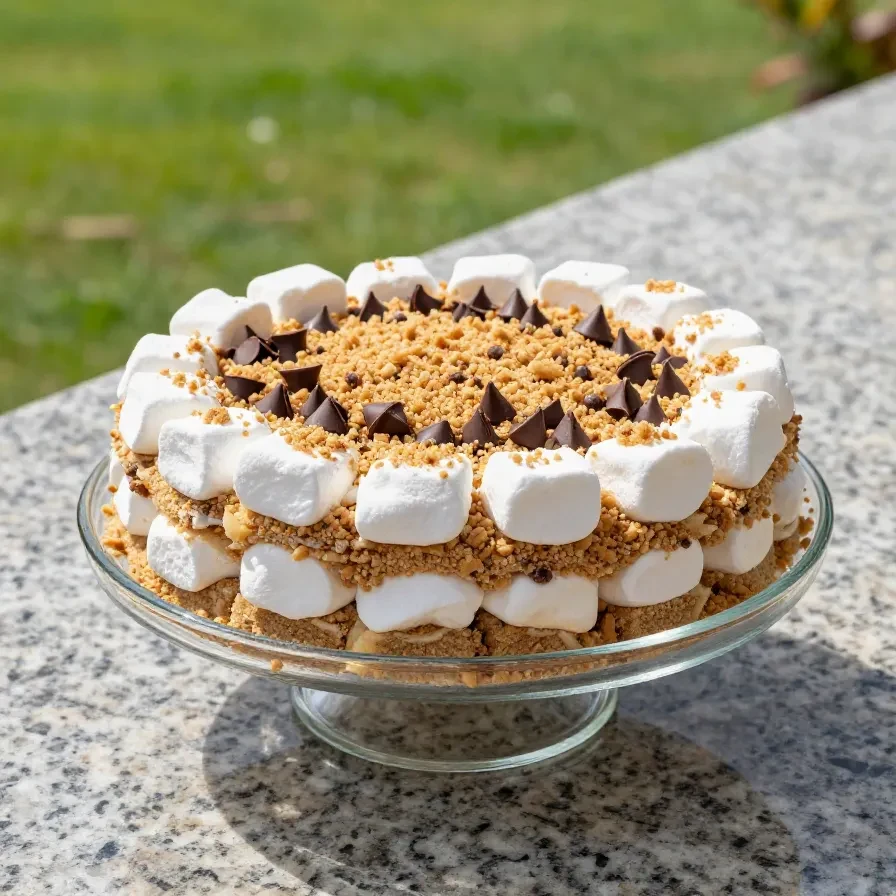
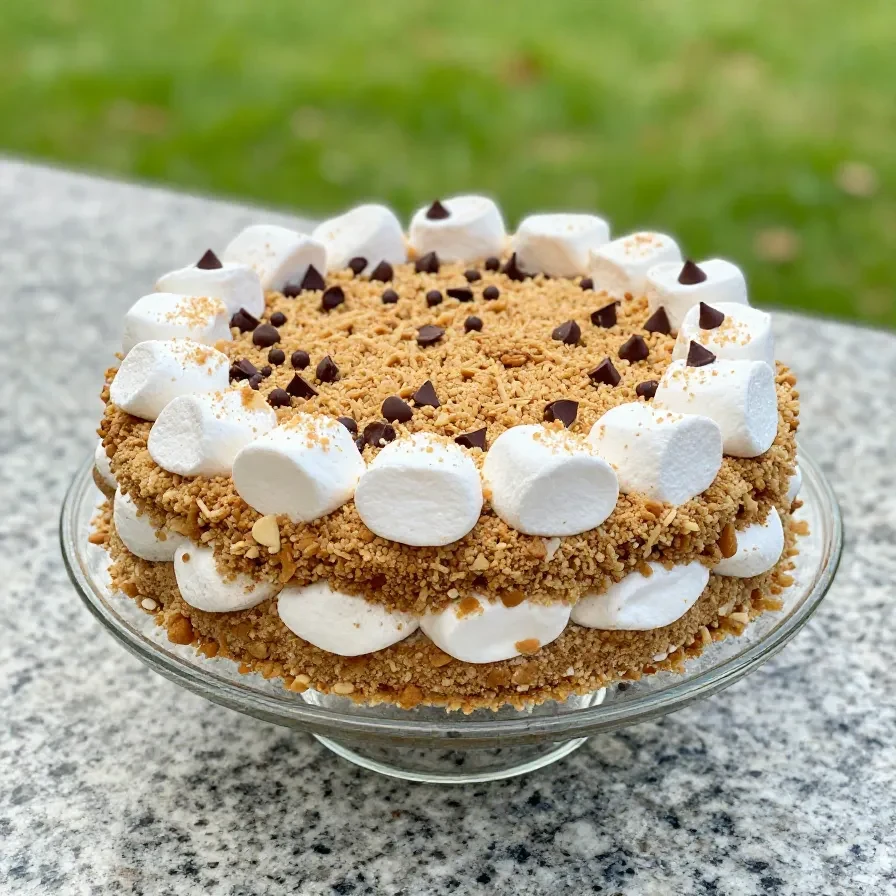
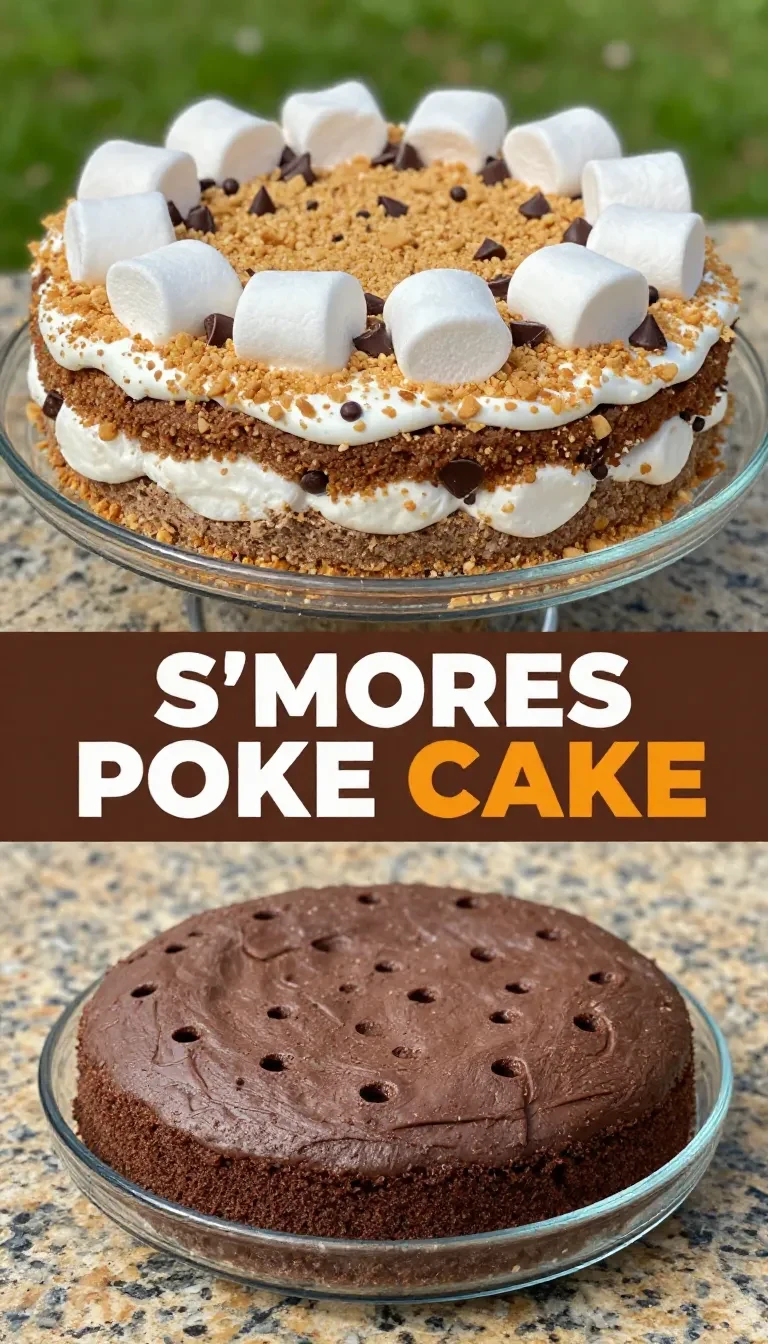
Summer birthday dessert is a decadent treat made with chocolate cake, marshmallow topping, and graham cracker crumbs, ready in under an hour. This poke cake combines classic s’mores flavors into a moist and fluffy dessert that’s perfect for gatherings. The cake delivers a balance of gooey marshmallow sweetness and crunchy texture from graham crackers.

As someone who finds joy in reimagining classic desserts, I knew transforming s’mores into a crowd-pleasing cake would be both nostalgic and innovative. This dish has been a hit at potlucks and barbecue parties, tying together tradition and creativity on a single plate.

Table of Contents

S’mores Poke Cake is popular because it transforms a nostalgic camping treat into an easy-to-share dessert. The gooey marshmallow, rich chocolate, and graham cracker crunch create unforgettable layers of flavor.

  • This dish is incredibly versatile, serving as a dessert for potluck parties, a summer BBQ dessert idea, or a centerpiece for large cookout food ideas.
  • The poke cake method ensures moistness and guarantees every bite is infused with marshmallow cream.
  • It’s visually appealing when topped with crumbled graham crackers and drizzled chocolate, fitting both casual and festive occasions.
  • Scaling the recipe for larger groups is straightforward, making it ideal for desserts for team dinners or cakes for BBQ parties.

What ingredients do you need for S’mores Poke Cake?

You’ll need chocolate cake mix, marshmallow topping, graham crackers, and a handful of staples for this recipe. Each ingredient plays a vital role in capturing the essence of s’mores.

  • 1 box (15.25 oz) chocolate cake mix
  • 1 package (10 oz) marshmallow topping
  • 1 cup graham cracker crumbs
  • 1 cup mini chocolate chips
  • 3/4 cup vegetable oil
  • 3 large eggs
  • 1 1/4 cups water

Marshmallow topping is key to achieving the gooey, signature s’mores texture. Graham crackers provide crunch and create the nostalgic flavor profile.

How do you make S’mores Poke Cake step by step?

This step-by-step recipe delivers a moist chocolate cake infused with rich marshmallow cream and topped with crunchy graham crackers.

Step 1 — Prepare the Cake

Preheat the oven to 350°F. Mix the chocolate cake mix, vegetable oil, eggs, and water in a large bowl until smooth. Pour the batter into a greased 9×13-inch baking dish.

You might also enjoy our hawaiian poke cake.

Step 2 — Bake and Cool

Bake the cake for 30-35 minutes or until a toothpick inserted in the center comes out clean. Let the cake cool completely on a wire rack.

Step 3 — Poke Holes

Using the handle of a wooden spoon, poke holes evenly across the cooled cake. Ensure the holes are deep enough for the marshmallow topping to seep in.

Step 4 — Add Marshmallow Topping

Spread the marshmallow topping evenly across the cake, letting it fill the holes. Smooth out the surface with a spatula.

Step 5 — Top with Graham Crackers

Sprinkle graham cracker crumbs generously over the marshmallow topping. Add mini chocolate chips for extra flavor and texture.

For more ideas, check out our butter pecan praline poke cake.

Step 6 — Chill and Serve

Refrigerate the cake for at least 1 hour to set the topping. Slice and serve chilled, or let it come to room temperature before serving.

Frequently Asked Questions About S’mores Poke Cake

Can I use homemade marshmallow topping?

Yes, you can make marshmallow topping from scratch, but store-bought works perfectly for convenience.

How do I store leftovers?

Cover the cake tightly and refrigerate for up to 3 days. For longer storage, freeze individual slices for up to a month.

Can I use a different cake flavor?

Chocolate is traditional, but you can try vanilla or yellow cake for a milder base. The s’mores toppings will still shine.

Looking for something similar? Try our carrot cake poke cake.

What’s the best way to crush graham crackers?

Use a food processor or place them in a zip-top bag and crush with a rolling pin until fine crumbs form.

Can this recipe be doubled for larger groups?

Absolutely! Use two 9×13-inch pans and prepare the ingredients accordingly. Baking times remain the same.

Serving Suggestions and Pairings

This dessert pairs well with whipped cream and fresh strawberries for a refreshing contrast. Serve it alongside iced coffee for a caffeinated kick or lemonade for a tangy complement.

  • Offer with vanilla ice cream for an indulgent pairing.
  • Decorate with festive sprinkles for themed celebrations like Labor Day.
  • Pair with BBQ classics like ribs or burgers to round out a meal.

Expert Tips and Shortcuts

Simple tips can elevate your S’mores Poke Cake experience while saving time.

  • Use nonstick spray before pouring the batter to ensure the cake releases easily.
  • Chill the marshmallow topping slightly for easier spreading over the cake.
  • Toast the graham crackers before sprinkling for added crunch and flavor depth.

Easy Ingredient Swaps

Make quick substitutions without compromising the integrity of this dish.

  • Use coconut oil instead of vegetable oil for a subtle tropical twist.
  • Try dark chocolate chips for an even richer flavor.
  • Substitute crushed pretzels for graham crackers to add a salty counterbalance.

Common Mistakes to Avoid

Prevent these pitfalls to ensure your S’mores Poke Cake turns out perfectly every time.

  • Don’t skip poking holes in the cake; it ensures the topping infuses each bite.
  • Avoid overbaking; dry cake won’t complement the moist toppings.
  • Be cautious with refrigerating too long, as the graham crackers can lose their crunch.

S'mores Poke Cake

S'mores Poke Cake

Loved this recipe? Save it to your favorite Pinterest board so you can easily find it later! ✨