This post contains affiliate links. As an Amazon Associate, I earn from qualifying purchases. This comes at no extra cost to you.
Mummy cheesecake stuffed strawberries
Mummy cheesecake stuffed strawberries is a festive treat made with fresh strawberries filled with a creamy mixture of softened cream cheese, powdered sugar, vanilla extract, lemon juice, and whipped cream, ready in just 20 minutes. This easy recipe yields 12 servings and is perfect for Halloween with its cute mummy design using chocolate and candy eyes. The juicy strawberries offer a delightful contrast with the smooth, sweet filling and the slight tang of lemon juice.
Creating these little mummies brought me and my niece, Lily, so much joy as we carefully added the candy eyes and chocolate decorations. They became the star at our recent family gathering, earning tons of compliments.
Table of Contents
- Why is Mummy Cheesecake Stuffed Strawberries so popular?
- What ingredients do you need for Mummy Cheesecake Stuffed Strawberries?
- How do you make Mummy Cheesecake Stuffed Strawberries step by step?
- Frequently Asked Questions About Mummy Cheesecake Stuffed Strawberries
Why is Mummy Cheesecake Stuffed Strawberries so popular?
Mummy Cheesecake Stuffed Strawberries are beloved for their unique look and delicious taste. They combine the freshness of strawberries with a creamy cheesecake filling, making them an ideal festive dessert.
- Perfect for Halloween: These strawberries are dressed up as mummies, complete with chocolate bandages and candy eyes, offering a fun and tasty treat for the holiday.
- Quick and Easy: With just 20 minutes of prep time, they are a hassle-free option for parties and gatherings.
- Kid-Friendly: Kids adore these because they look adorable and taste even better. Involving them in the decoration process can be a fun activity.
- Fresh and Creamy: The combination of juicy strawberries with a smooth cheesecake filling provides a delightful texture contrast.
What ingredients do you need for Mummy Cheesecake Stuffed Strawberries?
The key ingredients for making Mummy Cheesecake Stuffed Strawberries include fresh strawberries, cream cheese, powdered sugar, and chocolate for decoration. Here’s the full list with measurements:
- 1 pound fresh strawberries
- 8 ounces cream cheese, softened
- 1/4 cup powdered sugar
- 1 teaspoon vanilla extract
- 1/2 teaspoon lemon juice
- 1/2 cup whipped cream
- Chocolate melts or chocolate chips (for decorating)
- Candy eyes (for decoration)
The fresh strawberries and creamy cheesecake filling are key, bringing together sweetness and tang that makes each bite memorable.
How do you make Mummy Cheesecake Stuffed Strawberries step by step?
The process to make Mummy Cheesecake Stuffed Strawberries involves hollowing strawberries, mixing a cheesecake filling, and decorating. Follow these steps for success:
Step 1 — Prepare the Strawberries
Wash the strawberries thoroughly and pat them dry with a paper towel. Cut off the tops and hollow out the insides slightly, creating space for the filling.
You might also enjoy our cheesecake bites with strawberries.
Step 2 — Make the Cheesecake Filling
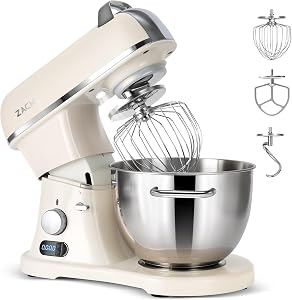
In a mixing bowl, combine the softened cream cheese, powdered sugar, vanilla extract, and lemon juice. Mix until smooth and creamy.
Step 3 — Incorporate the Whipped Cream
Fold in the whipped cream gently until well incorporated.
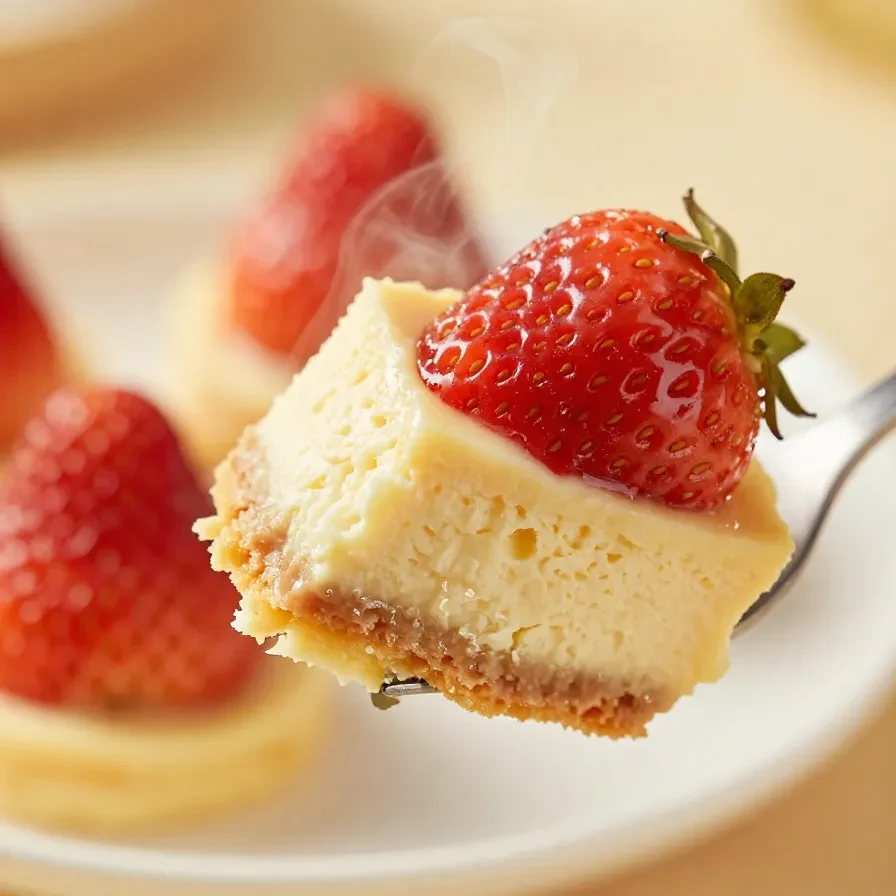
Step 4 — Fill the Strawberries
Using a piping bag or a small spoon, fill each hollowed strawberry with the cheesecake mixture, making sure to fill them generously.
Step 5 — Melt the Chocolate
Melt the chocolate melts or chocolate chips in a microwave-safe bowl, heating in 30-second intervals until fully melted and smooth.
For more ideas, check out our deviled strawberries (made with a.
Step 6 — Decorate the Strawberries
Dip each filled strawberry halfway into the melted chocolate, then place them on a parchment-lined tray to set. Once the chocolate has set slightly, use a toothpick or a piping bag to draw ‘bandage’ lines across the strawberries with the remaining melted chocolate.
Step 7 — Add the Final Touches
Place candy eyes on top of the chocolate bandages to create the mummy effect. Refrigerate the strawberries for at least 30 minutes before serving to allow the cheesecake filling to firm up.
Frequently Asked Questions About Mummy Cheesecake Stuffed Strawberries
Can I make them ahead of time?
Yes, you can prepare them the day before and store in the refrigerator to keep them fresh.
What if I don’t have candy eyes?
You can use small chocolate chips instead of candy eyes for a similar effect.
Looking for something similar? Try our pumpkin chocolate covered strawberries.
How long do they last?
Stored properly in the refrigerator, they can last up to 2 days.
Can I use frozen strawberries?
Fresh strawberries are recommended for the best texture, but thawed frozen ones may work in a pinch.
Is there an alternative to chocolate melts?
Yes, you can use dark or milk chocolate chips as a substitute for chocolate melts.
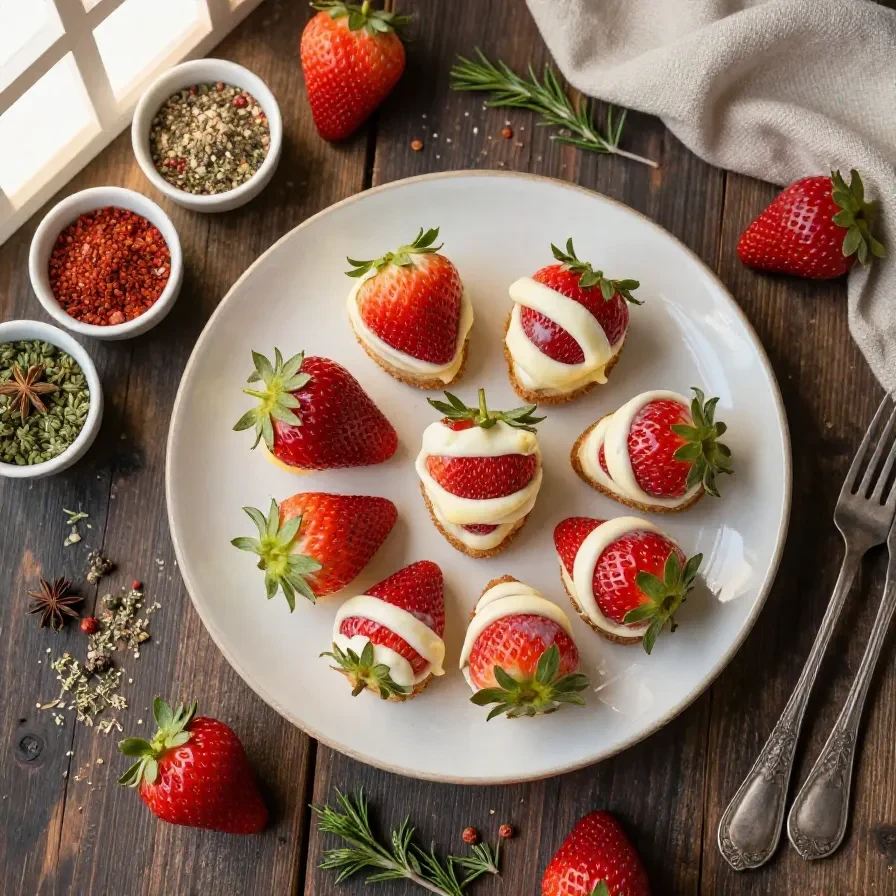
Mummy Cheesecake Stuffed Strawberries
Instructions
- Wash the strawberries thoroughly and pat them dry with a paper towel. Cut off the tops and hollow out the insides slightly, creating space for the filling.
- In a mixing bowl, combine the softened cream cheese, powdered sugar, vanilla extract, and lemon juice. Mix until smooth and creamy.
- Fold in the whipped cream gently until well incorporated.
- Using a piping bag or a small spoon, fill each hollowed strawberry with the cheesecake mixture, making sure to fill them generously.
- Melt the chocolate melts or chocolate chips in a microwave-safe bowl, heating in 30-second intervals until fully melted and smooth.
- Dip each filled strawberry halfway into the melted chocolate, then place them on a parchment-lined tray to set.
- Once the chocolate has set slightly, use a toothpick or a piping bag to draw 'bandage' lines across the strawberries with the remaining melted chocolate.
- Place candy eyes on top of the chocolate bandages to create the mummy effect.
- Refrigerate the strawberries for at least 30 minutes before serving to allow the cheesecake filling to firm up.
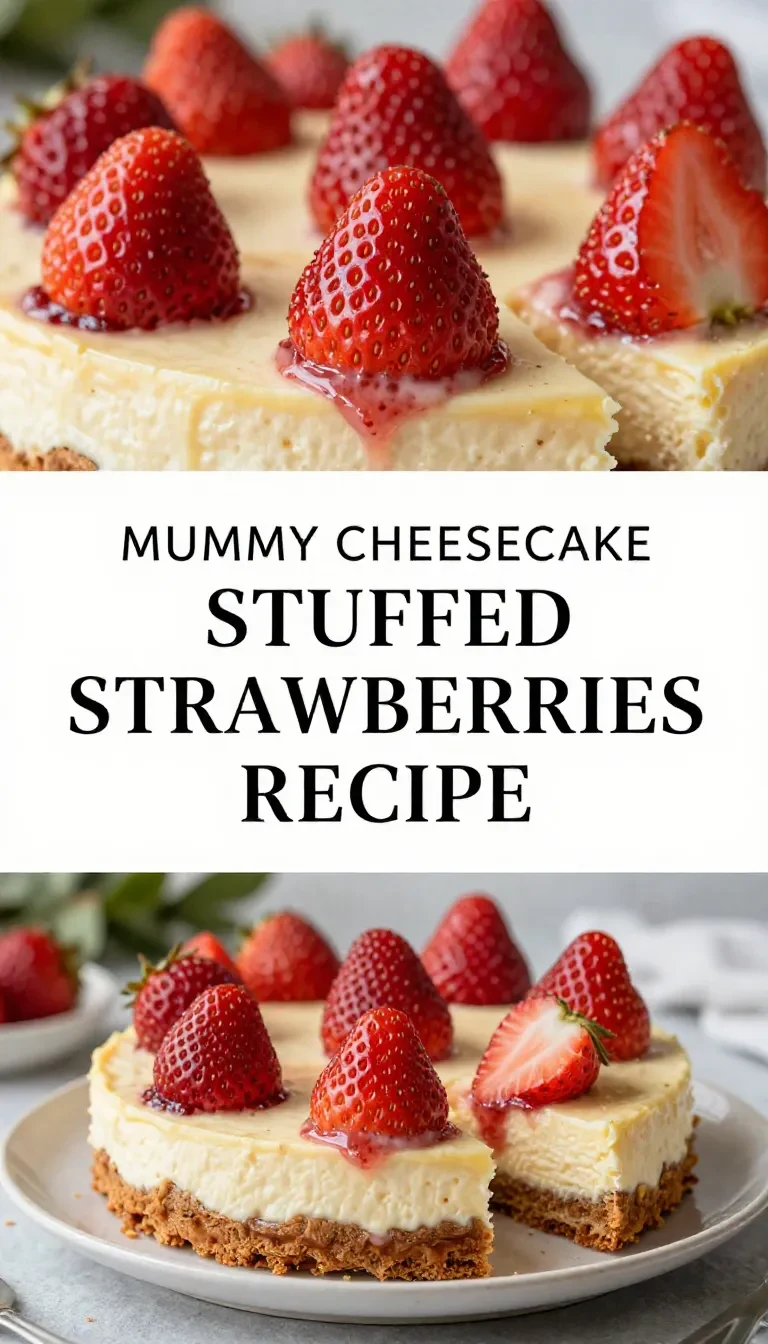
Loved this recipe? Save it to your favorite Pinterest board so you can easily find it later! ✨
