This post contains affiliate links. As an Amazon Associate, I earn from qualifying purchases. This comes at no extra cost to you.
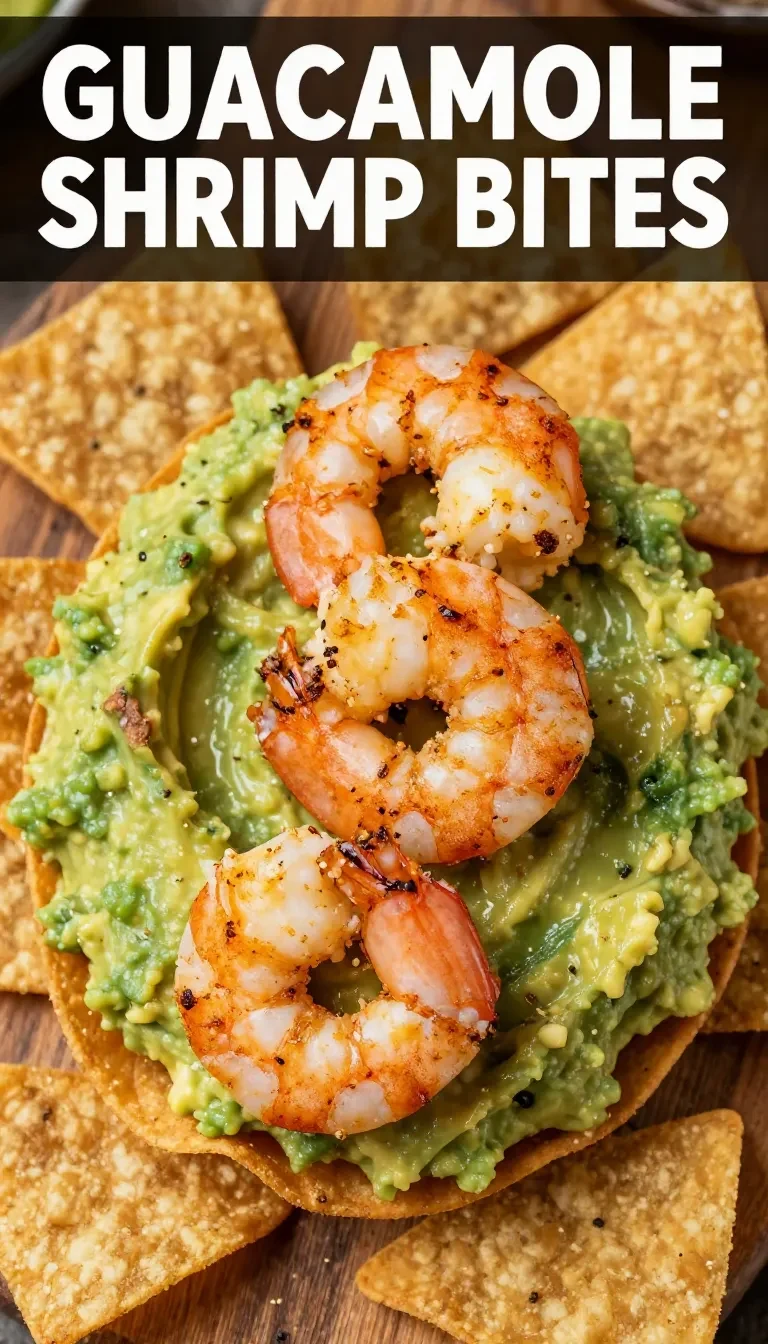
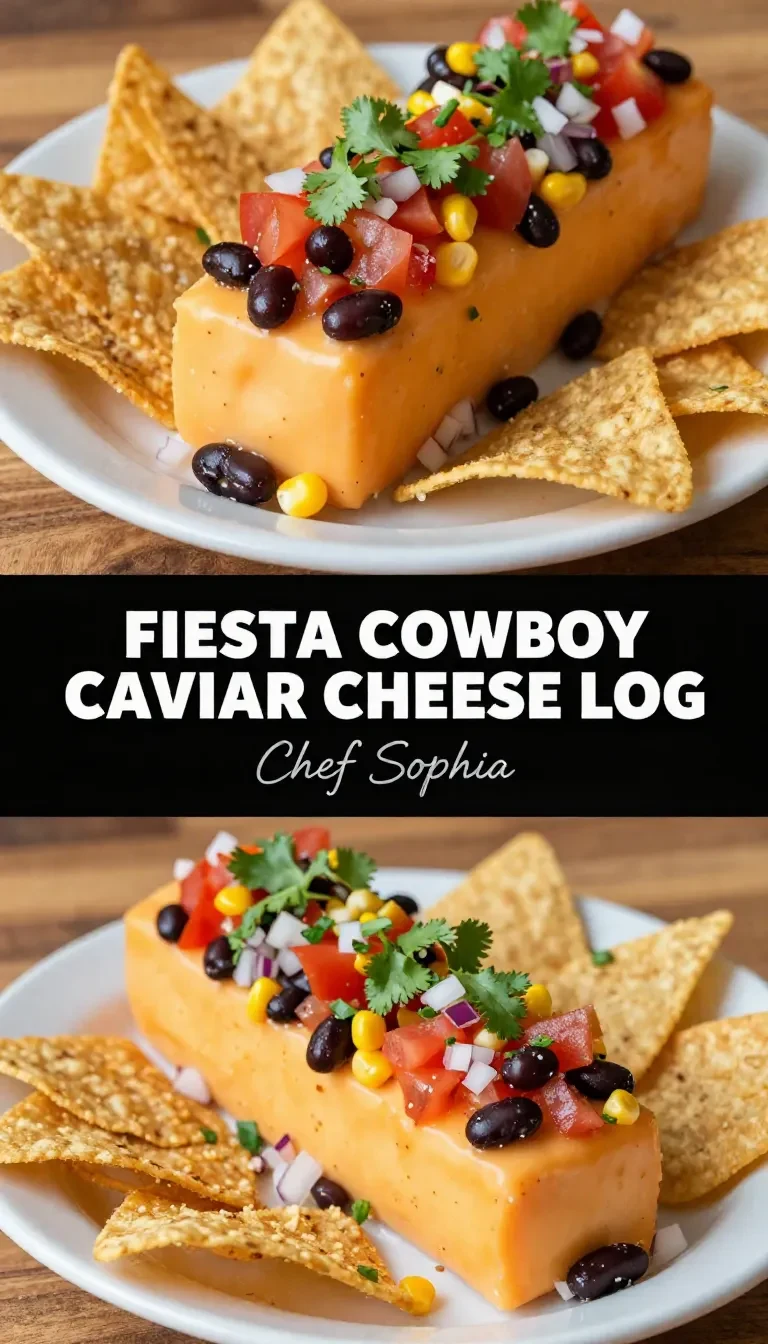
Fiesta Cowboy Caviar Cheese Log Appetizer
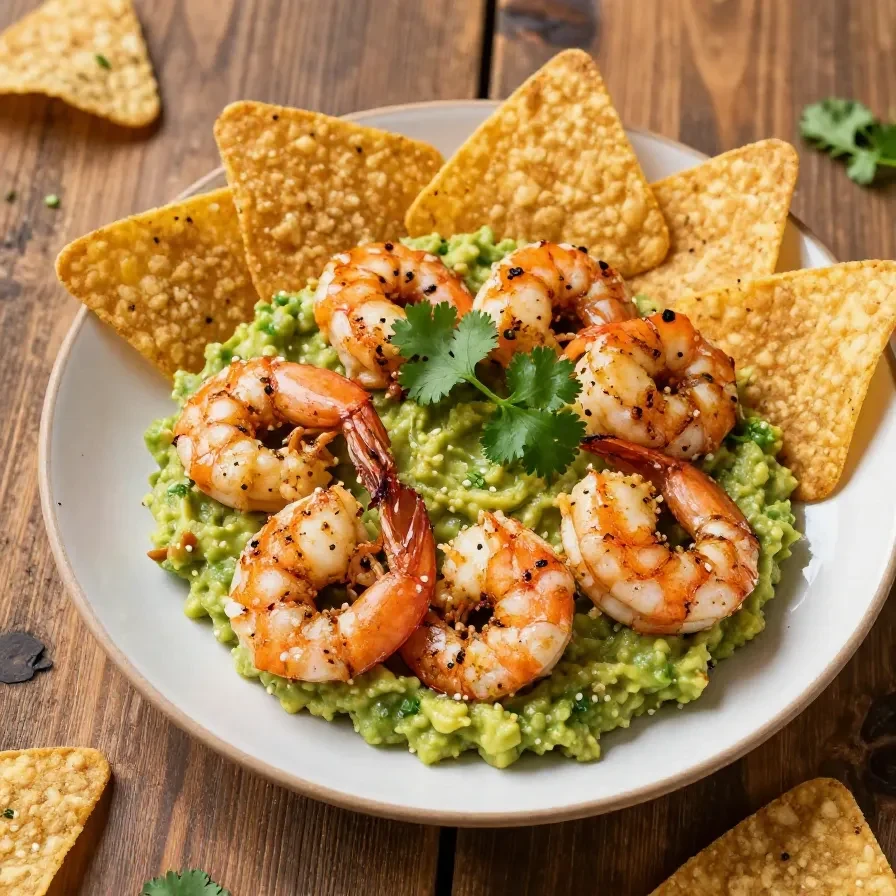
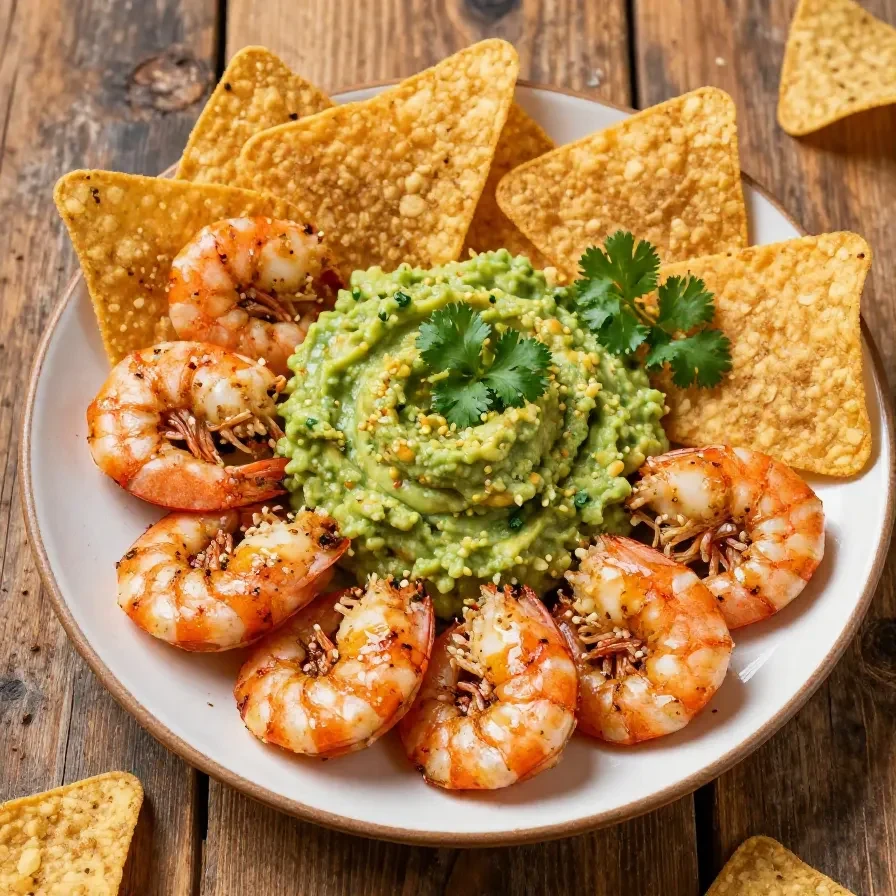
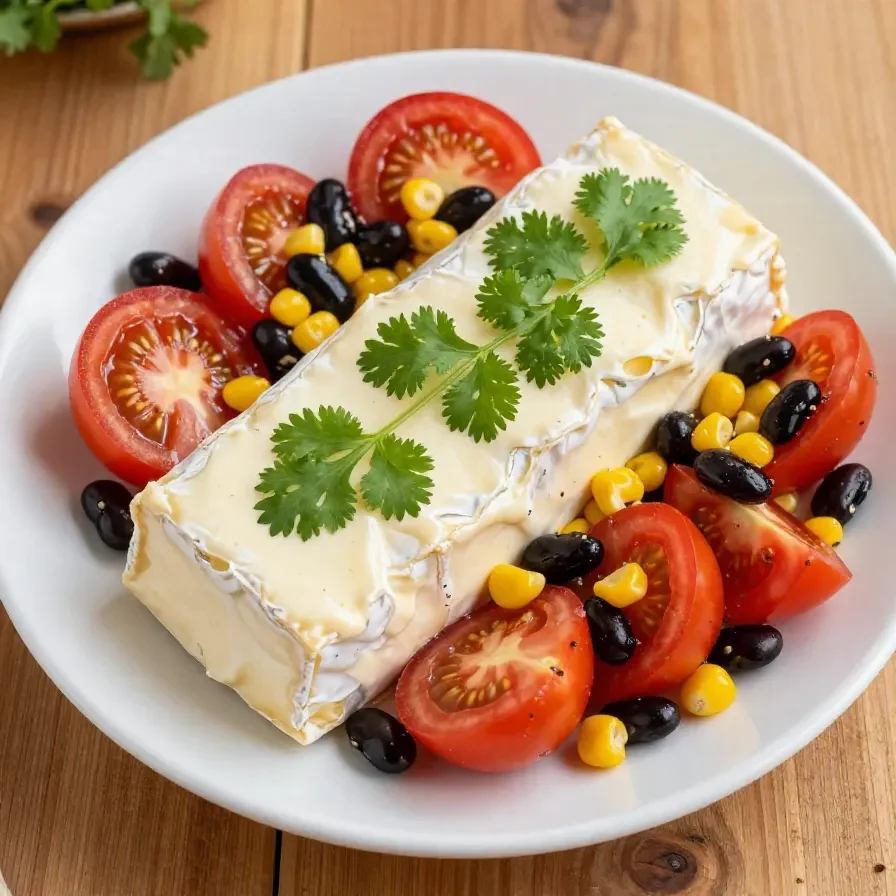
The Fiesta Cowboy Caviar Cheese Log Appetizer combines creamy cheese with fresh vegetables, black beans, and corn for a bold southwestern-inspired flavor. Each bite delivers a vibrant mix of textures, from the smooth cheese base to the crunchy tortilla chip coating. Perfect as a centerpiece for any gathering, this dish is sure to delight with its colorful presentation and zesty finish.
Table of Contents
- Why This Fiesta Cowboy Caviar Cheese Log Appetizer Is a Must-Try
- Everything You Need for Fiesta Cowboy Caviar Cheese Log Appetizer
- How To Make Fiesta Cowboy Caviar Cheese Log Appetizer Step by Step
- Common Mistakes To Avoid
- Serving Ideas and Pairings
- Storage and Meal Prep Tips
Why This Fiesta Cowboy Caviar Cheese Log Appetizer Is a Must-Try
- The creamy texture of this cheese log perfectly complements its crunchy, vibrant coating, making it a crowd-pleasing appetizer for any party. It brings together bold southwestern flavors with a festive visual appeal.
- Its quick prep time makes it ideal for those who need a last-minute dish without sacrificing flavor or presentation. Fifteen minutes is all you need before the chilling process begins.
- This recipe is versatile and pairs seamlessly with tortilla chips, crackers, or fresh-cut vegetables. The range of pairing options ensures there is something for everyone at the table.
- It scales effortlessly to feed larger groups, making it perfect for work parties, poker nights, or race day gatherings. Double or triple the ingredients, and the results remain consistent and impressive.
Everything You Need for Fiesta Cowboy Caviar Cheese Log Appetizer
- 8 oz cream cheese, softened
- 1 cup shredded sharp cheddar cheese
- 1/4 cup sour cream
- 1/4 cup finely diced red bell pepper
- 1/4 cup finely diced yellow bell pepper
- 1/4 cup finely diced red onion
- 1/4 cup black beans, rinsed and drained
- 1/4 cup corn kernels (fresh, canned, or thawed frozen)
- 2 tablespoons chopped fresh cilantro
- 1 tablespoon lime juice
- 1 teaspoon chili powder
- 1/2 teaspoon cumin
- 1/2 teaspoon garlic powder
- 1/4 teaspoon salt
- 1/4 teaspoon black pepper
- 1/2 cup crushed tortilla chips (for coating)
- Extra cilantro or diced peppers for garnish (optional)
- Tortilla chips, crackers, or veggies for serving
The combination of cream cheese and shredded cheddar cheese serves as the rich foundation for this dish. Fresh cilantro and lime juice amplify its southwestern-inspired aspect, while crushed tortilla chips add a satisfying crunch to every bite.
How To Make Fiesta Cowboy Caviar Cheese Log Appetizer Step by Step
- In a large mixing bowl, combine the softened cream cheese, shredded cheddar cheese, and sour cream. Mix until smooth and well combined.
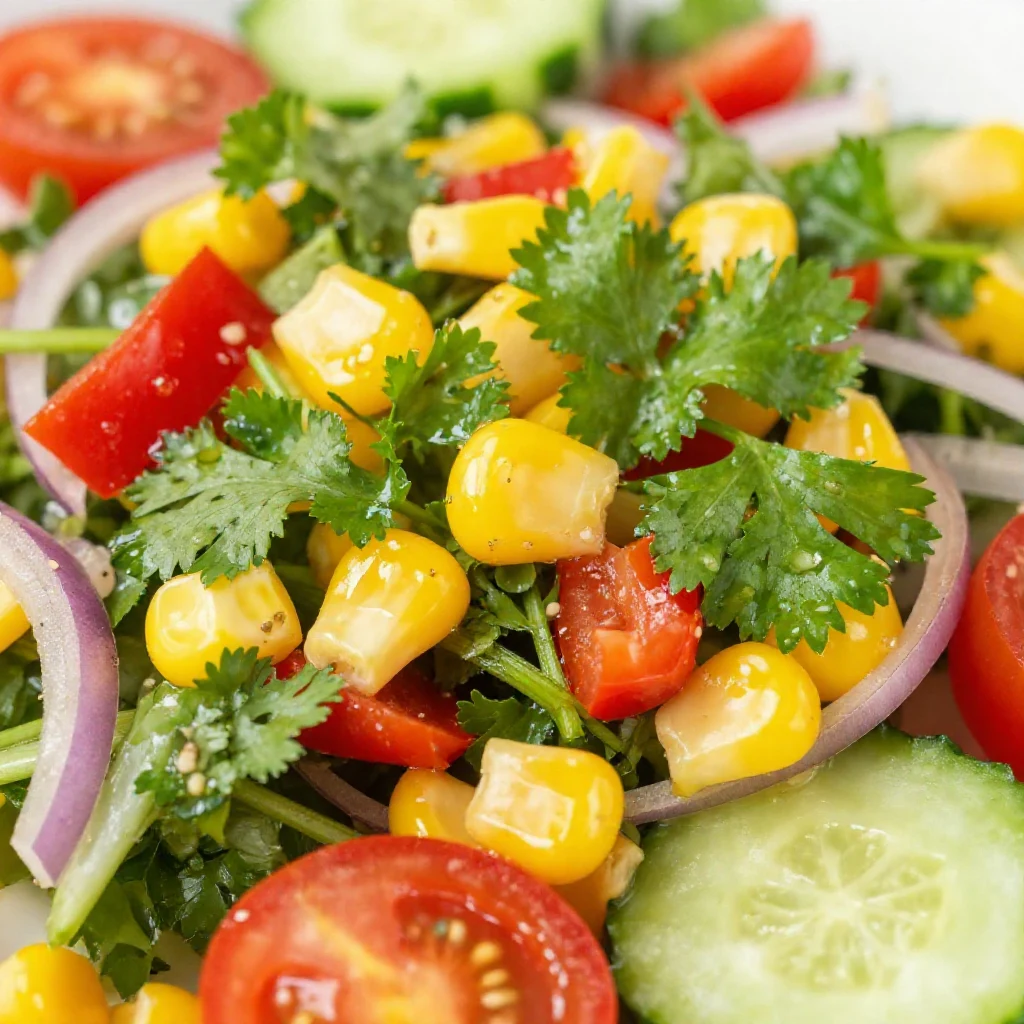
- Add the diced red bell pepper, yellow bell pepper, red onion, black beans, corn kernels, cilantro, lime juice, chili powder, cumin, garlic powder, salt, and black pepper. Stir until the mixture is evenly distributed and colorful.
- On a piece of plastic wrap, shape the cheese mixture into a log or cylindrical form. Wrap tightly in the plastic wrap and refrigerate for at least one hour to firm up.
- Once the cheese log has chilled, spread the crushed tortilla chips on a flat plate or surface. Unwrap the log and gently roll it in the crushed tortilla chips until fully coated.
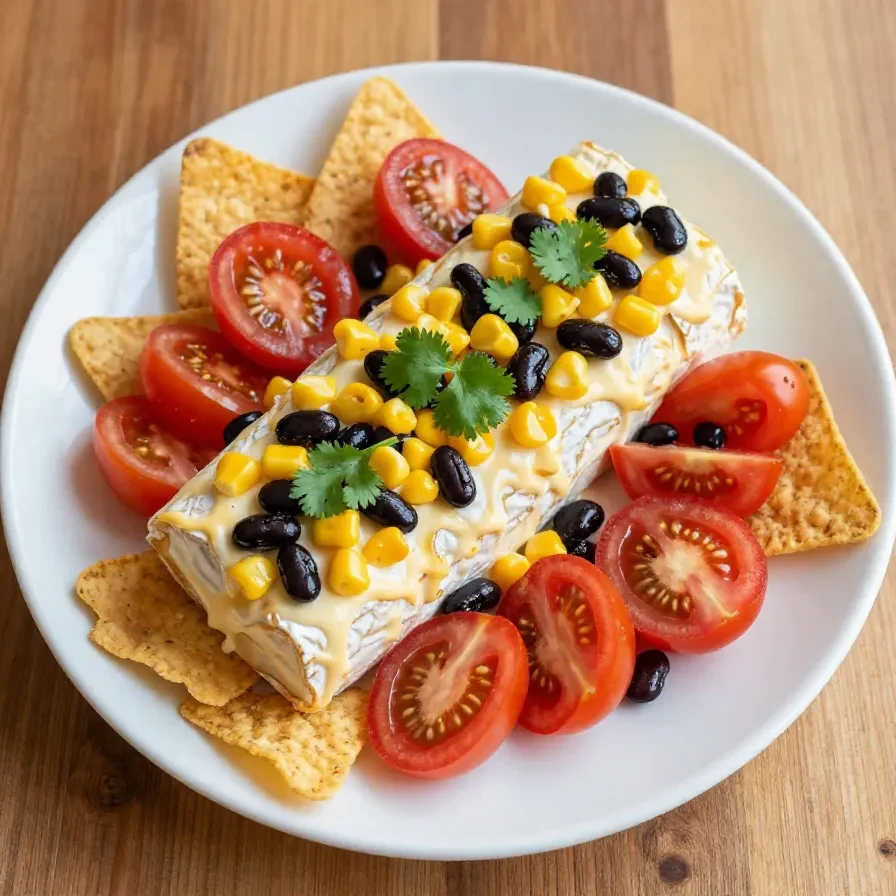
- Transfer the coated cheese log to a serving plate and garnish with extra cilantro or diced peppers, if desired.
- Serve with tortilla chips, crackers, or fresh-cut veggies for dipping. Enjoy the vibrant flavors and textures of this appetizer!
Effortlessly mix and combine ingredients for smooth and consistent results.

Durable and versatile mixing bowls perfect for combining ingredients in this recipe.
Common Mistakes To Avoid
- Not softening the cream cheese enough can result in a chunky mixture that is harder to shape. Allow the cream cheese to sit at room temperature for sufficient time before mixing.
- Skipping the refrigeration step can cause the cheese log to lose its shape during coating or serving. To ensure it firms up properly, chill for at least one hour.
- Rolling the cheese log in tortilla chips too early can lead to soggy coating. Always roll the log just before serving for the freshest crunch.
Serving Ideas and Pairings
- Pair this cheese log with margaritas or a light-bodied beer for a fun southwestern-themed gathering. The zesty lime and cilantro flavors complement these beverages beautifully.
- Serve alongside fresh guacamole or pico de gallo for a vibrant, cohesive party spread. The additional condiments enhance the appetizer’s bold flavors.
- Presentation matters—slice the cheese log into rounds and arrange them on a colorful platter with chips and veggies. This makes serving easier while elevating the visual appeal.
- For larger gatherings, consider pairing this dish with our cowboy butter chicken linguine for a cohesive southwestern-style menu.
Storage and Meal Prep Tips
If you need to make this dish ahead, prepare the cheese log without coating it and wrap it securely in plastic wrap. It can be stored in the refrigerator for up to three days before serving.
Once coated with tortilla chips, the cheese log is best enjoyed within a few hours to retain its crunch. Leftovers can be stored in the fridge, but the coating may lose its texture.
If freezing, wrap the uncoated log in plastic wrap followed by aluminum foil. Freeze for up to one month, allowing it to thaw in the refrigerator overnight before rolling in chips and serving.
Fiesta Cowboy Caviar Cheese Log Appetizer
Ingredients
- 8 oz cream cheese (softened)
- 1 cup shredded sharp cheddar cheese
- 1/4 cup sour cream
- 1/4 cup red bell pepper (finely diced)
- 1/4 cup yellow bell pepper (finely diced)
- 1/4 cup red onion (finely diced)
- 1/4 cup black beans (rinsed and drained)
- 1/4 cup corn kernels (fresh, canned, or thawed frozen)
- 2 tbsp fresh cilantro (chopped)
- 1 tbsp lime juice
- 1 tsp chili powder
- 1/2 tsp cumin
- 1/2 tsp garlic powder
- 1/4 tsp salt
- 1/4 tsp black pepper
- 1/2 cup crushed tortilla chips (for coating)
- extra cilantro or diced peppers (for garnish (optional))
- tortilla chips, crackers, or veggies (for serving)
Instructions
- In a large mixing bowl, combine the softened cream cheese, shredded cheddar cheese, and sour cream. Mix until smooth and well combined.
- Add the diced bell peppers, red onion, black beans, corn kernels, chopped cilantro, lime juice, chili powder, cumin, garlic powder, salt, and black pepper. Stir until all the ingredients are evenly distributed.
- On a piece of plastic wrap, shape the cheese mixture into a log or cylindrical form. Wrap tightly in the plastic wrap and refrigerate for at least 1 hour to firm up.
- Once the cheese log has chilled, spread the crushed tortilla chips on a flat plate or surface. Unwrap the cheese log and gently roll it in the crushed tortilla chips until evenly coated.
- Transfer the coated cheese log to a serving plate. Garnish with extra cilantro and/or diced peppers, if desired.
- Serve with tortilla chips, crackers, or fresh veggies for dipping. Enjoy!
Notes
Loved this recipe? Save it to your favorite Pinterest board so you can easily find it later! ✨