I remember the day I first made this Chocolate Oreo Cheesecake like a small scene from a favorite movie: my son setting three mismatched plates at the table while the smell of chocolate and vanilla rose from the oven, and my neighbor leaning over the fence to ask if we had saved any crumbs. It was loud, a little messy, and perfectly real — the kind of kitchen memory that tastes like home. If you love trying other creamy desserts, you might enjoy my note on the Heavenly Pistachio White Chocolate Cheesecake which shares the same slow, comforting build of flavors.
Why Chocolate Oreo Cheesecake Feels Like Home
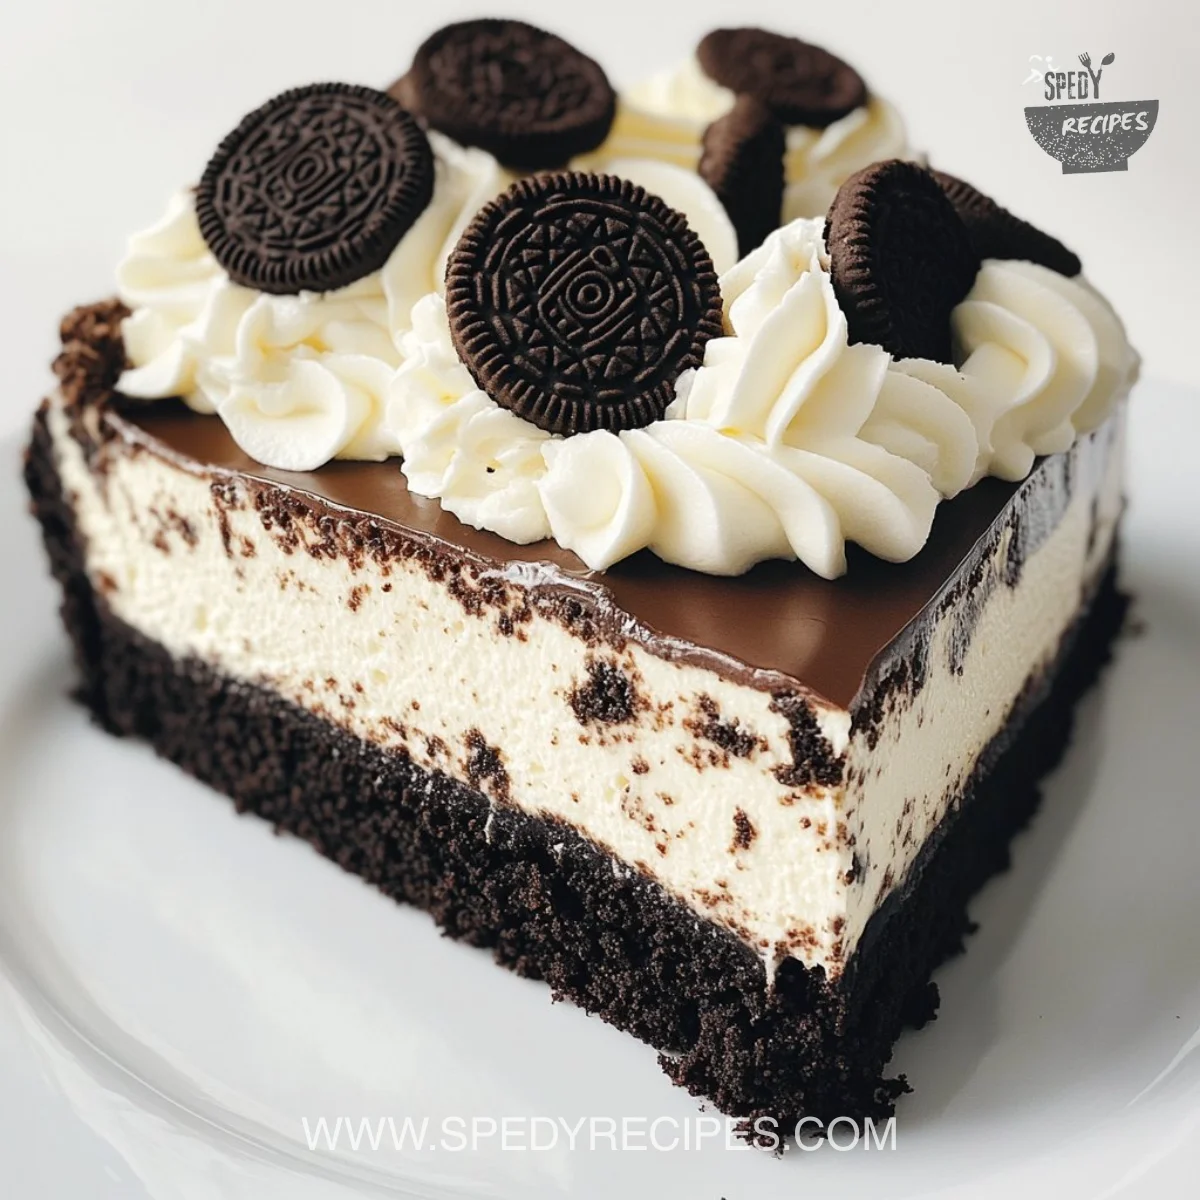
There is something about the mix of sweet cream and crunchy cookie that brings people to the table without fuss. This Chocolate Oreo Cheesecake is rich, familiar, and just a touch playful. It does not demand perfect timing or fancy tools, and that is why it often becomes the dessert of choice for last-minute family nights.
This recipe is reassuringly straightforward. A crunchy Oreo crust hugs a silky, vanilla-laced cream cheese filling, and a shower of crushed Oreos on top adds the final, joyful crunch. 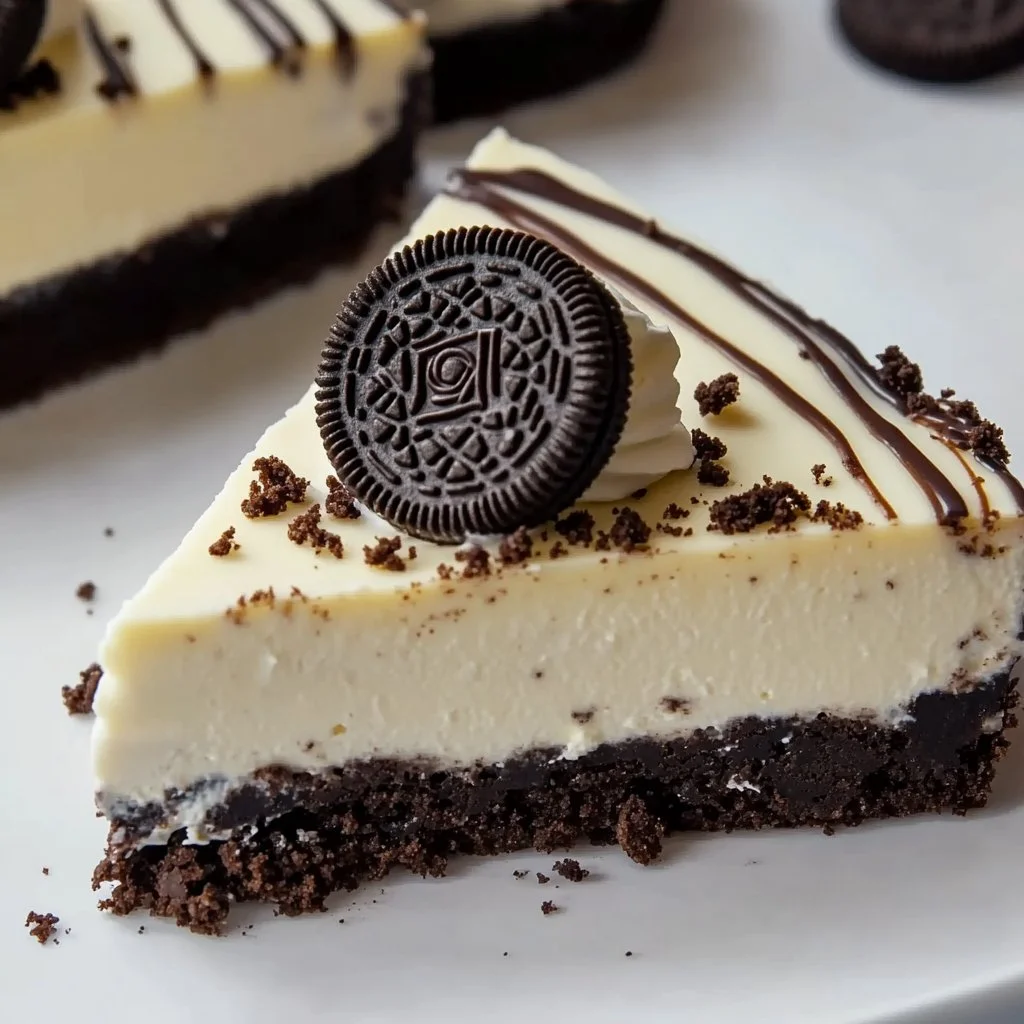
The result tastes like something you could have had at your grandmother’s house, just modern enough to feel like a little celebration.
Why this matters in busy weeks is simple: it gives big smiles without big stress. You can mix most of it ahead, let the oven do the gentle work, and then enjoy a moment of calm while it chills. Meanwhile, the kids can be set to “decorating duty,” and you’ll find everyone gathered around the table before you know it.
How to Make Chocolate Oreo Cheesecake, The Heartwarming Way
Think of this as a layered love note to texture. Start with the biscuit base, build a silky filling, and finish with a playful topping. It is easier than it looks, and the cues to watch for are simple: a firm edge in the center after baking, a smooth surface without big cracks, and that comforting aroma of warm chocolate and vanilla.
“This is where the magic happens—when the aroma fills the kitchen and my kids come running in, asking ‘Is it ready yet?’”
From there, the cheesecake cools and sets quietly in the fridge, which is where the flavors settle and harmonize. You will see the filling move from a glossy, soft cream to a sliceable, tender cake. That shift is your green light.
Ingredients You’ll Need
2 cups Oreo cookie crumbs
1/2 cup unsalted butter, melted
2 (8 oz) packages cream cheese, softened
1 cup powdered sugar
1 teaspoon vanilla extract
1 cup heavy whipping cream
8 Oreos, crushed, for topping
Gather what you need and set it out before you start. I like to use room temperature cream cheese because it blends smoother and avoids lumps. Don’t skip the powdered sugar; it keeps the filling silky and not grainy. If you want a little twist on textures while you’re here, try a small plate of Caramel Cheesecake Cookies for a fun pairing.
Step-by-Step Directions
-
Preheat your oven to 350°F (175°C).
Heat brings the crust together and gives the filling a gentle set. I always give the oven a minute or two to truly reach temperature. -
In a bowl, mix the Oreo cookie crumbs with melted butter. Press the mixture into the bottom of a cheesecake pan.
Use the bottom of a glass to press firmly and evenly. This makes a compact base that will hold up to slicing. -
In another bowl, beat the cream cheese, powdered sugar, and vanilla extract until smooth.
Scrape the bowl down a couple of times so everything blends evenly. A hand mixer works well here for a lump-free finish. -
In a separate bowl, whip the heavy cream until stiff peaks form, then gently fold it into the cream cheese mixture.
Folding keeps the air in the whipped cream, which gives the filling a light, mousse-like lift. Take your time and be gentle. -
Pour the cream cheese filling onto the crust and smooth the top.
Smooth the top with a spatula and tap the pan gently on the counter to release bubbles. If you see a bubble, pop it and smooth again. -
Bake for 30 minutes or until the edges are set.
The center should still have a slight wobble. Overbaking makes it dry, so trust the gentle wobble the way my grandmother taught me to trust a warm, tender pie. -
Allow it to cool, then refrigerate for at least 4 hours.
Cooling is where the cheesecake finishes its work. I often make it the night before — it improves with a little time. -
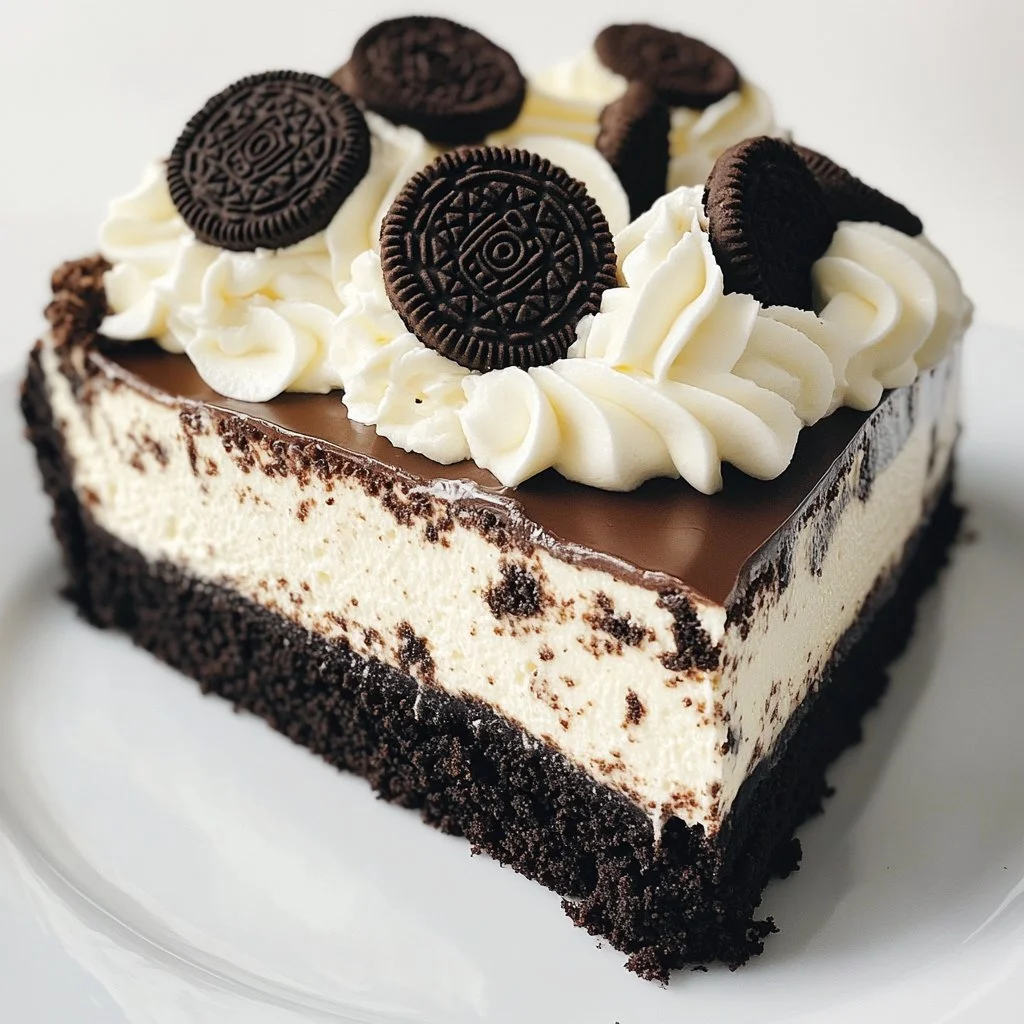
Top with crushed Oreos before serving.
Freshly crushed cookies add a bright crunch and make the presentation feel festive. Let the kids sprinkle this part; they love it.
Quick tip: if you want a slightly stronger chocolate note, stir a tablespoon of cocoa powder into the crust before pressing. For a neat slice, chill until firm and run a sharp knife under hot water between cuts.
Serving Chocolate Oreo Cheesecake with Love
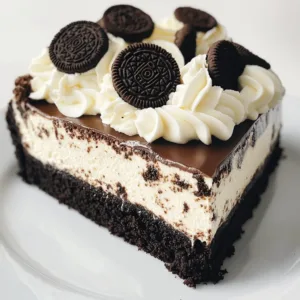
I serve this cheesecake family-style in the center of the table and let everyone help themselves. One plate, several forks, and a little conversation make it feel like a warm Sunday even on a weekday. I like to set a small bowl of extra crushed Oreos and little spoons of whipped cream nearby for those who want more.
For a simple assembly, keep a few toppings ready: a drizzle of chocolate sauce, a pinch of sea salt for adults, or a spoonful of fruit compote for balance. My son prefers a mountain of extra cookies, while my sister always goes for an elegant slice with a modest dollop of cream. Sharing it this way makes the whole dessert feel personal.
I sometimes suggest pairing slices with a small basket of homemade nuts, especially when hosting. If you enjoy nuts with your sweets, try the aroma and crunch of Slow Cooker Chocolate Covered Nuts. They make a lovely contrast to the smooth filling.
Storage & Reheat Tips (Keeping the Goodness)
Store leftover cheesecake in an airtight container or covered tightly with plastic wrap. It stays fresh in the fridge for up to 5 days. For longer storage, you can freeze slices wrapped in plastic and foil for up to 2 months.
To thaw frozen slices, move them to the refrigerator overnight. Avoid microwaving the whole cheesecake. If you must reheat a slice for a warm bite, a 10-second zap in the microwave works, but a low oven (300°F / 150°C) for a few minutes will bring back the oven-fresh feel without changing texture too much.
Keep toppings separate when storing. Crushed Oreos and whipped cream lose their fresh texture if left on the cake too long. Add them just before serving for the best experience.
My Kitchen Notes & Shortcuts
- Prep ahead: Make the crust a day before and keep it wrapped in the pan. It saves time on the day you want to bake.
- Kid-friendly tasks: Crushing Oreos, pouring melted butter, and sprinkling toppings are perfect for little helpers. It keeps them involved and proud.
- Quick swap: If you run out of heavy cream, full-fat Greek yogurt works for folding in, though the texture will be more dense.
- Flavor boost: A teaspoon of instant coffee dissolved in a little warm water lifts the chocolate notes without making it taste like coffee. For a grown-up pairing idea, see this Earl Grey and Chocolate pairing.
- Time saver: If you need a no-bake option in a pinch, you can skip the oven step and chill the filling directly on the crust; it will be softer and more mousse-like, but still delightful.
These little tricks keep the heart of the dessert intact while letting you move at your own pace. I have used them on late nights when guests arrive early and it always feels like a small rescue.
Family-Friendly Variations
Play with textures and flavors depending on your crowd. Try folding in mini chocolate chips for a playful surprise in each bite. For a lighter take, swap half the cream cheese for mascarpone; it lightens the tang without losing creaminess.
If kids love color, add a thin layer of marshmallow fluff on top before the crushed Oreos for a birthday twist. For a more grown-up version, add a drizzle of salted caramel and a pinch of flaky sea salt. Each change writes a new page in the family story for this dessert.
If you prefer a tart balance, add a thin layer of raspberry jam between the crust and filling. It adds brightness and makes the cheesecake feel like a special occasion.
FAQs About Chocolate Oreo Cheesecake
Can I make this ahead for a busy week?
Absolutely. In fact, making it the day before helps the flavors settle and improves the texture. Wrap it well and keep it chilled.
How do I prevent cracks on top?
Avoid overbeating the filling and bake until the edges are just set with a slight wobble in the center. Cooling slowly, sometimes with the oven off and door cracked, can also help.
Can I use a springform pan?
Yes. A springform pan is the easiest to remove the cheesecake cleanly. Line the bottom with parchment for extra insurance.
Is this recipe okay for kids to help with?
Yes. Kids can help with pressing the crust, stirring the filling, and decorating the top. It is a great way to teach simple baking steps and build confidence.
What if I don’t have Oreos?
Any chocolate sandwich cookie will do. You can also use chocolate graham crackers for a slightly different texture.
One Final Thought from My Kitchen
This Chocolate Oreo Cheesecake is more than a dessert. It is a small ritual that invites people to slow down and share a moment. I have made it for birthdays packed with balloons, and for quiet Tuesday dinners with stew and stories. Each time it brings a smile and a soft, familiar comfort.
Give it a try. Let the kids pick the toppings. Let a neighbor take the first slice. You might be surprised how a simple cheesecake can create a new family memory.
Conclusion
If you want a no-bake take for when the oven is off, this No-Bake Chocolate Oreo Cheesecake – Beyond Frosting offers a quick and creamy alternative that keeps the Oreo spirit alive. For a slightly different method and helpful photos, see this Easy Chocolate Oreo Cheesecake Recipe – Kitchen Swagger which gives step-by-step visuals and tips. I hope this recipe finds its way to your table and into your family’s photo album of good meals and better memories. Until next time, happy baking and even happier sharing.
Chocolate Oreo Cheesecake
Ingredients
Crust
- 2 cups Oreo cookie crumbs
- 1/2 cup unsalted butter, melted
Filling
- 2 packages cream cheese, softened (8 oz each) Use room temperature for smooth blending.
- 1 cup powdered sugar Keeps the filling silky.
- 1 teaspoon vanilla extract
- 1 cup heavy whipping cream Whip until stiff peaks form.
Topping
- 8 Oreos crushed For topping before serving.
Instructions
Preparation
- Preheat your oven to 350°F (175°C).
- In a bowl, mix the Oreo cookie crumbs with melted butter. Press the mixture into the bottom of a cheesecake pan.
- In another bowl, beat the cream cheese, powdered sugar, and vanilla extract until smooth.
- In a separate bowl, whip the heavy cream until stiff peaks form, then gently fold it into the cream cheese mixture.
Baking
- Pour the cream cheese filling onto the crust and smooth the top.
- Bake for 30 minutes or until the edges are set but the center still has a slight wobble.
Cooling
- Allow the cheesecake to cool, then refrigerate for at least 4 hours.
- Top with crushed Oreos before serving.