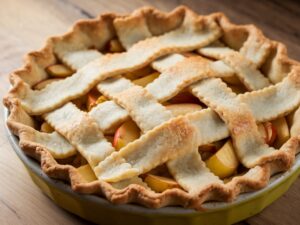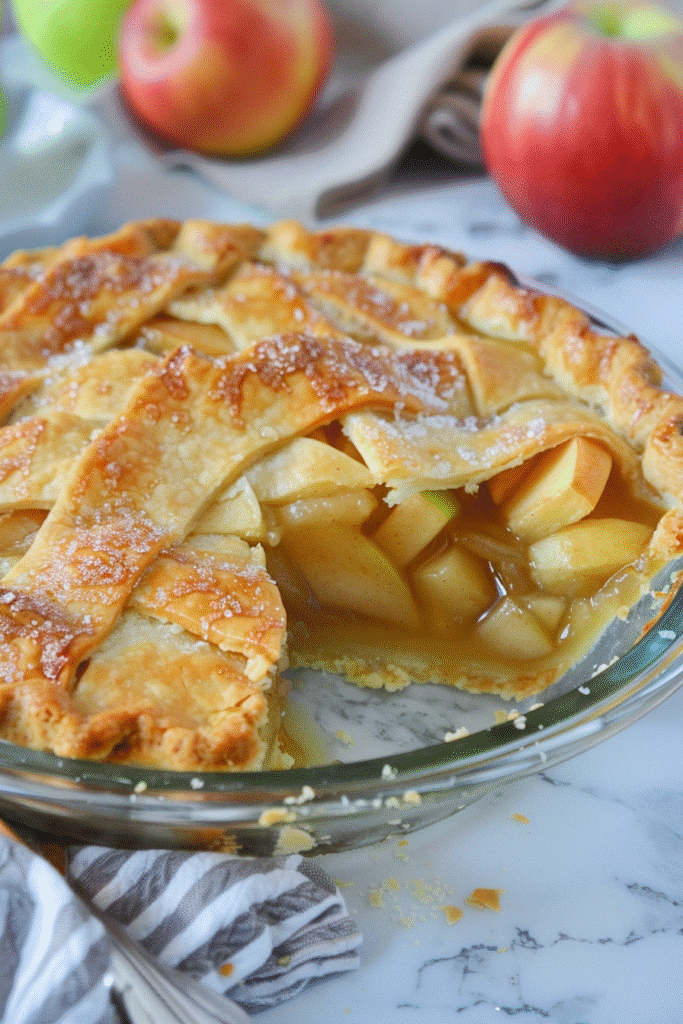
Fast Flavors, Family Memories: Where Tradition Meets Quick Creativity
Table of Contents
A Slice of My Story
When the crisp air of fall rolled in near the dam where I grew up, the kitchen would come alive with cinnamon, apples, and the sound of Grandma humming an old tune. Our apple pie wasn’t just dessert it was a family event. We’d peel the apples by the window, laughing at how many peels we could get in one strip, and the smell of baked apples and spice meant one thing: love was in the oven.
Now, in my own bustling home, I’ve carried that tradition into our gluten-free lifestyle. This Gluten Free Apple Pie keeps the heart of Grandma’s recipe alive with a few modern shortcuts to keep things Spedy and stress-free. No gluten, no guesswork just warm, flaky, cinnamon-kissed goodness in under an hour. Let’s bake some memories!
Why You’ll Love This Gluten Free Apple Pie
- 🍏 Gluten Free & Family-Friendly: Made without gluten but full of nostalgic flavor.
- 🕒 Quick & Easy Prep: From prep to pie in under 1 hour.
- 🥧 Flaky, Buttery Crust: No one will guess it’s gluten free.
- 👩👧👦 Perfect for Baking with Kids: Let the little ones stir, sprinkle, or taste test.
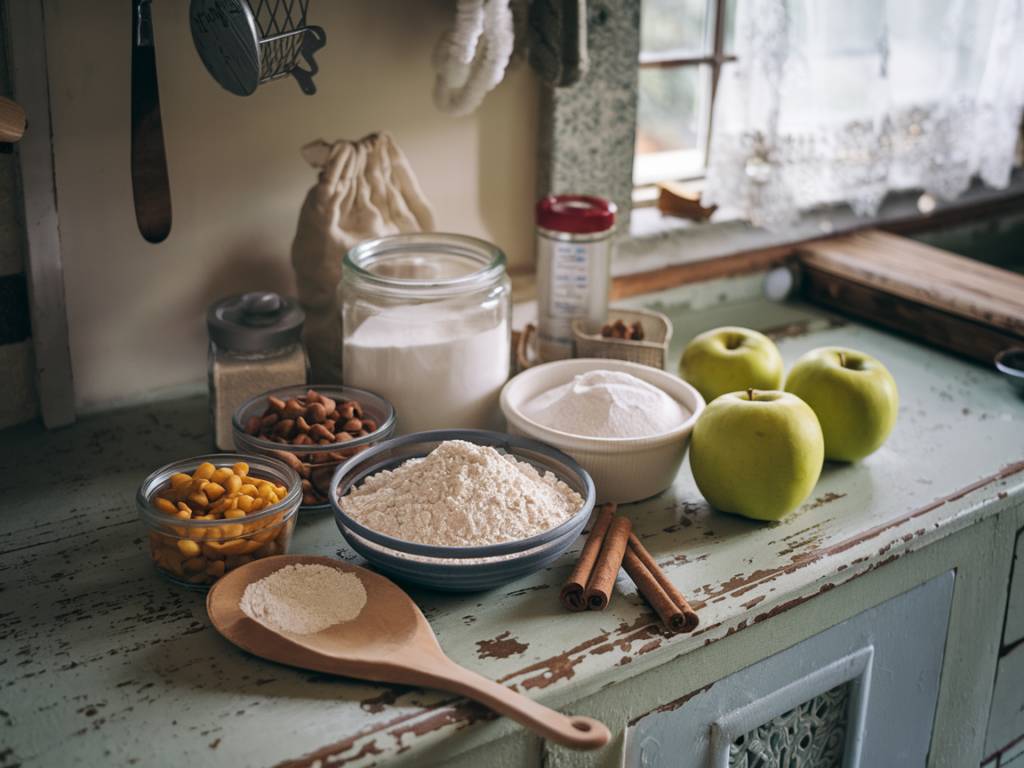
Ingredients
For the Gluten Free Pie Crust:
- 2 ½ cups gluten-free all-purpose flour blend (with xanthan gum)
- 1 tbsp granulated sugar
- ½ tsp salt
- 1 cup unsalted butter, cold and cubed
- 6–8 tbsp ice water
For the Apple Filling:
- 6 medium apples (Granny Smith & Honeycrisp are a great mix)
- ½ cup brown sugar
- ¼ cup granulated sugar
- 2 tbsp gluten-free all-purpose flour
- 1 ½ tsp ground cinnamon
- ¼ tsp ground nutmeg
- 1 tbsp lemon juice
- 2 tbsp butter (to dot on filling)
- 1 egg (for egg wash)
- 1 tbsp milk (dairy or plant-based)
Instructions
🥧 Step 1: Make the Crust
- Mix Dry Ingredients
In a large bowl, whisk the gluten-free flour, sugar, and salt. - Cut in Butter
Add the cubed butter and use a pastry cutter or fingers to mix until crumbly like coarse breadcrumbs. - Add Water Gradually
Add ice water 1 tbsp at a time, mixing until the dough starts to come together. Don’t overwork it! - Divide & Chill
Form into 2 discs, wrap in plastic, and chill for 30 minutes.
Spedy Tip: No time to chill? Pop it in the freezer for 10–15 minutes!
🍏 Step 2: Prepare the Apple Filling
- Peel & Slice Apples
Slice thinly and evenly this helps the apples bake at the same rate. - Mix with Spices
Toss the apples with sugars, flour, cinnamon, nutmeg, and lemon juice. - Let Sit
Let the filling sit while you roll the dough this helps draw out juices and flavor.
🔄 Step 3: Assemble the Pie
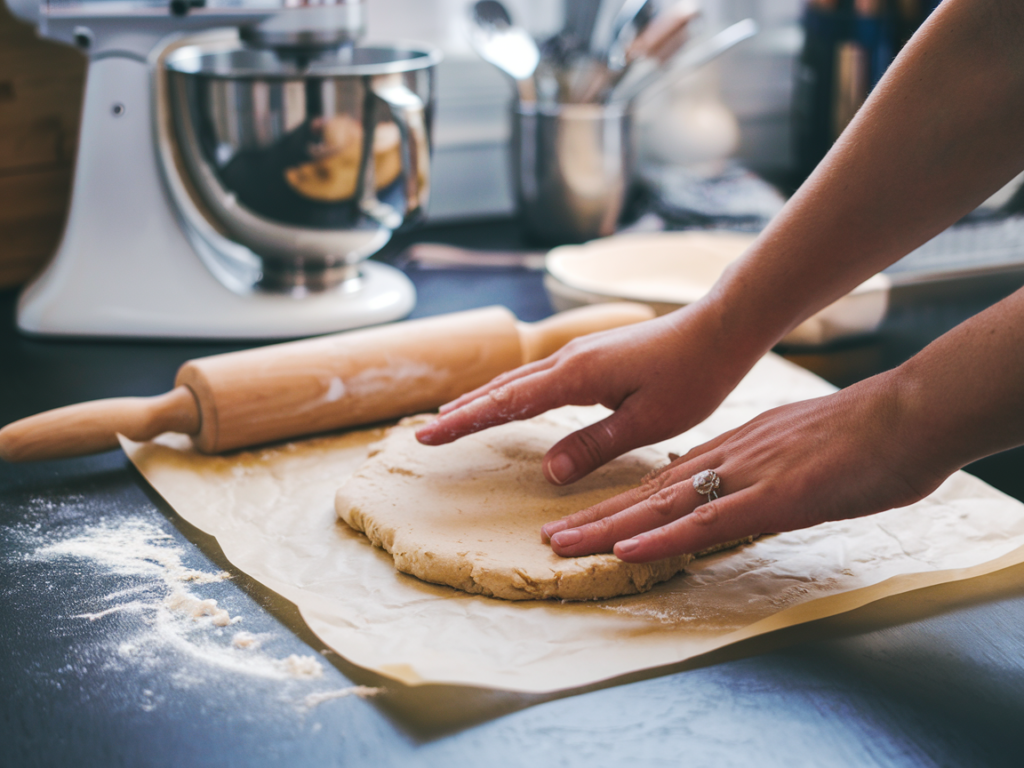
- Roll Out Bottom Crust
On parchment paper, roll out one disc to fit a 9” pie dish. Gently transfer and press into the dish. - Add Filling
Spoon in the apple mixture and dot with butter. - Top Crust
Roll out second dough disc. Add on top as a solid crust or cut into strips for a lattice. - Seal & Crimp
Trim excess dough, press edges to seal, and crimp with a fork or fingers. - Egg Wash
Mix egg and milk, brush on top for golden color. Sprinkle with a bit of sugar if desired.
🔥 Step 4: Bake
- Preheat Oven: 375°F (190°C)
- Bake: 45–50 minutes, or until crust is golden and filling bubbles.
- Cool: Let cool at least 1 hour before slicing.
Make It Yours
- Add Nuts: Mix in chopped pecans or walnuts.
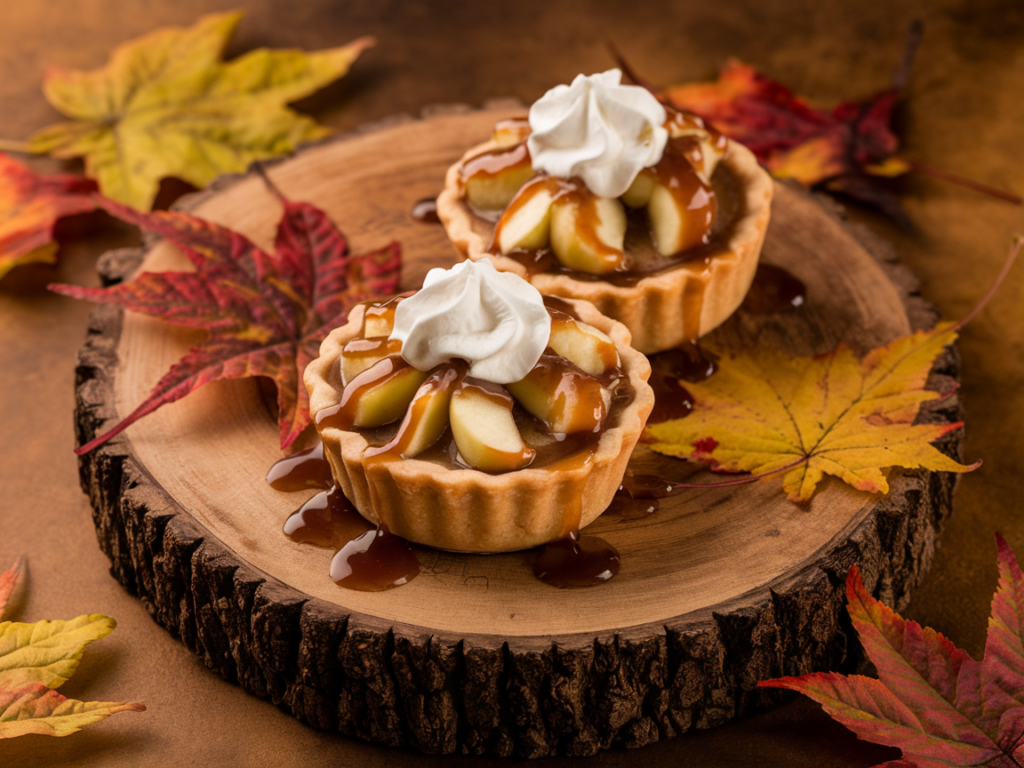
- Caramel Twist: Drizzle with homemade caramel post-bake.
- Mini Pies: Make in muffin tins for kid-friendly hand pies!
Emma’s Family Memory Moment
When I first made this version for my daughter after her gluten sensitivity diagnosis, I was terrified it wouldn’t taste like “real” pie. But her face lit up after one bite. “Mom, this is just like Grandma’s!” she said and I knew I’d done it right. Since then, it’s become a staple for cozy weekends and holiday meals.
This pie proves one thing: comfort food doesn’t need gluten to feel like home.
Gluten-Free Apple Pie
Equipment
- 9-inch Pie Dish
Ingredients
Gluten-Free Pie Crust
- 2 1/2 cups gluten-free all-purpose flour blend with xanthan gum
- 1 tbsp granulated sugar
- 1/2 tsp salt
- 1 cup unsalted butter cold and cubed
- 6-8 tbsp ice water
Apple Filling
- 6 medium apples Granny Smith & Honeycrisp mix
- 1/2 cup brown sugar
- 1/4 cup granulated sugar
- 2 tbsp gluten-free all-purpose flour
- 1 1/2 tsp ground cinnamon
- 1/4 tsp ground nutmeg
- 1 tbsp lemon juice
- 2 tbsp butter to dot on filling
- 1 egg for egg wash
- 1 tbsp milk dairy or plant-based
Instructions
- Make the Crust: In a large bowl, whisk together the gluten-free flour, sugar, and salt. Add the cold, cubed butter and use a pastry cutter or your fingers to mix until the mixture resembles coarse breadcrumbs. Gradually add ice water, 1 tablespoon at a time, mixing until the dough comes together. Divide the dough into two discs, wrap in plastic, and chill for 30 minutes.
- Prepare the Apple Filling: Peel and thinly slice the apples. In a large bowl, toss the apples with brown sugar, granulated sugar, gluten-free flour, cinnamon, nutmeg, and lemon juice. Let the mixture sit while you roll out the dough.
- Assemble the Pie: Preheat the oven to 375°F (190°C). On parchment paper, roll out one dough disc to fit a 9-inch pie dish. Transfer the rolled dough to the pie dish and press it in gently. Spoon the apple mixture into the crust and dot with butter. Roll out the second dough disc and place it over the filling. Trim excess dough, seal the edges, and crimp as desired. Cut slits in the top crust for steam to escape.
- Apply Egg Wash: In a small bowl, whisk together the egg and milk. Brush the mixture over the top crust for a golden finish. Sprinkle with a bit of sugar if desired.
- Bake: Place the pie in the preheated oven and bake for 45–50 minutes, or until the crust is golden and the filling is bubbling. If the edges brown too quickly, cover them with foil.
- Cool: Allow the pie to cool for at least 1 hour before slicing to let the filling set properly.
Notes
FAQs About Gluten Free Apple Pie
Can I make this ahead?
Yes! Make the crust or the whole pie a day ahead. Store in the fridge and reheat in a warm oven before serving.
What apples work best?
A mix of tart (Granny Smith) and sweet (Honeycrisp, Fuji) creates a balanced flavor.
Can I freeze it?
Absolutely. Bake it fully, cool completely, and wrap tightly. Reheat from frozen at 350°F for 30–40 minutes.
Want more allergy-friendly comfort food recipes? Follow me for cozy, homemade meals that fit your lifestyle!
Ask ChatGPT
What to Serve With Apple Pie
- A scoop of vanilla ice cream (classic!)
- A dollop of whipped cream
- Warm cider or mulled wine
- Coffee and a cozy blanket
Let’s Bake Together!
If you make this pie, tag me on Instagram with #SpedyFamilyKitchen I love seeing your floury messes and golden crusts. Got a gluten-free twist on a family favorite? Tell me your story in the comments. Let’s make this community our virtual kitchen table. 🥧❤️
Related Recipes
- French Apple Pie: A Classic Comfort Dessert Recipe
- Rustic Apple Pie Recipe: Easy and Delicious
- Gluten Free Pumpkin Bread Recipe: Moist & Easy to Make
- High Protein Dessert Recipes: Delicious Treats You’ll Love

