I can still hear the kettle hum and the laughter from the other room as my daughter arranges tiny decorations on the table. The air smells like cinnamon and citrus, the kind of scent that takes you back to your grandmother’s kitchen by the river. I slice an orange and the bright, fresh smell rises in a neat, warm cloud. That small task turns our house into a home, and that is why making dried orange slices feels like a little ritual that brings everyone closer.
Why This How to make PERFECT dried orange slices for holiday decorations Feels Like Home
These dried orange slices have the same quiet charm as a bowl of stewed fruit in winter. They are simple, honest, and useful in so many ways. For us they became a small tradition: a short afternoon project, a craft the kids can help with, and an easy way to make our tree and table feel personal.
I like that the process is calm. You lay out slices, let them quietly dry, and in return you get bright color, gentle scent, and a sense that the house is ready for company. It is a slow, steady kind of craft that suits busy weeks. Meanwhile, if you want a bright, festive drink on the side, I sometimes make my favorite pink drink to sip while the oranges dry. Try this link to keep the vibe going: perfect pink drink recipe.
Why How to make PERFECT dried orange slices for holiday decorations is Our New Family Favorite
This little project costs almost nothing and gives you a week of warmth. My kids get to help with the slicing and threading. My husband likes to string them on twine for the mantel. I love that they look good with twinkle lights, pine branches, or a simple wreath.
These orange slices are flexible. Use them to decorate gifts, to sprinkle in a bowl with cinnamon sticks, or to hang on the tree. They add color without fuss. If you like easy weekend projects that make the house feel special, these fit right in. And if you are thinking of other small crafts, we once paired this with simple homemade ornaments after making a batch of hotcakes for breakfast. If you like that kind of kitchen-to-craft flow, check out this idea: perfect hoe cakes.
The Simple Magic Behind How to make PERFECT dried orange slices for holiday decorations
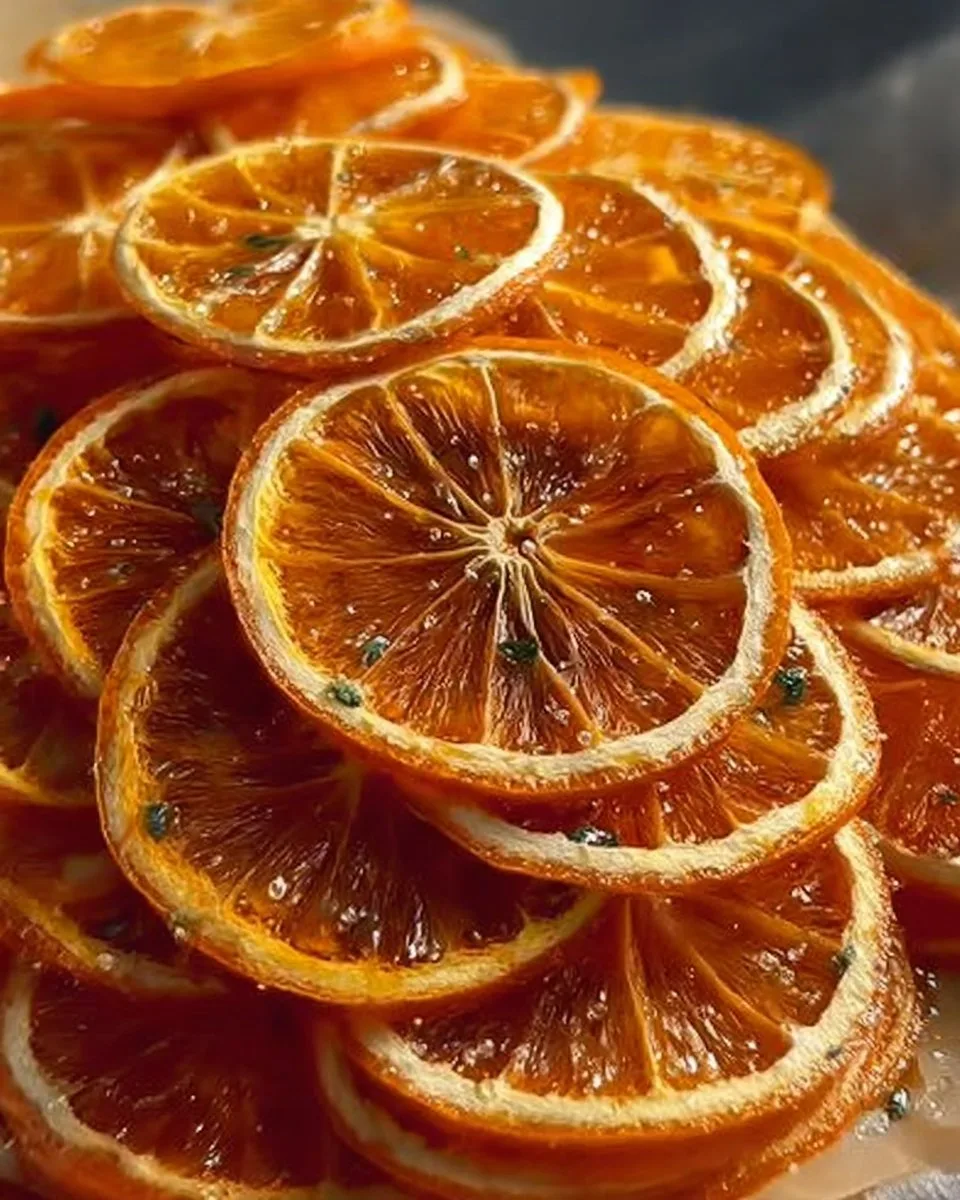
The magic is partly chemistry and partly patience. When you slice oranges thin and dry them slowly, water leaves the fruit and the sugars concentrate. The color deepens and the texture becomes leathery but still slightly pliable if done right.
You will know they are ready by sight and touch. The edges brown a touch, the center is translucent, and the slice no longer feels wet to the touch. The smell will be that gentle orange note you love. The process is forgiving, which is why it works well even when life is busy. From there, a quick stringing and you have lasting decorations.
Why This Recipe Works for Our Busy, Joyful Nights
We often have small evenings with homework and a quick dinner. This is a craft we can do while the kids finish homework. Slice the fruit before bed, let it dry during the evening or overnight, and finish the decorating the next day. It gives you a creative task that does not demand all your time.
If you like to batch projects, make a big tray on a slow weekend afternoon and you will have ornaments for weeks. It is an easy way to slow down without slowing everything else. And if you want another cozy baking project to pair while the oranges dry, I love using a simple pumpkin bread recipe that fills the house while the oranges do their work: gluten-free pumpkin bread.
“This is where the magic happens, when the aroma fills the kitchen and my kids come running in asking, Is it ready yet?”
How to Make How to make PERFECT dried orange slices for holiday decorations, The Heartwarming Way
Here is a quick overview of the process. You pick fresh fruit, slice it evenly, and dry it gently. You watch for a clear center and slightly darkened edges. You let the slices cool and then choose whether to leave them natural or glaze them lightly for shine.
The texture should be leathery, not wet. The color should be bright orange with warm, darker edges. The smell should be clean and citrusy. Once you make a tray, you will learn the timing for your oven or dehydrator and know exactly when to stop. If you want more of a savory kitchen night, these notes fit nicely with a simple dinner like sinigang for variety: sinigang recipe.
Step-by-Step Overview: Keeping It Simple
- Set aside 30 to 60 minutes for prep and then hands-off drying time.
- Use thin, even slices so they dry the same.
- Dry slowly at low temperature for color and tenderness.
- Cool fully before storing or stringing.
Ingredients You’ll Need
- 6 to 10 firm oranges, preferably organic so you can use the peel.
- Fine sea salt, a pinch, optional to brighten flavor before drying.
- Ground cinnamon or whole sticks, optional for scent pairing.
- Whole cloves, optional for studding slices for gifts.
- Simple syrup or clear honey, optional for a glossy finish after drying.
A friendly note: do not skip the fresh oranges. They are the star. You can use tangerines or blood oranges for color variety. Use what feels right in your kitchen. If you want a tasty breakfast to go with the preparation, try making ranch steak later for a heartier meal: ranch steak.
What Goes Into Our How to make PERFECT dried orange slices for holiday decorations
- Oranges, washed well and dried.
- A sharp mandoline or a good, sharp knife.
- A baking sheet with wire rack, or a dehydrator tray.
- Parchment paper or a silpat, optional for cleanup.
- A cooling rack or tray for finished slices.
A small tip from my kitchen: thinning the slices by about 3/16 to 1/8 inch helps them dry evenly. If you slice too thick, the center can stay sticky. Making even slices is the secret to consistent results.
Step-by-Step Directions
-
Preheat the oven to 175 F to 200 F. I aim for around 190 F. If your oven does not go this low, use the lowest setting and prop the door open with a clean wooden spoon to release heat.
Tip: a lower temperature gives a sweeter, chewier slice. -
Wash and dry the oranges. Slice off both ends and cut into even rounds between 1/8 and 3/16 inch thick.
Tip: use a mandoline with care, or have a child help with threading later. -
Optional: lightly sprinkle salt on the cut sides to brighten the flavor if you plan to use slices in food displays. For pure decoration, skip the salt.
Tip: a dusting of cinnamon on the edges before drying adds a warm note. -
Arrange slices single layer on a wire rack over a baking sheet. This keeps air moving around each slice and prevents sogginess.
Tip: do not overlap slices. If you need to, use a second sheet. -
Place the trays in the oven and bake slowly. Plan on 3 to 6 hours depending on slice thickness and oven temp. Check after 2 hours, then every 30 minutes.
Tip: flip slices at the halfway point for even drying if your oven has spots. -
You will know they are done when the centers look slightly translucent and feel dry to the touch. The edges may deepen in color. Remove from oven and cool on a rack.
Tip: they will firm up as they cool. -
Optional glaze: brush with a light syrup or honey to add shine, then return to the oven for 10 minutes to set.
Tip: do this only if you want them glossy. -
Store in an airtight container at room temperature for up to two weeks. For longer storage, keep in a sealed jar with desiccant or in the fridge.
Tip: include a piece of clean bread in the container to keep slices from getting too hard, and replace the bread every other day if needed. -
To make garlands, punch small holes near the edge and thread with twine. Combine with pine sprigs or cinnamon sticks for a layered look.
Tip: let kids add beads or small wooden ornaments for a family touch. -
Display on the tree, hang from knobs, or tuck into gift wrapping for a homemade finish. The scent lasts and the color holds well indoors.
Tip: avoid hanging directly in front of hot vents or sunlight to prevent fading.
Preparing How to make PERFECT dried orange slices for holiday decorations Without the Stress
This process is part cooking and part craft. Keep extra oranges on hand so if one slice tears, you have backups. Work with a clear counter, a tray for finished slices, and a small basket for the scraps. The rhythm of slicing, laying out, and watching is soothing. Give a little encouragement to the kids and let them help with threading. It becomes a small family ritual.
Serving How to make PERFECT dried orange slices for holiday decorations at the Table
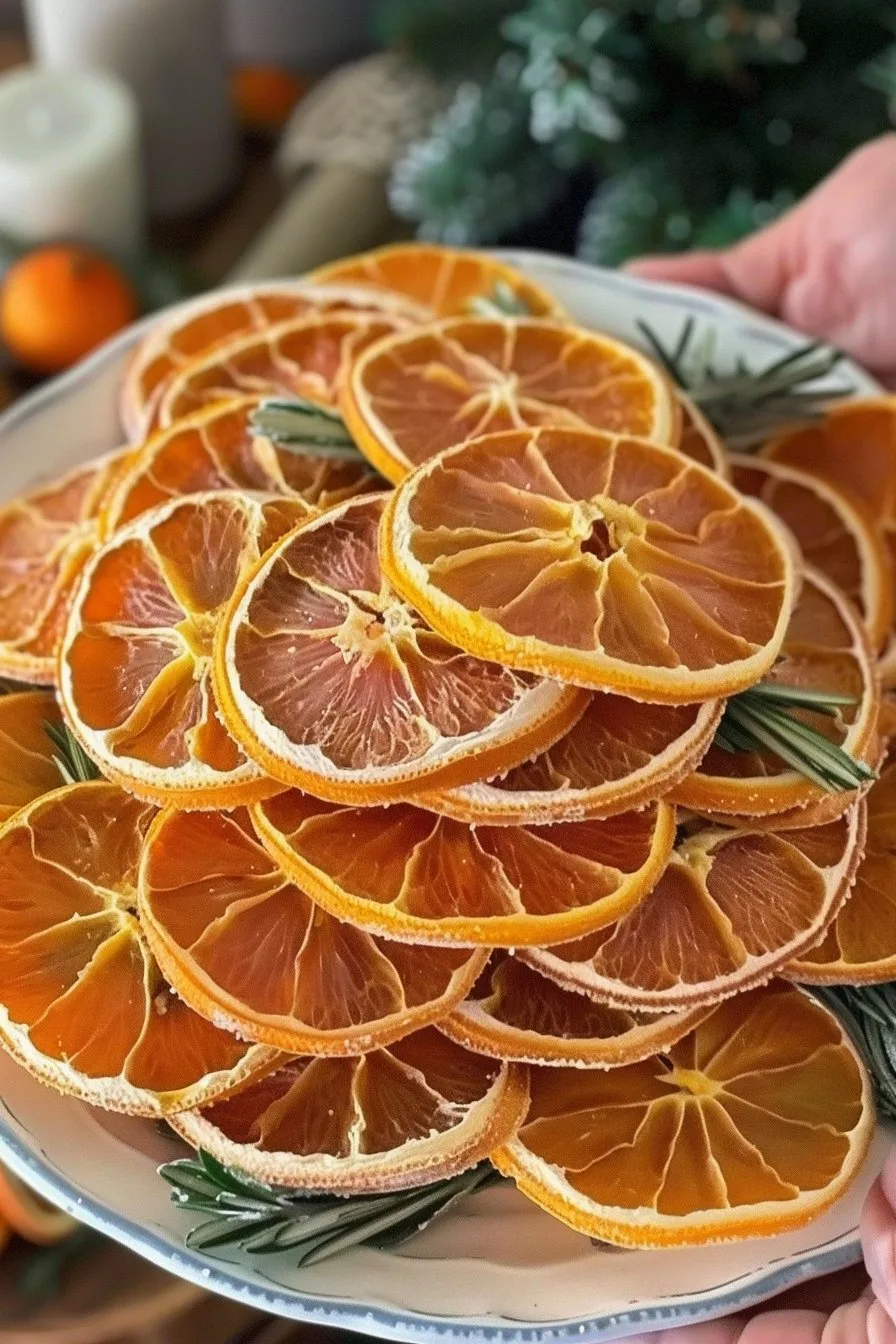
I like to group the dried slices on a platter with pine cones and warm lights by the fireplace. They look elegant and smell fresh. If I am gifting, I wrap them in cellophane with a sprig of rosemary and a cinnamon stick.
For the tree, I mix orange slices with wooden beads and simple glass bulbs for a balanced look. The kids have their own section with more color and whimsy. Try tucking one into a napkin ring for a special place setting. They are simple and bring a handmade touch to any table.
How We Enjoy How to make PERFECT dried orange slices for holiday decorations at Home
We make a tray each November and then reuse them for weeks. I hang a small strand over the window and a few slices on the oven handle so the kitchen always smells good. The kids claim the shiniest slices for their rooms. One daughter insisted on a garland over the dog bed last year, and our dog seemed proud to have a festive corner.
There is no right way to use them. Let the children mix beads, string cinnamon, or add star anise. These small acts create memories more than perfect arrangements. Before the FAQ below, I place a finished platter on the mantel to invite visitors to touch and take a slice home.
Storage & Reheat Tips (Keeping the Goodness)
If you want to save them for next year, dry a little longer until they are brittle. Pack in a sealed jar with oxygen absorbers and store in a cool, dark place. For shorter storage, an airtight container on the counter works fine.
If slices become too soft after some days, pop them into a low oven for 10 to 20 minutes to crisp. If they are too stiff, place a slightly damp paper towel in the container for a few hours to reintroduce a touch of moisture. For serving with warm dishes, put the slices on warm plates just before guests arrive so they release a little scent without losing shape.
If you need a full meal in the evening, pairing this simple craft with a quick main dish brings balance. For a dinner that feels slow but is actually fast, try the techniques in this guide to cooking steak: cook ranch steak perfectly.
My Kitchen Notes & Shortcuts
- Use a mandoline for even slices, but guard fingers closely. Safety first.
- If you have a dehydrator, set it to 135 F and check around 6 hours for thin slices.
- Slice a day ahead and dry while you do other chores. It is mostly hands-off.
- To add sparkle, brush with a diluted maple syrup, then dust with fine sugar before the last 10 minutes in the oven.
- Let kids design one garland that stays in their room. It keeps them excited and proud.
These small tricks save time and keep things relaxed. I learned to keep the process simple so it becomes a habit, not an extra task.
Family-Friendly Variations
- Citrus mix: include blood oranges, lemons, and limes for color variety.
- Spiced studded slices: press a few cloves into each slice before drying for a classic look.
- Glazed slices: a light honey glaze adds shine and depth.
- Party favor bundles: tie two or three slices with twine, a cinnamon stick, and a rosemary sprig.
- Kid-friendly painting: after drying, let kids paint the back of slices with diluted school glue and glitter for a playful touch.
Let your family choose. The craft is as much about the making as the finished pieces.
FAQs About How to make PERFECT dried orange slices for holiday decorations
Can I make this ahead for a busy week?
Yes. Once dry and fully cooled, they store well for days or weeks. If you want them to last months, dry until brittle and pack in a sealed jar.
Do I need to use organic oranges?
Not strictly, but organic peels are better if you plan to keep the rind on and use slices in food or wrap gifts. If you use conventional fruit, wash well and consider peeling off a thin outer layer.
What if my slices brown too much?
Some browning is normal. If they darken quickly, your oven is too hot. Lower the temperature and go slower next time.
Can kids help with this?
Absolutely. Kids can help wash fruit, thread slices for garlands, and design displays. Keep sharp tools away from young hands.
How long do they last on the tree?
Indoors, they can last several weeks. If they are in direct sun or near heat, they may fade or get brittle sooner.
One Final Thought from My Kitchen
Making dried orange slices is one of those small rituals that builds cozy momentum in a home. It is simple but makes the house feel intentional. I hope this little project becomes a small memory maker for you, a way to add color and scent to your home, and a quiet act that brings kids close on a chilly afternoon. Give it a try and let me know how your garlands turn out.
Conclusion
For more ideas on handmade holiday decorations and ways to decorate with oranges, see this guide on Easy Handmade Yule Decorations with Oranges.
If you want quick decorating tips paired with cozy movies and simple hacks, check out Easy Christmas Decorating Hacks & Christmas Movies.
Looking for step-by-step garland instructions? Try this DIY guide: DIY Dried Orange Garland: A Festive Home Decor Idea.
If you prefer a calm, minimalist take, these Japandi ideas pair well with citrus accents: 5 Japandi Christmas Decor Ideas for a Cozy & Minimalist Holiday.
And for kid-friendly Yule craft ideas that include edible decor, see Easy and Creative Yule Decor Ideas for Kids.
Thank you for letting me share this small, bright habit from my kitchen. I hope your home smells like citrus and your table invites stories.

Dried Orange Slices
Ingredients
Main Ingredients
- 6-10 pieces firm oranges, preferably organic Oranges should be fresh; alternatives include tangerines or blood oranges.
Optional Ingredients
- 1 pinch fine sea salt Optional to brighten flavor before drying.
- 1 tsp ground cinnamon or whole sticks Optional for scent pairing.
- a few pieces whole cloves Optional for studding slices for gifts.
- 1 tbsp simple syrup or clear honey Optional for a glossy finish after drying.
Instructions
Preparation
- Preheat the oven to 175F to 200F (aim for around 190F).
- Wash and dry the oranges. Slice off both ends and cut into even rounds between 1/8 and 3/16 inch thick.
- Optional: Lightly sprinkle salt on the cut sides to brighten the flavor, or dust with cinnamon on the edges.
Drying
- Arrange slices in a single layer on a wire rack over a baking sheet to keep air moving around each slice.
- Place the trays in the oven and bake slowly for 3 to 6 hours, checking after 2 hours and every 30 minutes thereafter.
- Slices are done when centers look slightly translucent and feel dry to the touch, while edges may deepen in color.
Finishing Touches
- Optional: Brush slices with a light syrup or honey for shine, then return to the oven for 10 minutes to set.
- Cool slices fully on a rack before storing or stringing.
- To make garlands, punch small holes near the edge and thread with twine, optionally combining with pine sprigs or cinnamon sticks.